
One Room Challenge Week 2 - It's All About That Paint
/The biggest transformation for the One Room Challenge's makeover of the den/guest room is the paint. And we're getting into it first!
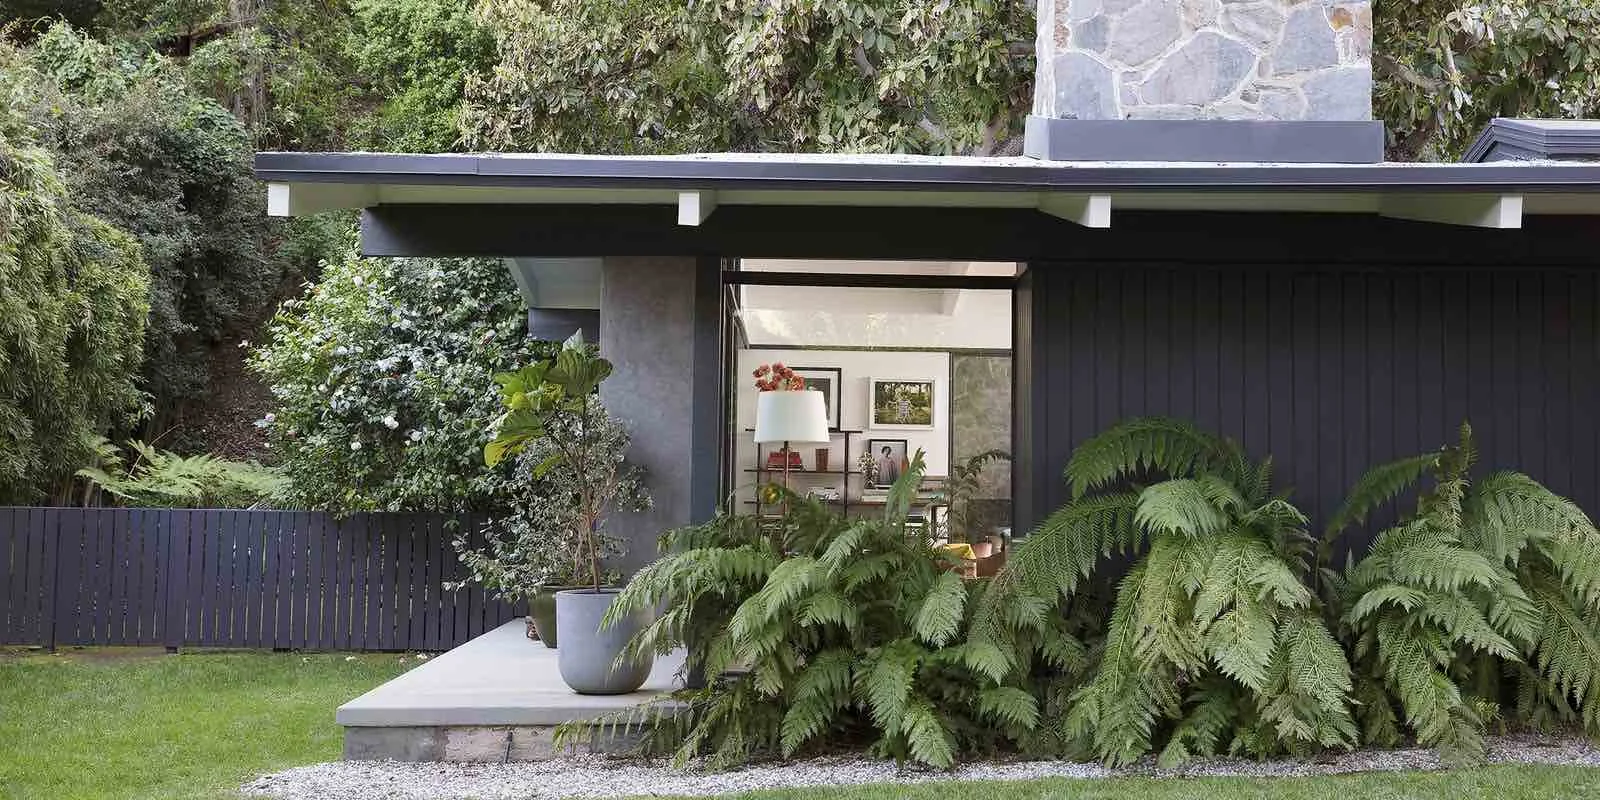
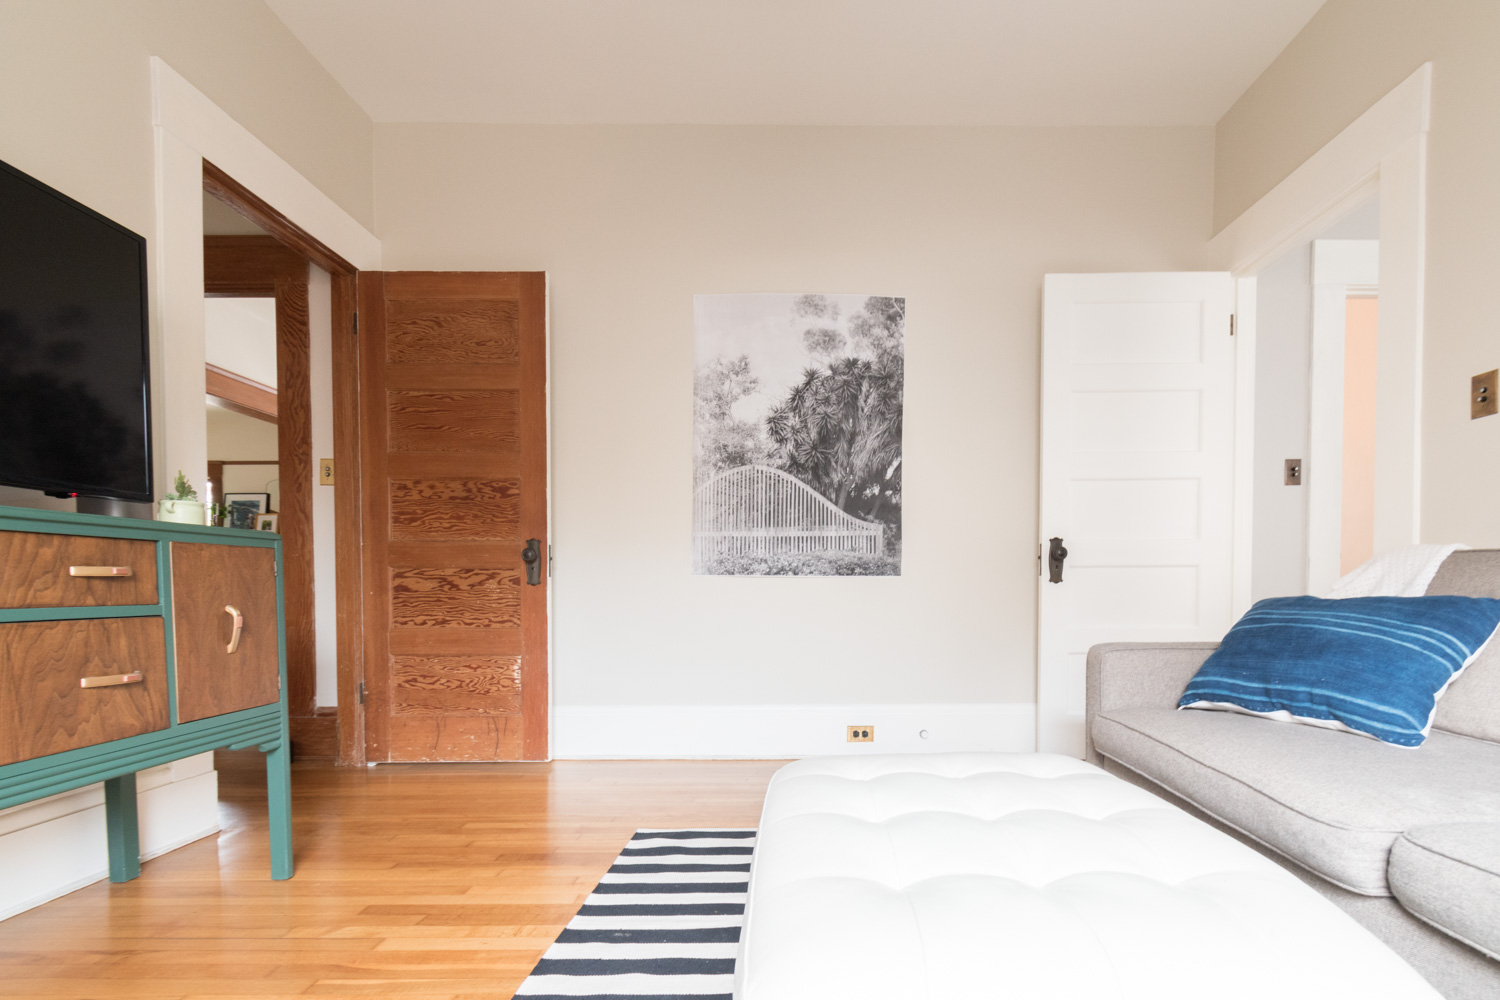
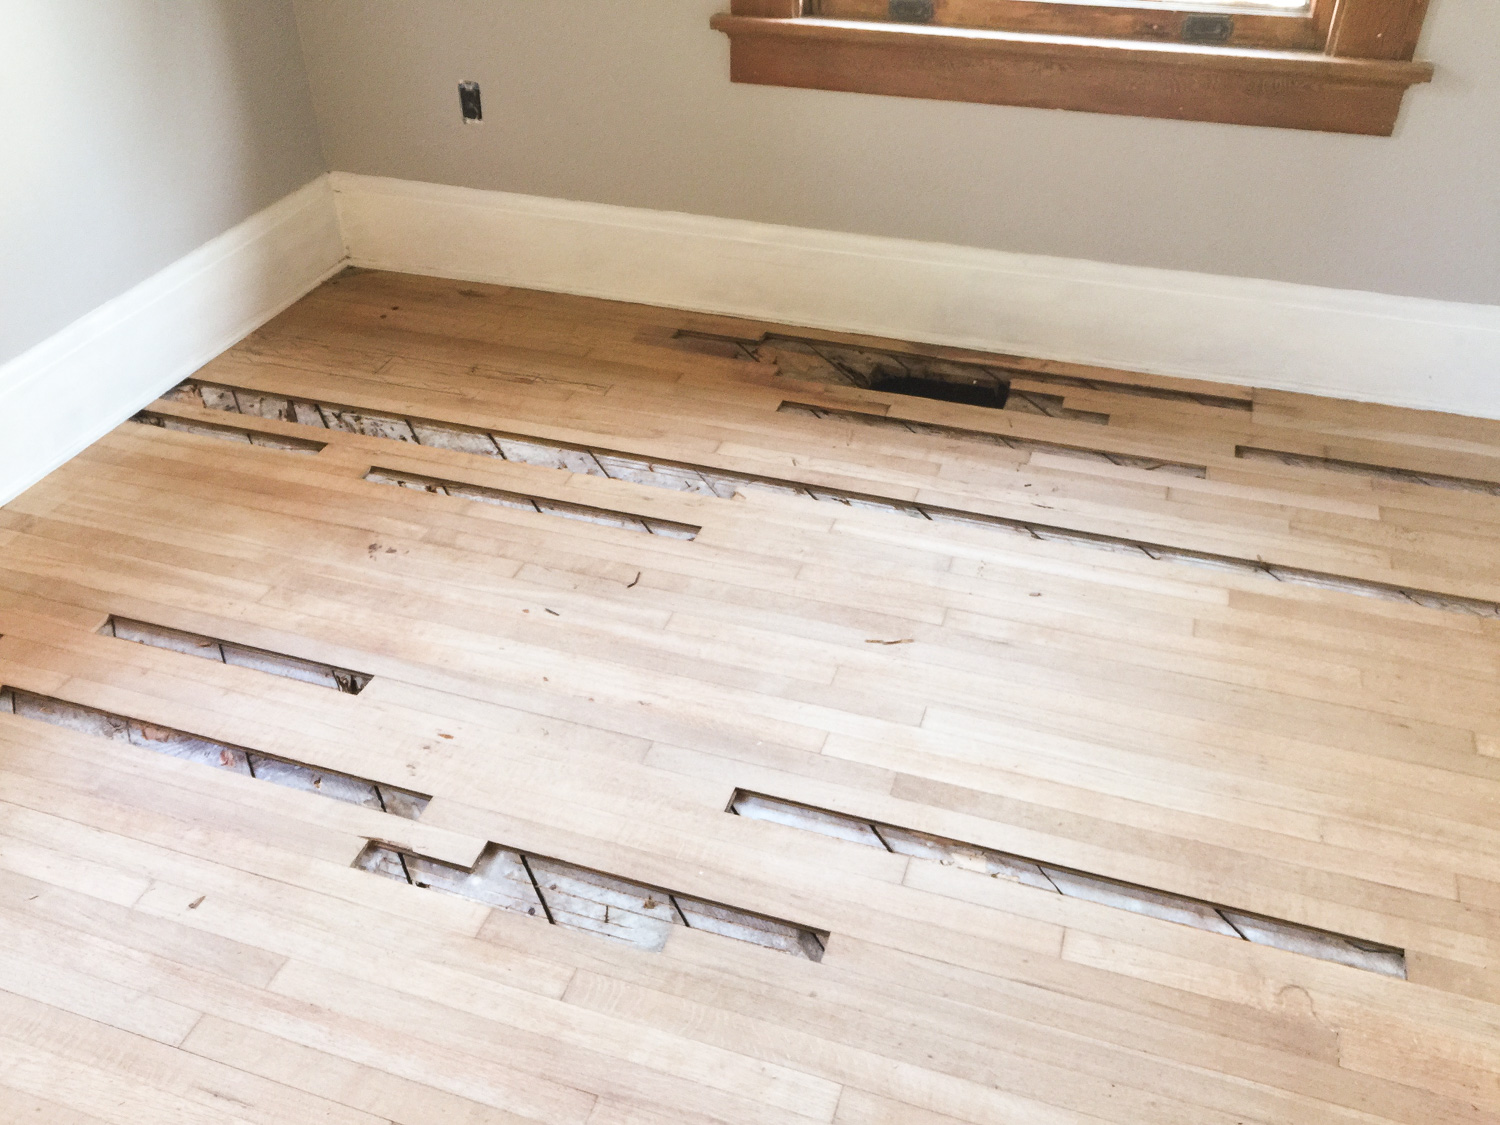
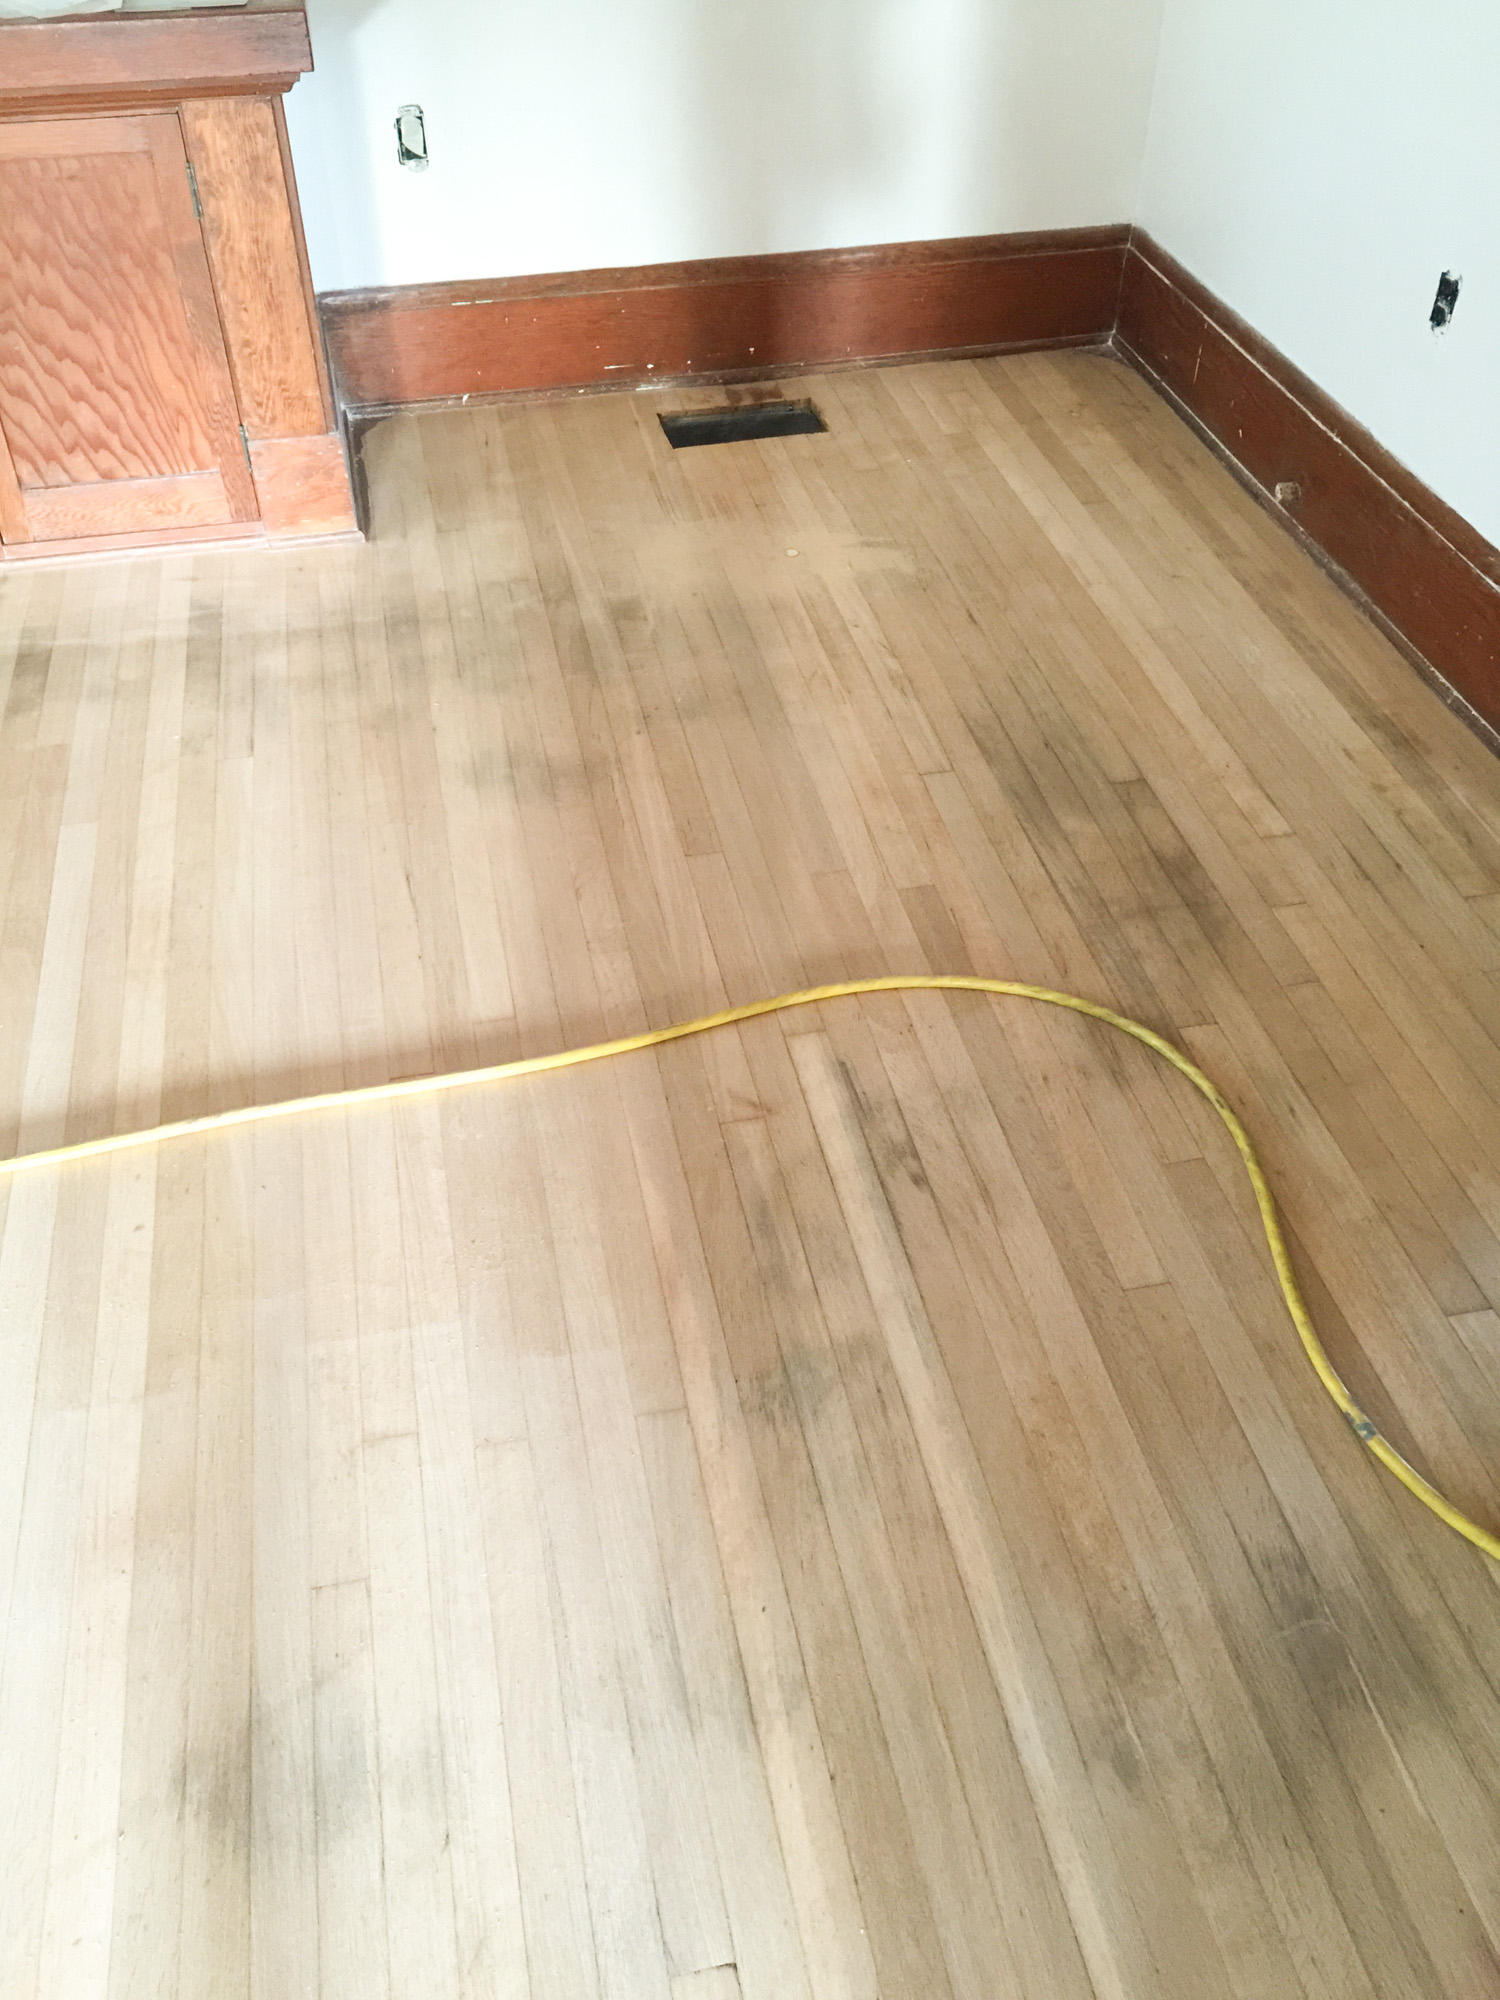
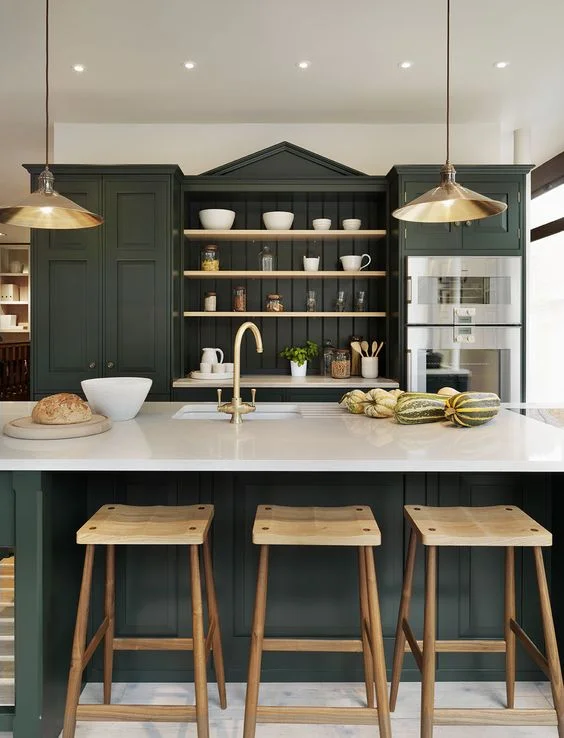
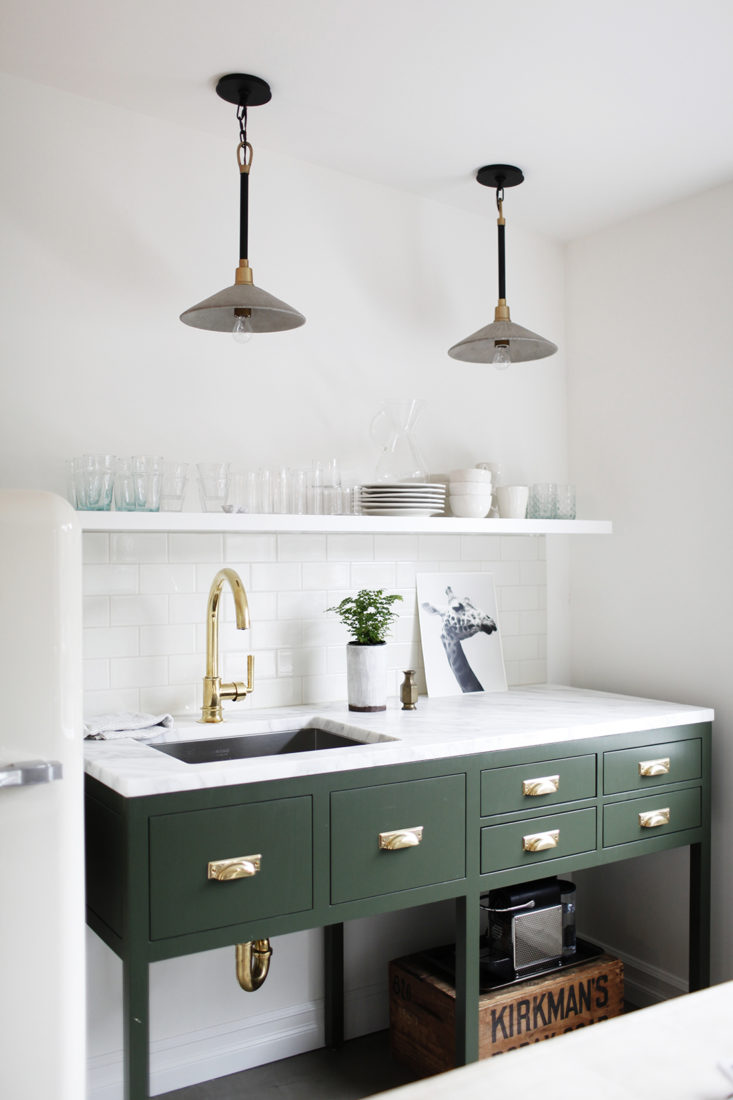
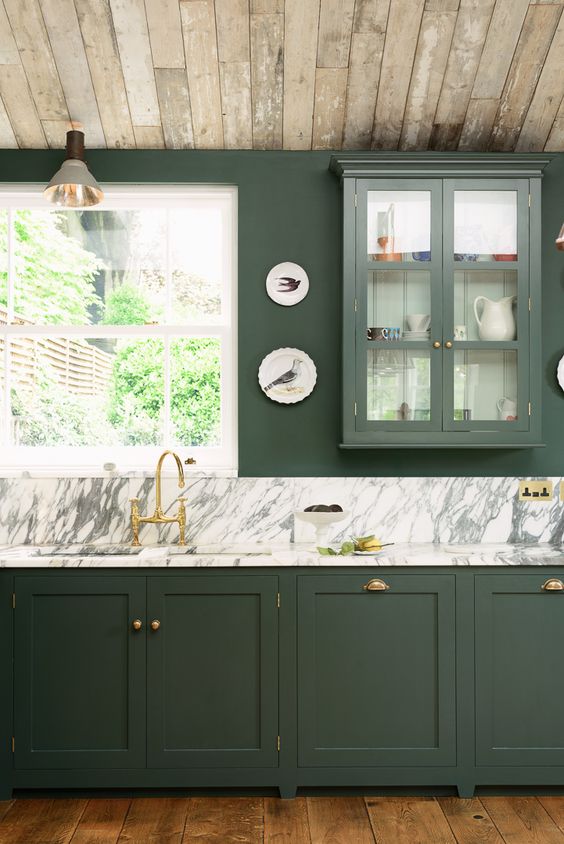
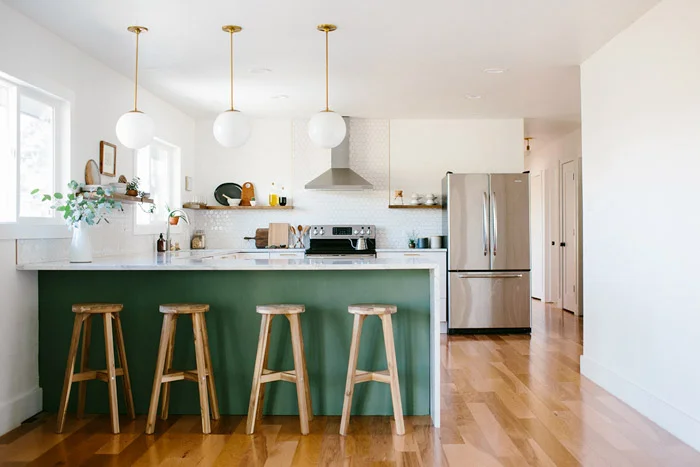
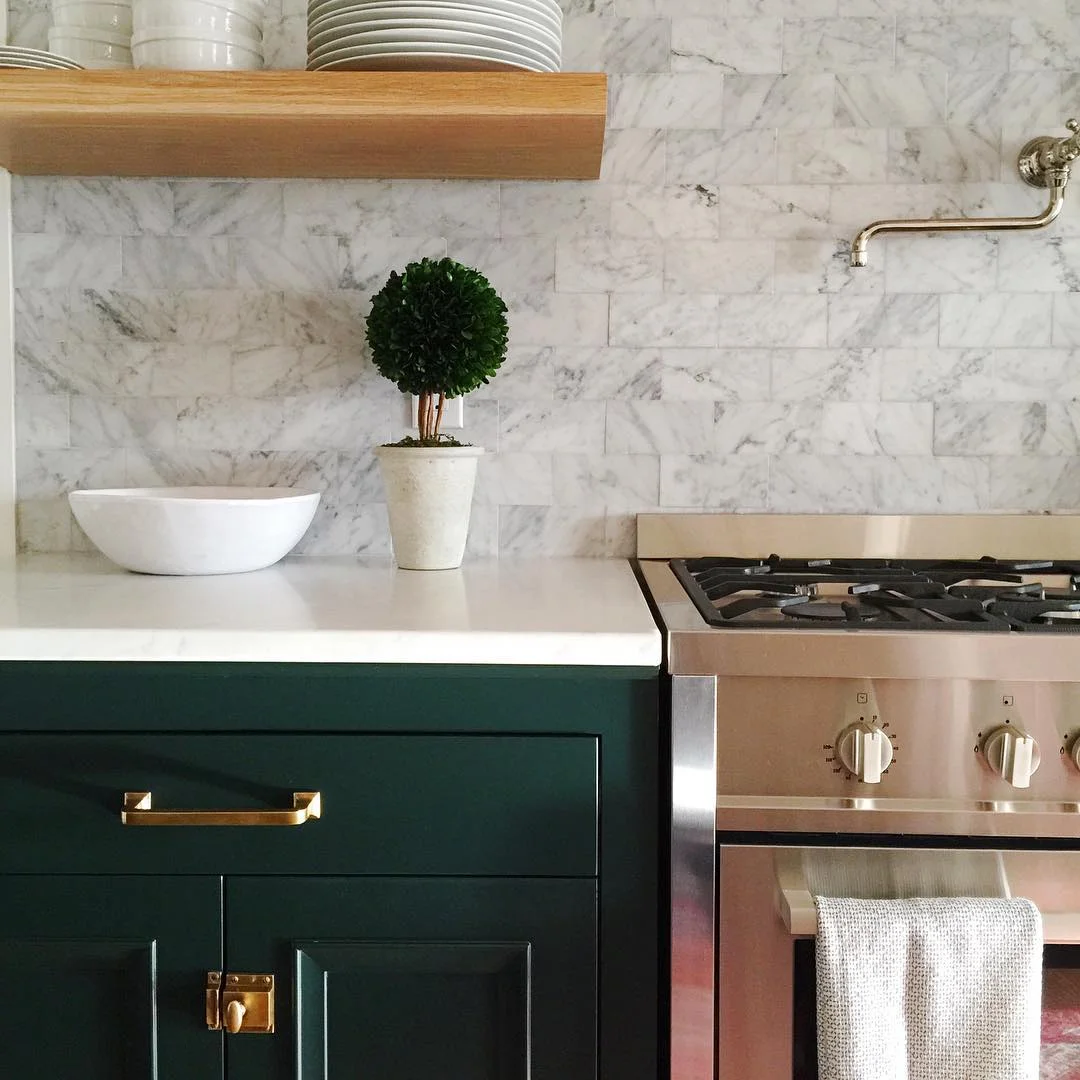
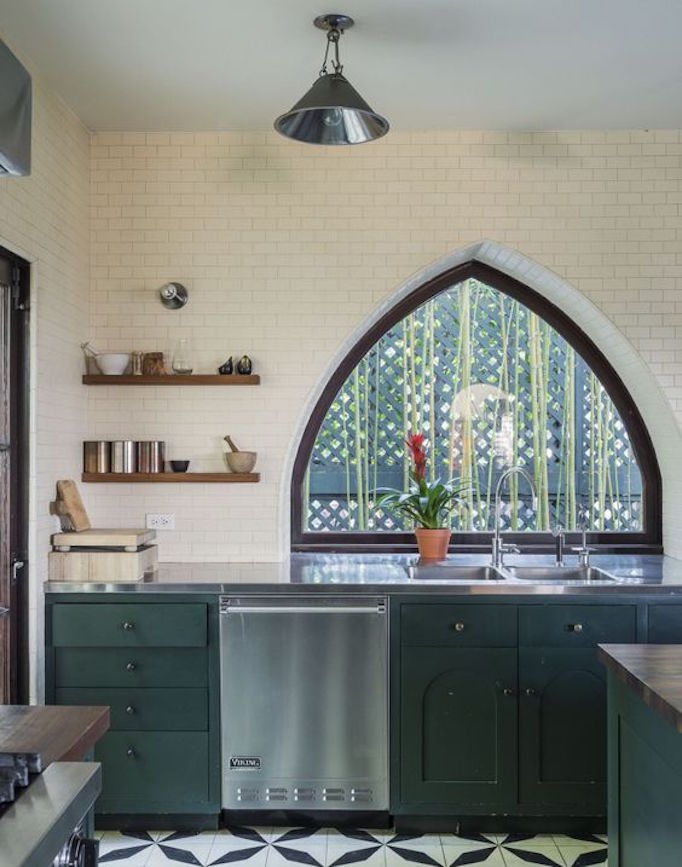
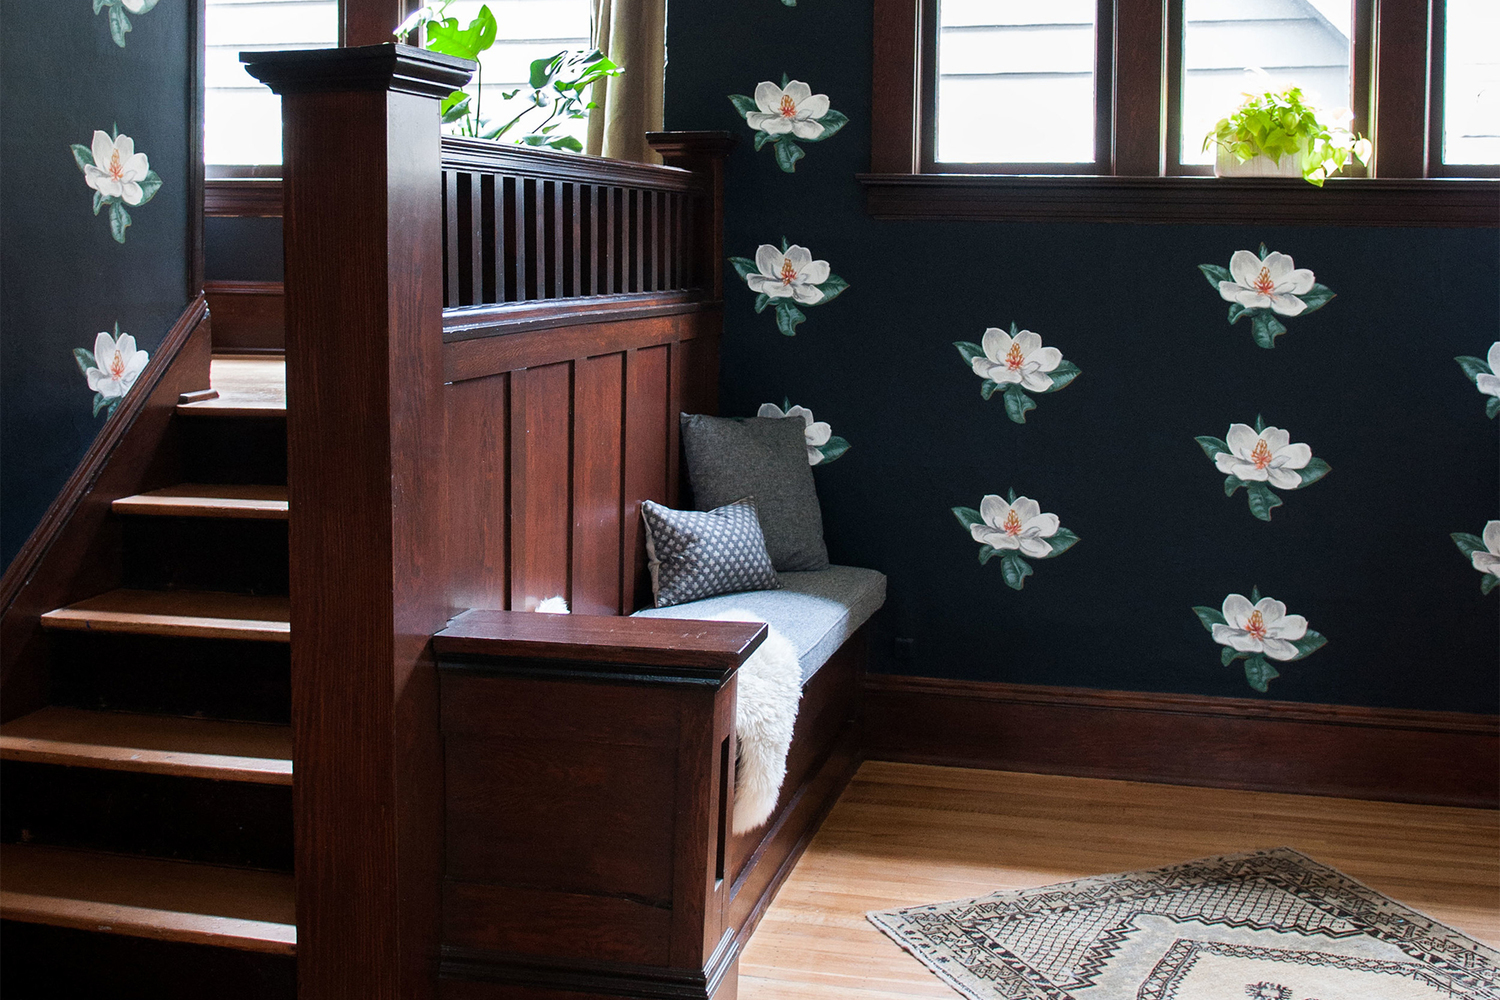
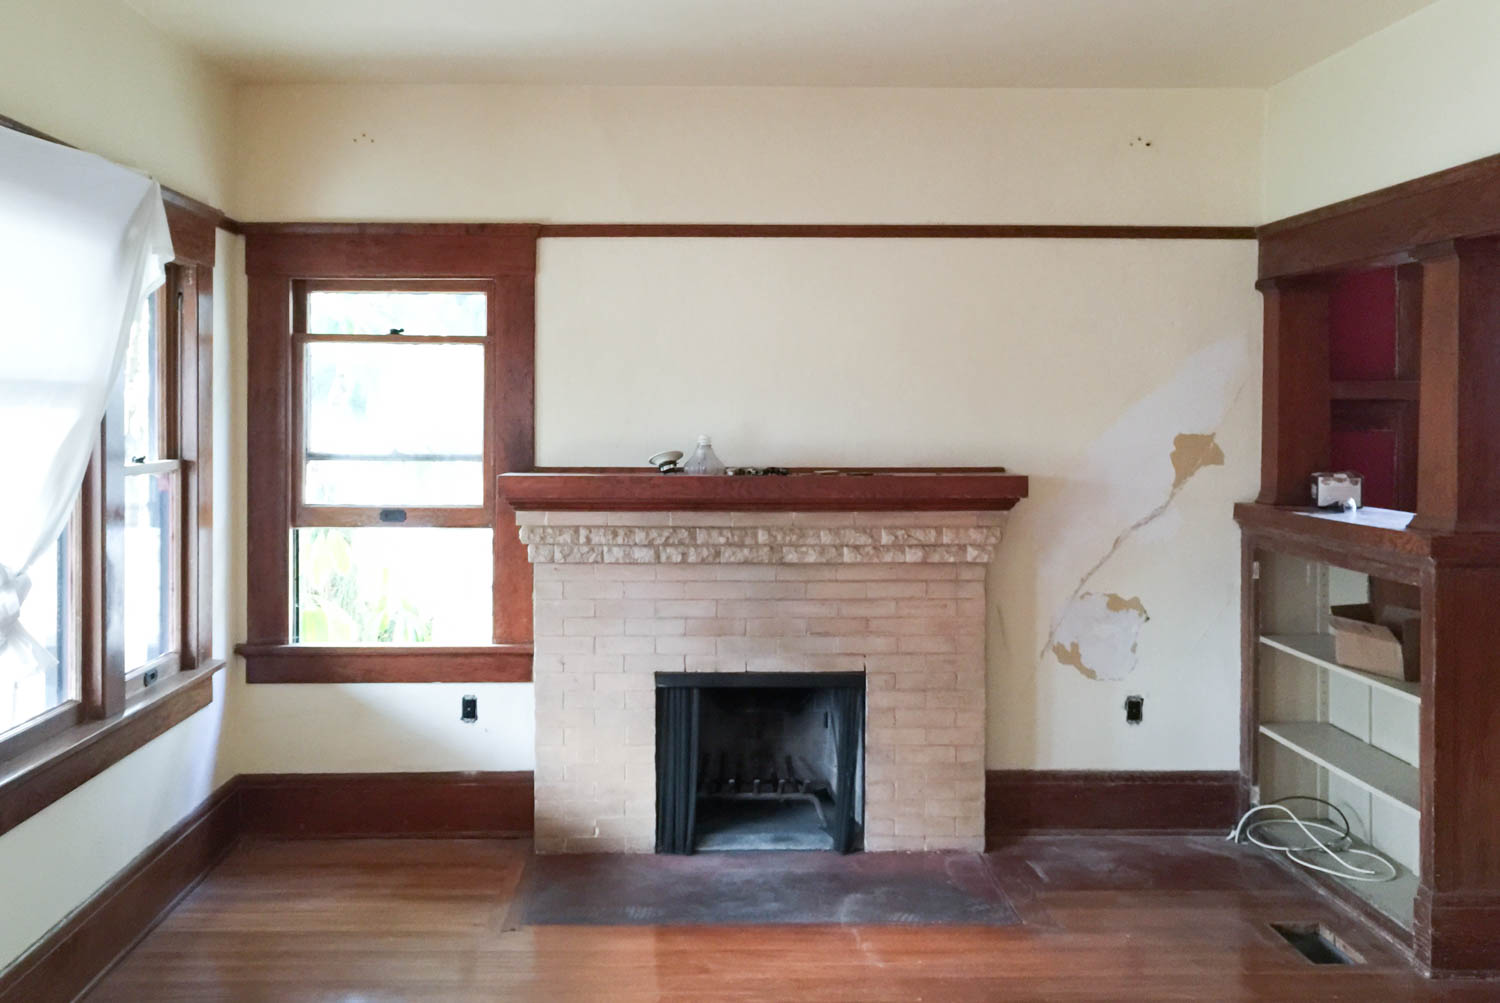
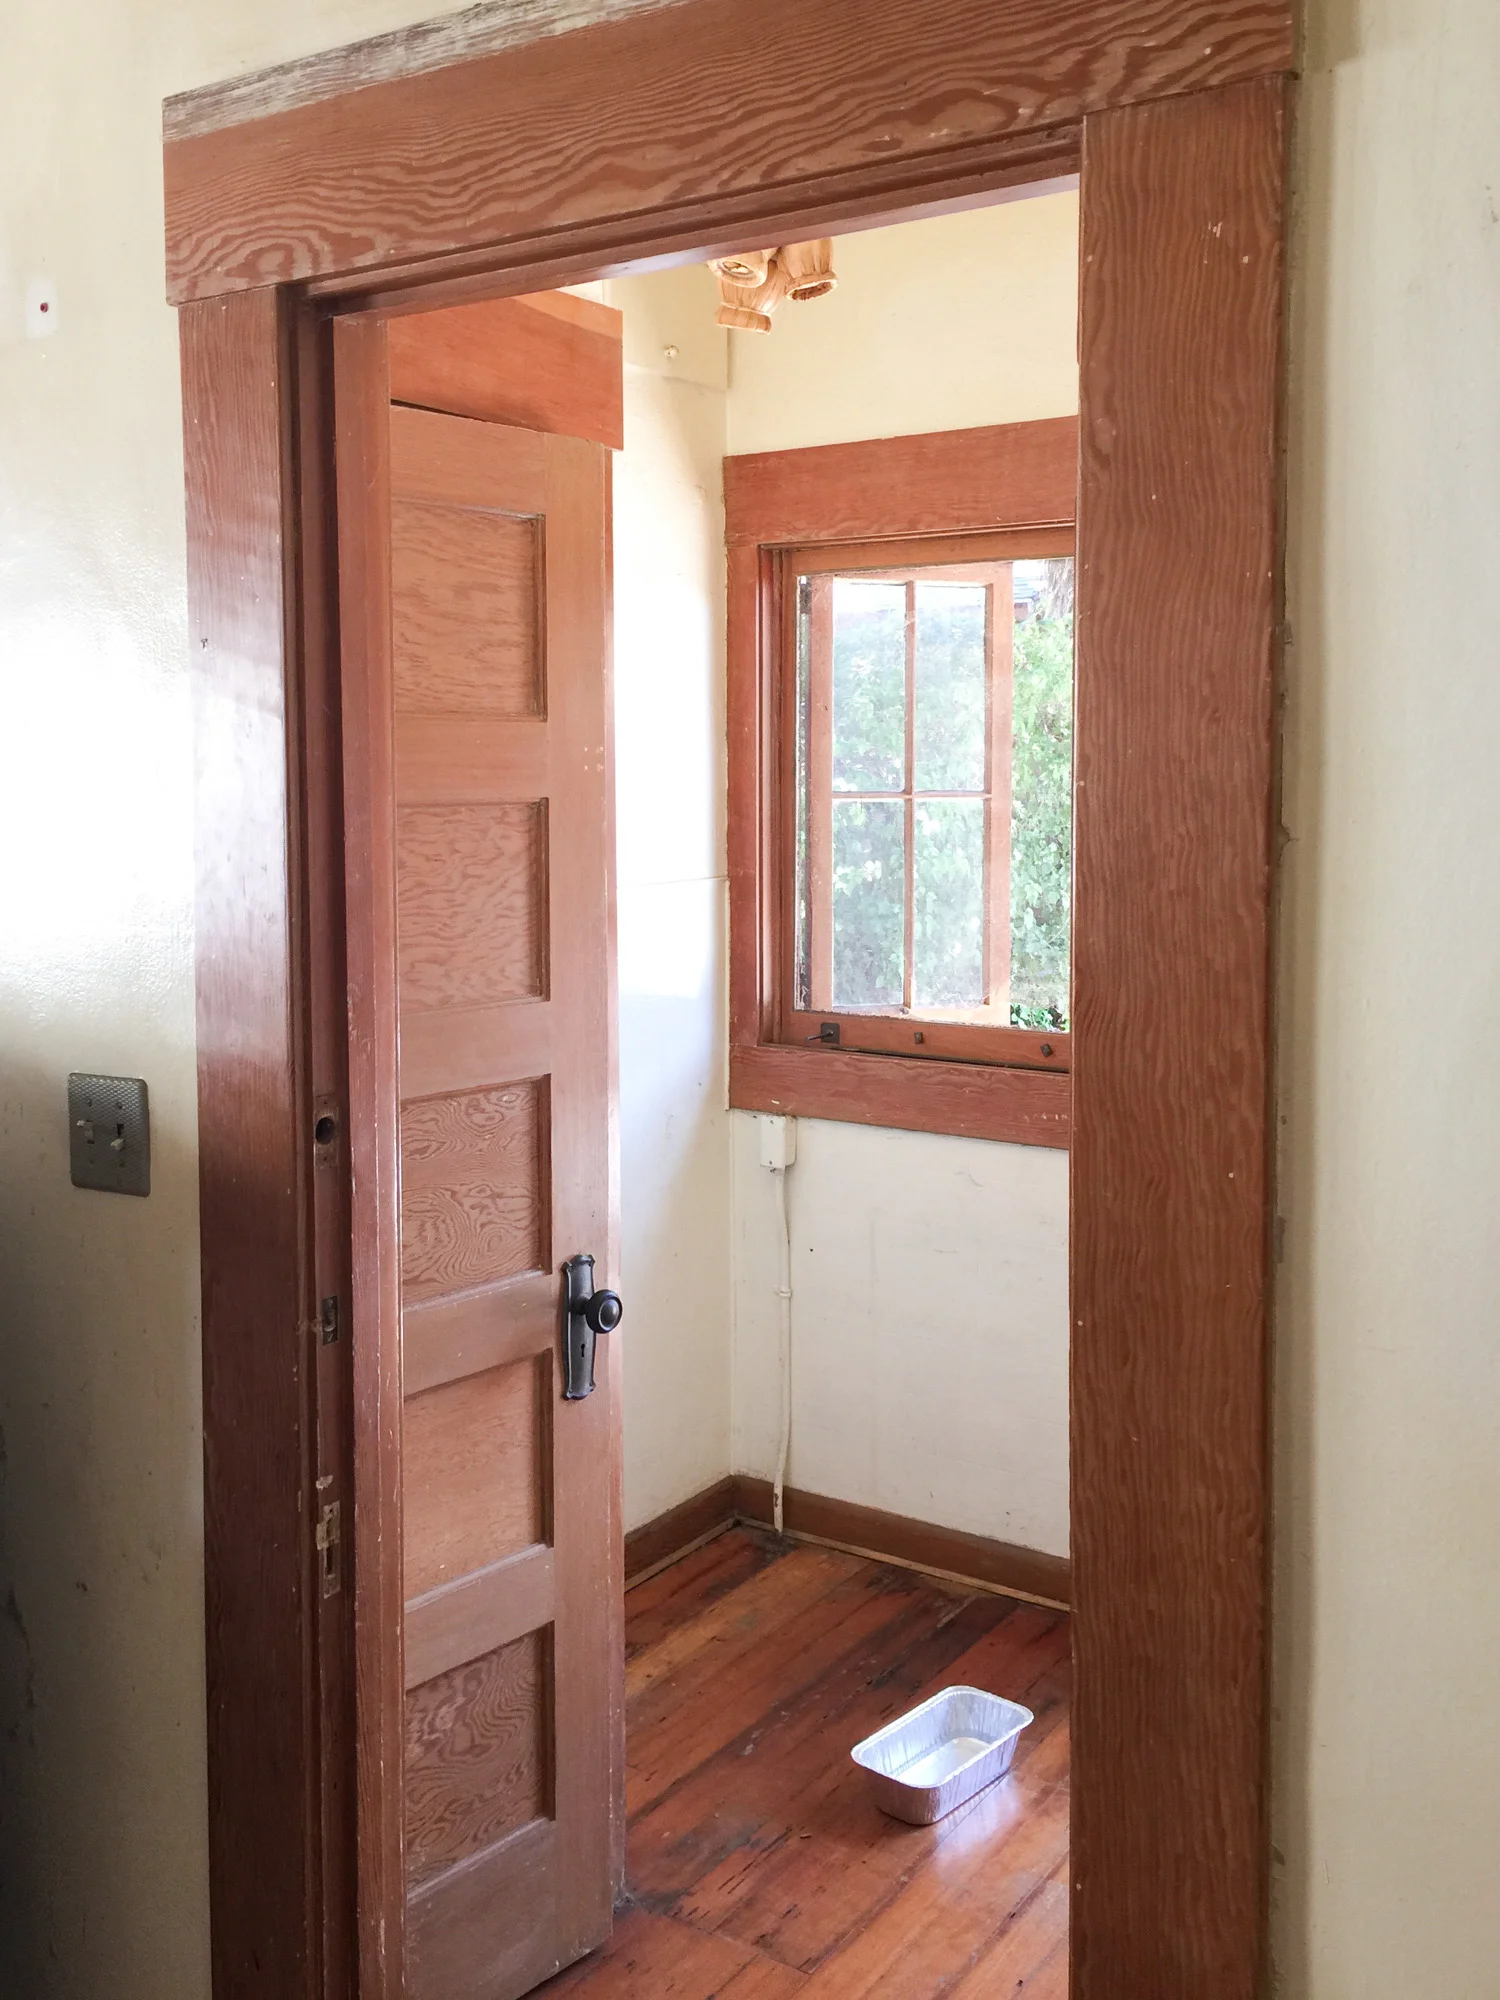
I had loads of inspiration and lists of paint colors that had been used successfully in multiple spaces. I was trying to marry the wall color with the blue velvet couch that I planned for that room to give it a dark-on-dark upgrade without making the room look monochromatic. As a reminder, here's the before, inspiration, and design plan.
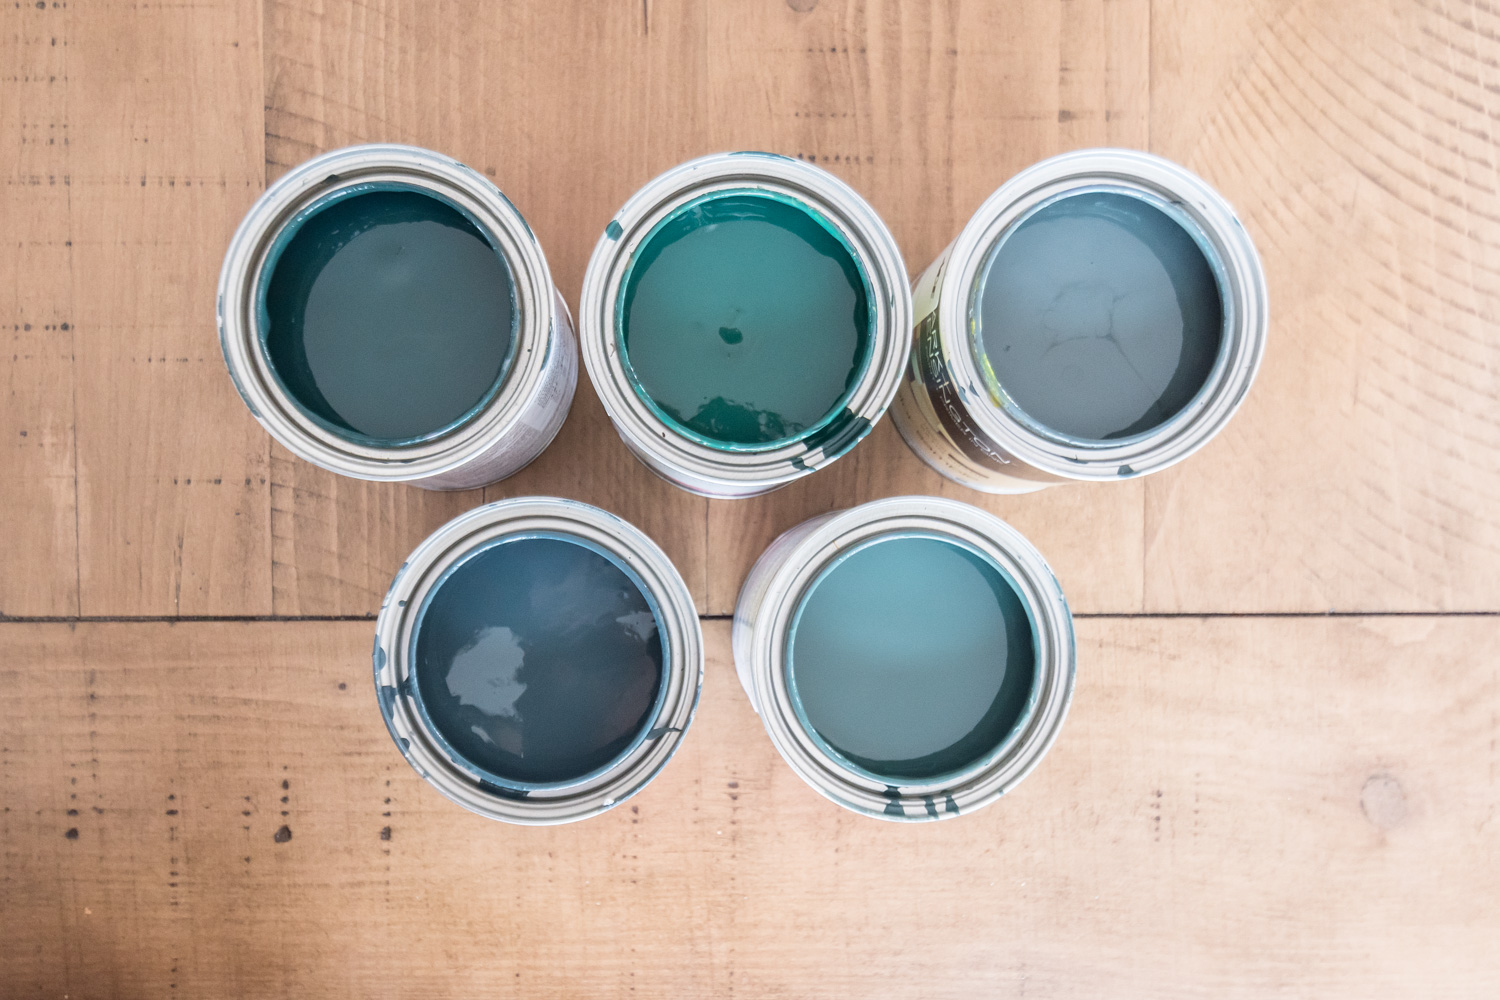
Clockwise from upper left we have Salamander by Benjamin Moore, Hunter Green by Benjamin Moore, Pine Grove by Clark + Kensington, Tarrytown Green by Benjamin Moore, and Narragansett Green by Benjamin Moore.
I painted swatches on the back of a foam core presentation board, since I already had it on hand (I use it as a reflector for photos) but you could instead buy the paint sample boards at the paint store. I was quick to rule out a few colors, then painted my favorites on the wall. By the end, Salamander won our vote.


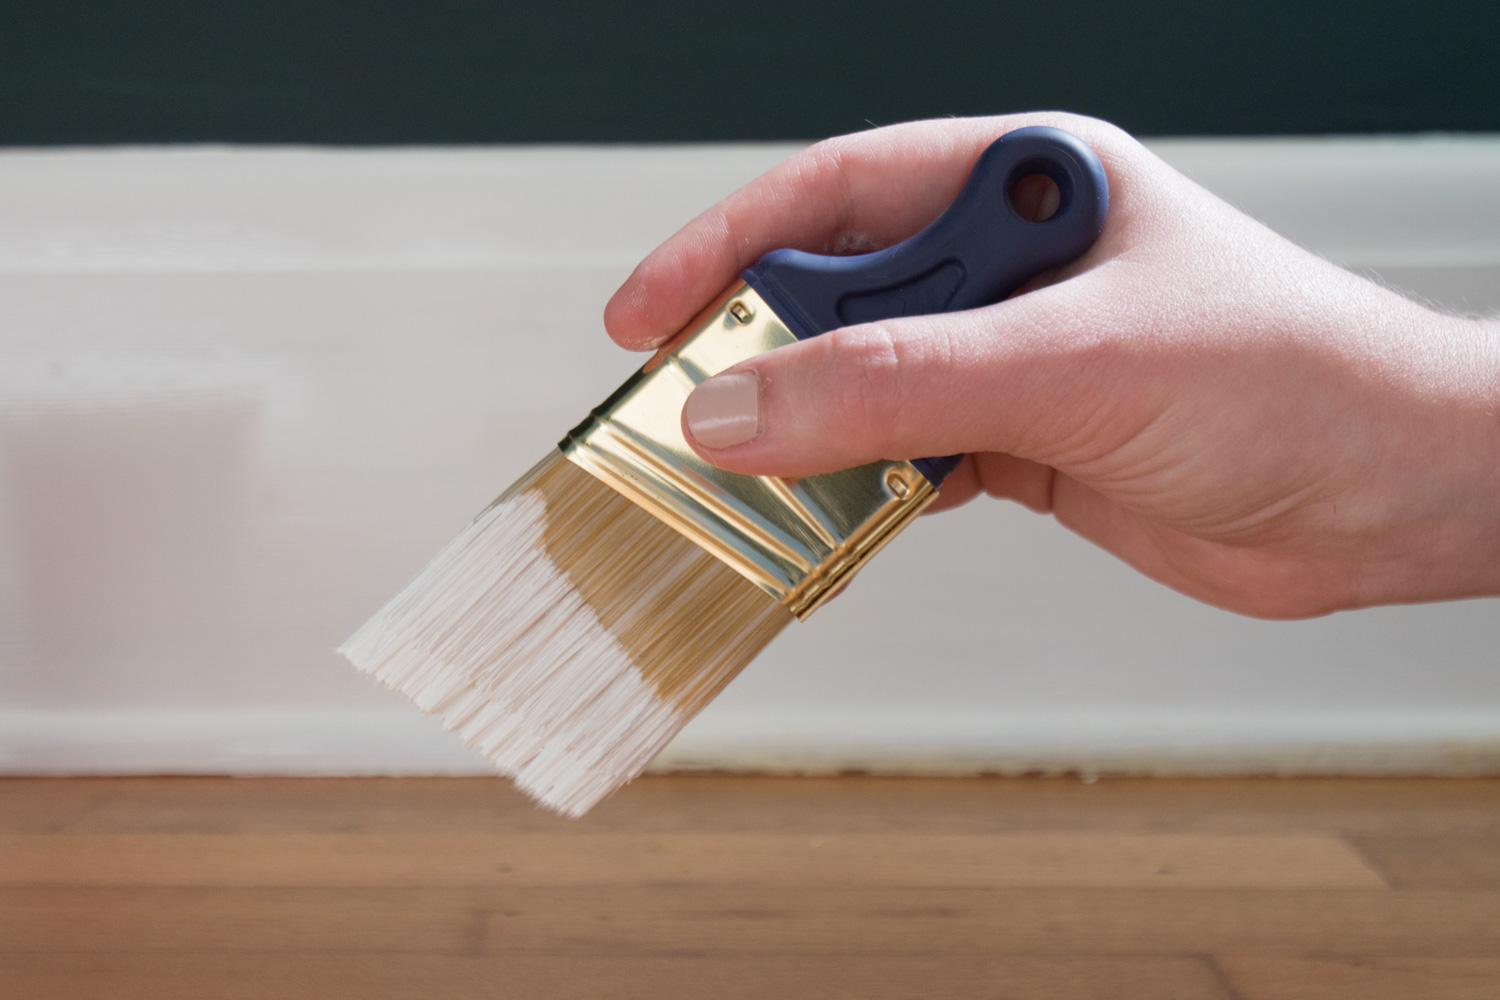
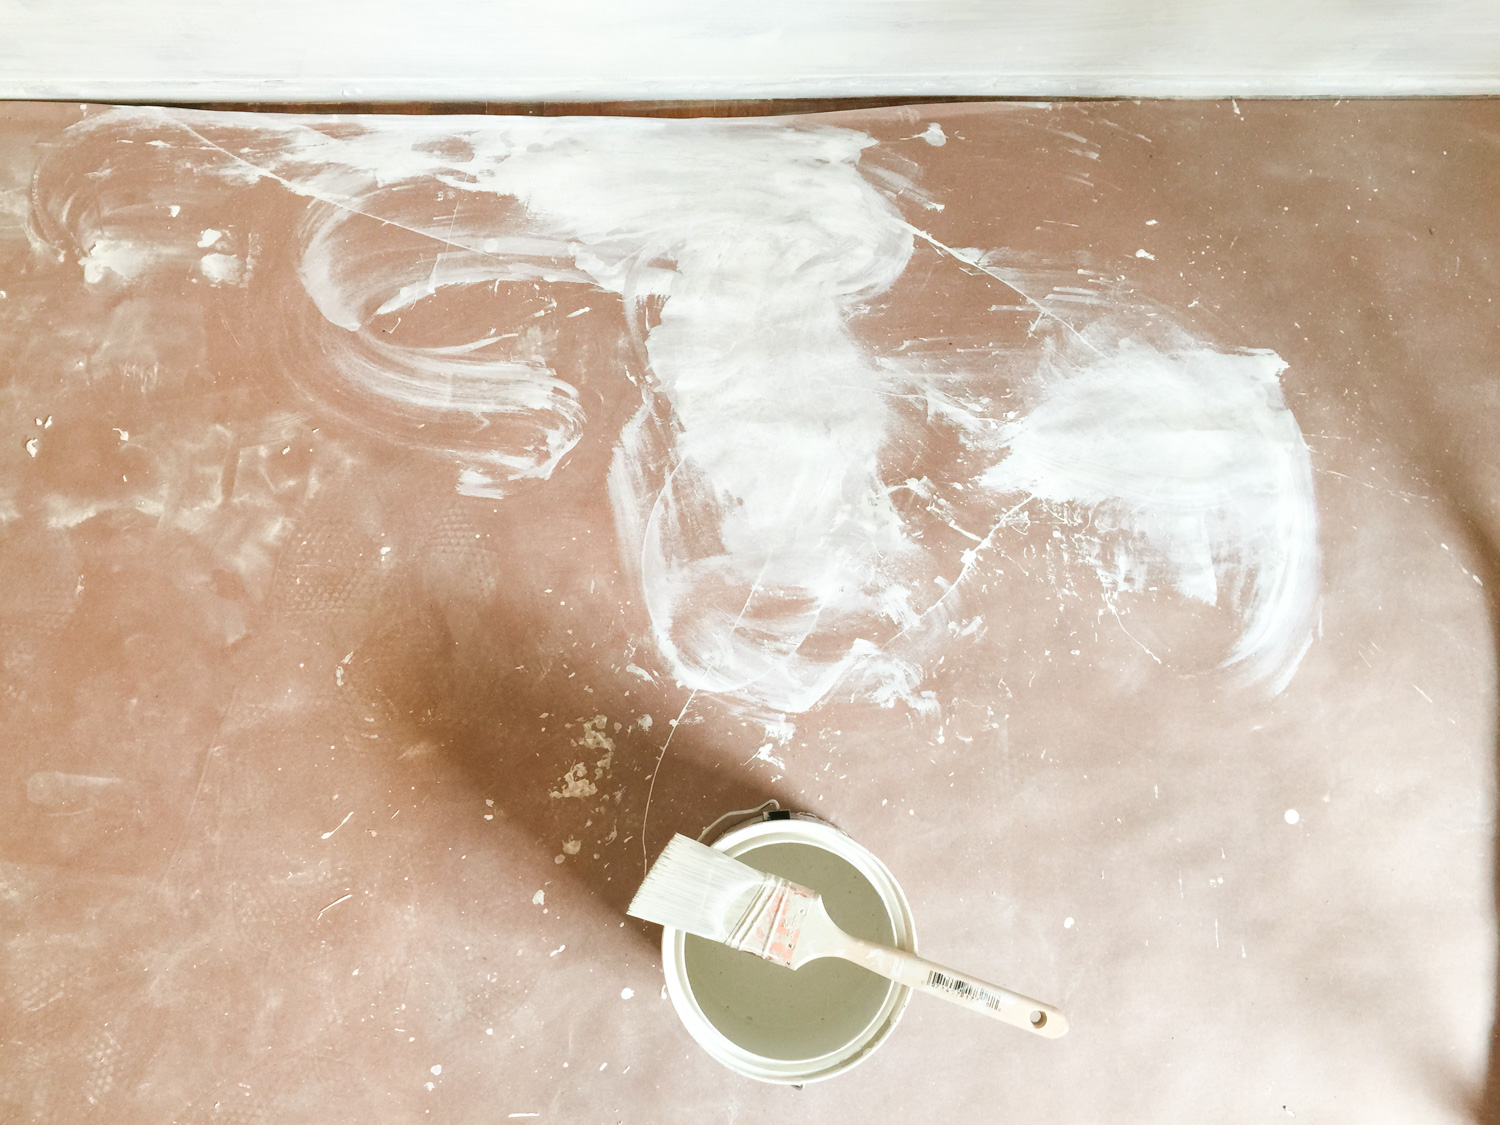
While rolling on the paint in broad strokes provides immediate satisfaction, my painting specialty is cutting in the edges. I don't use blue tape to get crisp edges, rather a steady hand and some trusty tools.

I use the HANDy Paint Cup whenever painting edges, when I need to be more mobile than a gallon of paint allows, or when I'm working with small amounts of paint. This convenient tool fits in your hand, has a magnet to hold the brush, and cleans up so easily (just let the paint dry in the cup, then peel it off - so satisfying!).

The Wooster Shortcut paint brush is perfect for cutting in. I'll use almost any 2" angled brush for the job, but this lil' one is so comfy with its rubber handle.
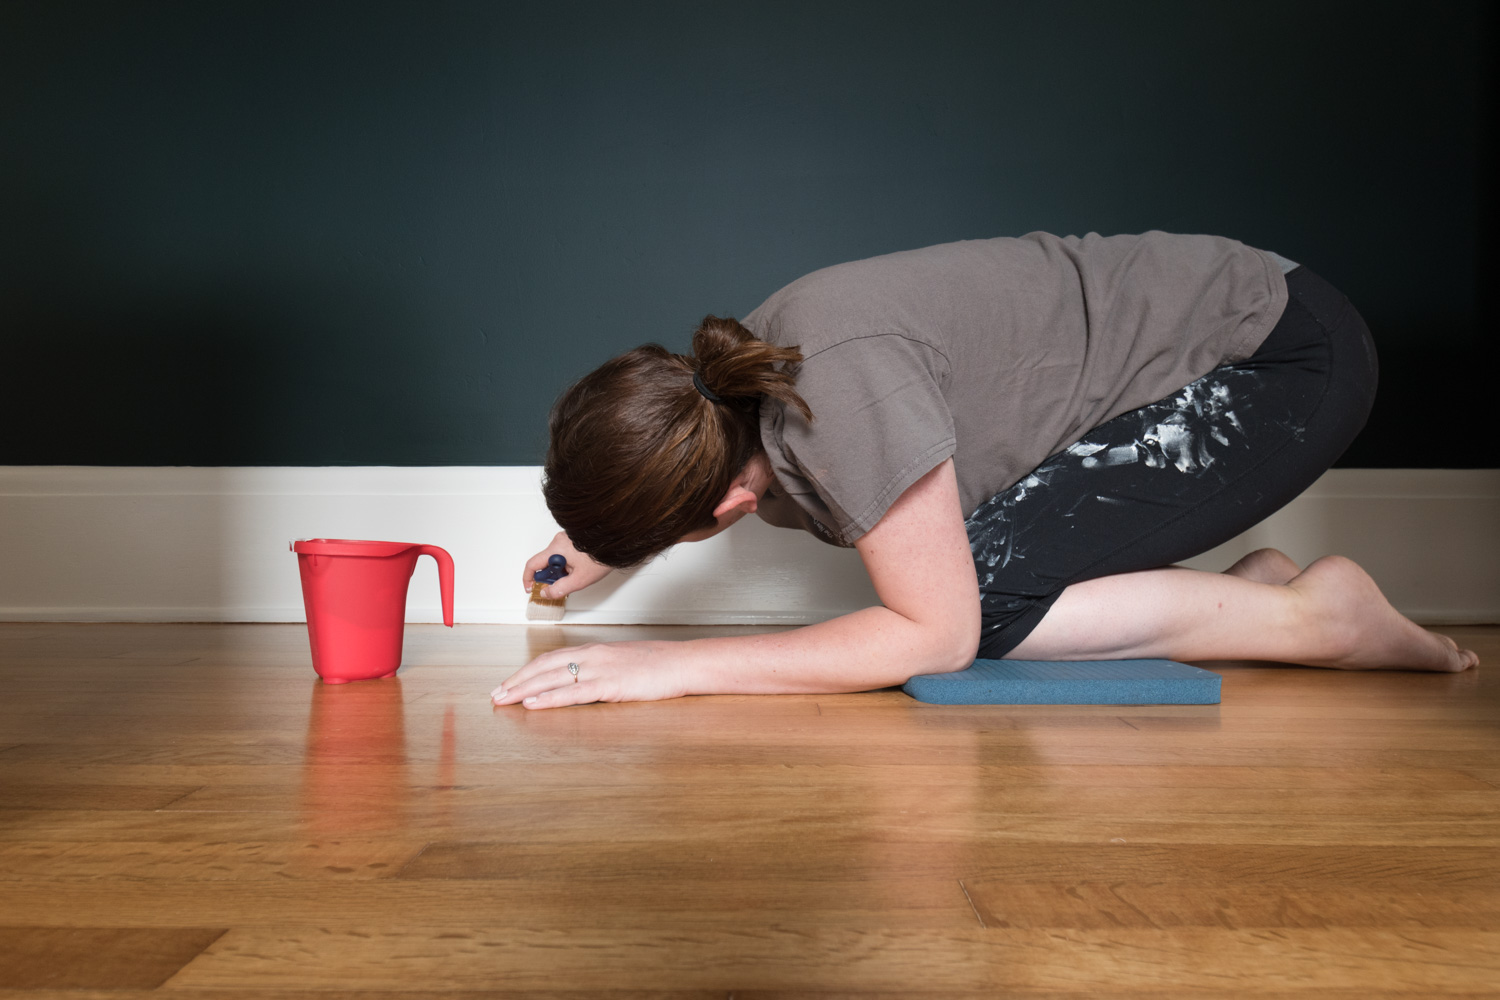
When scooching around on the floor to paint the edges on the baseboard, a kneeling pad is a must. I use it for gardening, painting, tiling, etc. While I don't think you'll find this crouched painting position recommended on HGTV, it works for me.

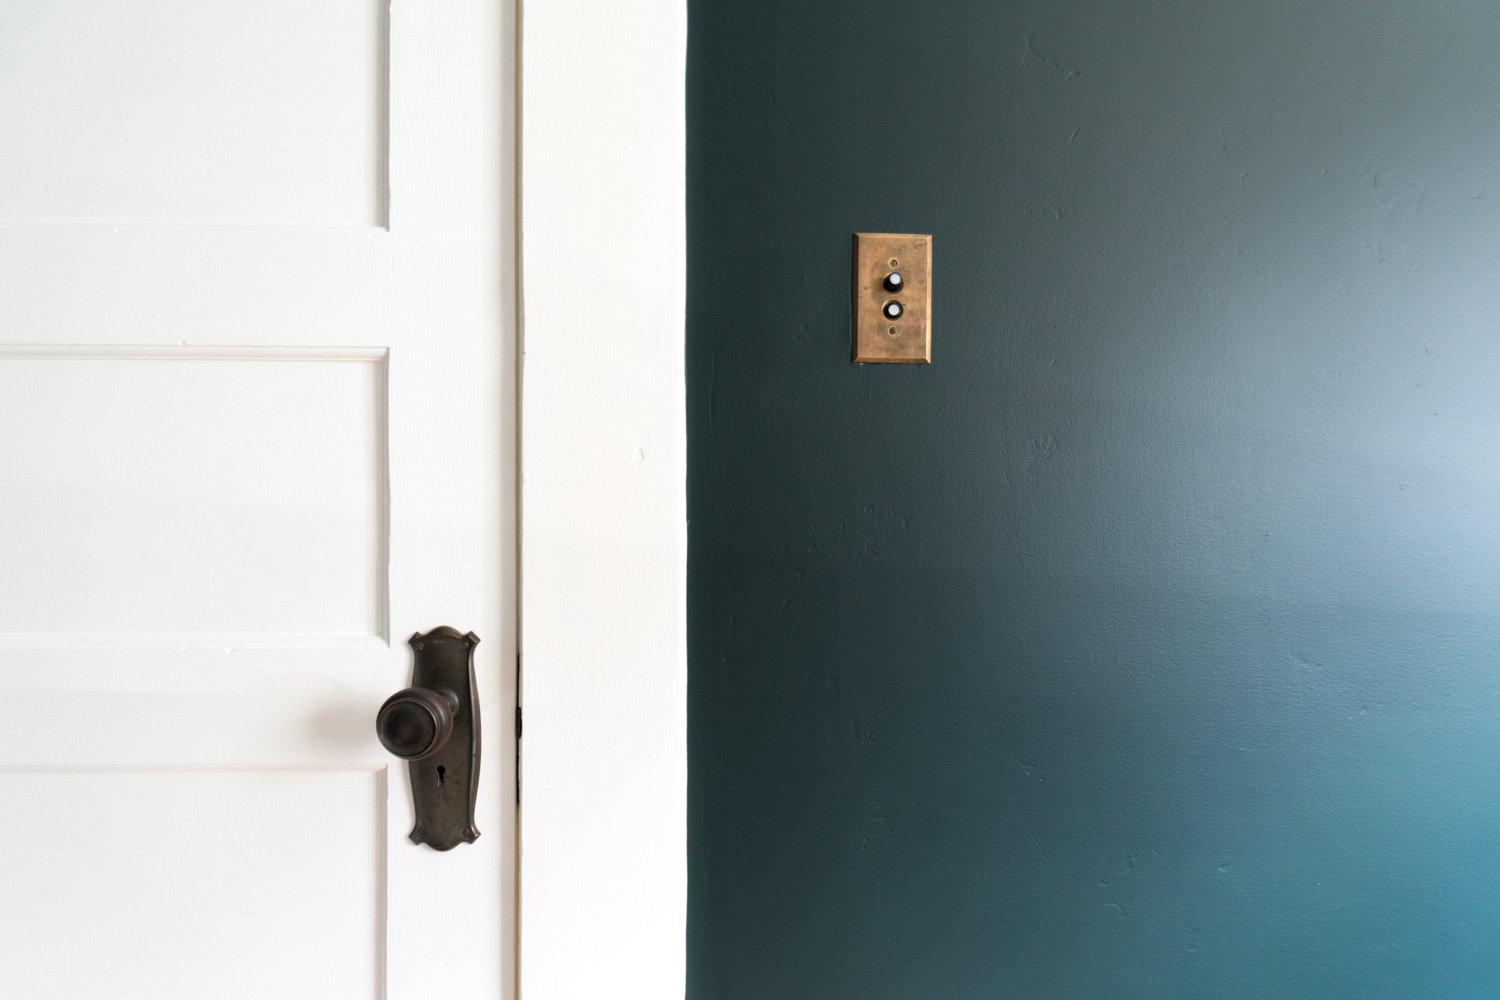
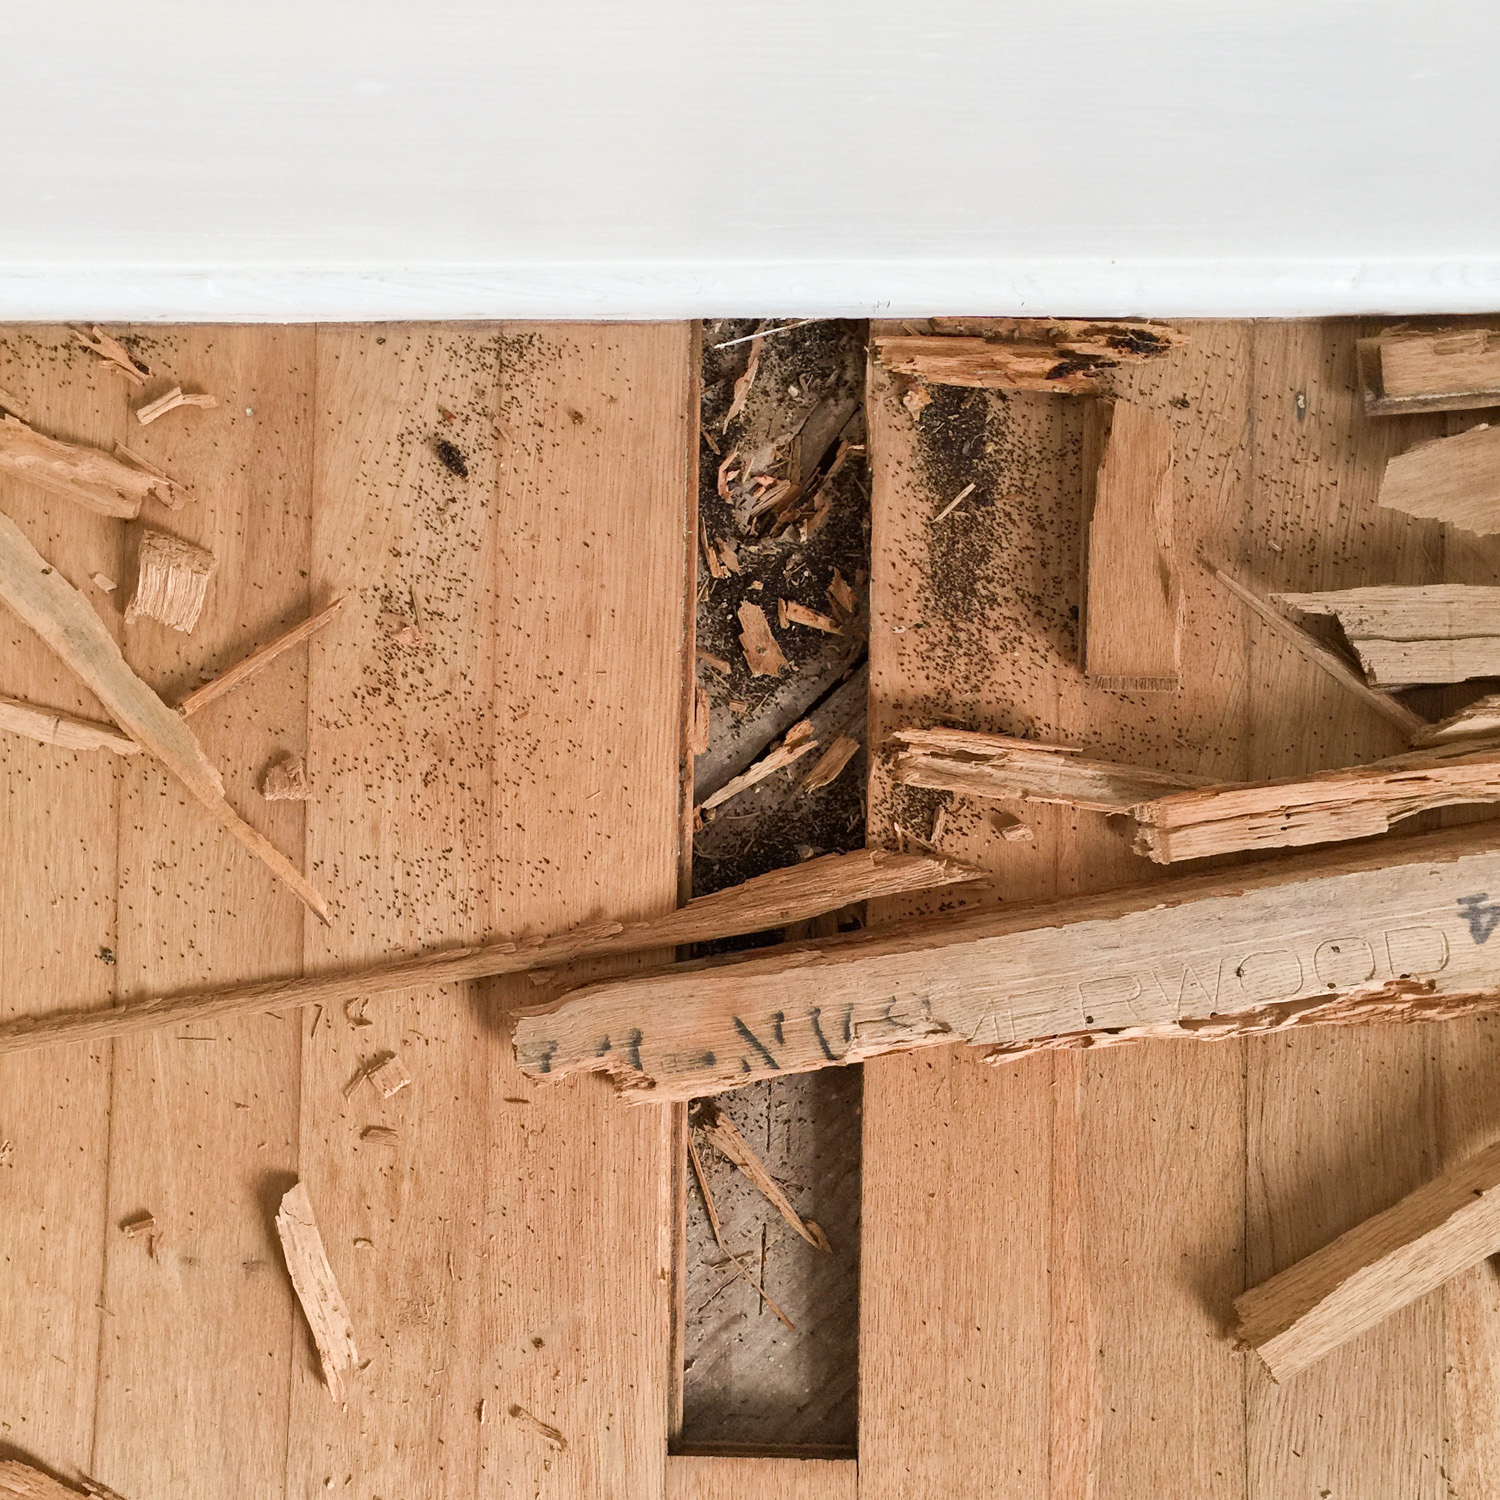
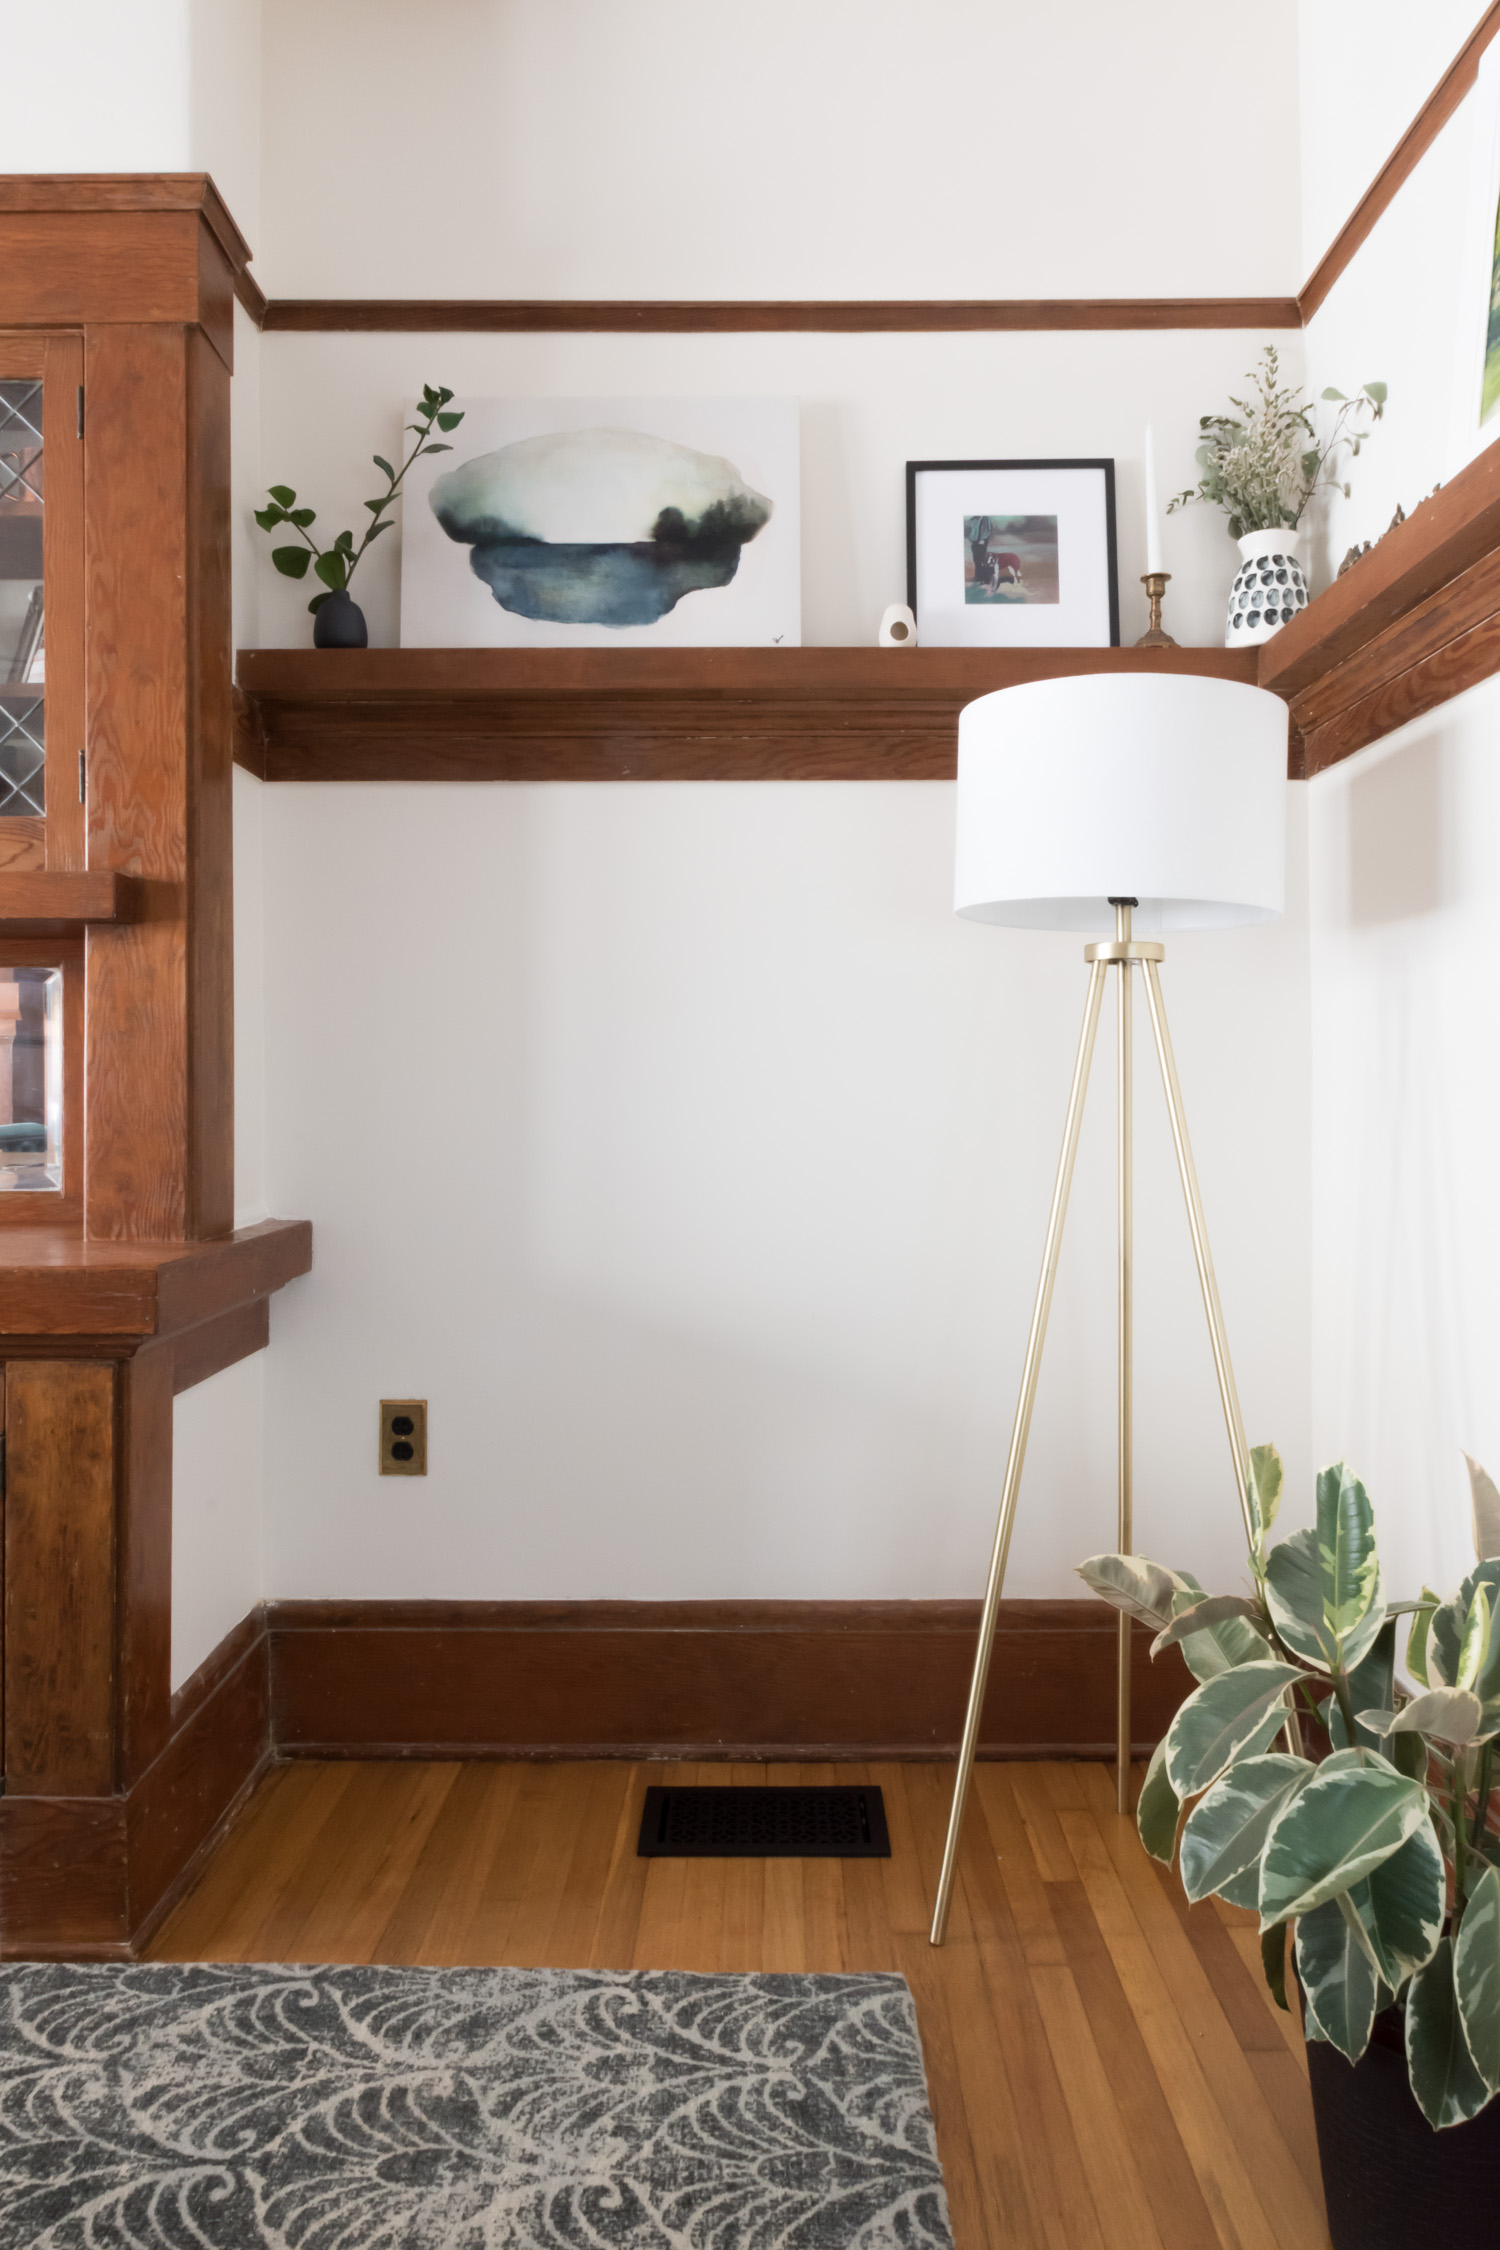
In addition to the walls needing a couple of coats of paint, the baseboards hadn't been touched since before the floors were refinished. They were scuffed up from the sander and I just left them like that for two years. A nice coat of Benjamin Moore's Simply White was all they needed to look their best. The baseboard, three doors, and a window all needed some paint love. Lucky for me, I had the S-Town podcast to keep me company during the hours and hours of painting.
After a weekend's worth of cutting in, I'm swooning over the freshly painted room. The green is so pretty and has a velvety look when the light hits it mid-day. At night, it's nearly black - which is just what I was going for.


Next week, I'm tackling the picture rail moulding installation! Come back over the next few weeks as this room gets a total overhaul. Don't forget to admire the work of the featured and guest bloggers participating in the One Room Challenge!
If you're here because of the One Room Challenge, I hope you'll subscribe to the blog to get future blog posts in your email! Be sure to follow along on Instagram, too!
One Room Challenge progress:
Week 1 - the before, the inspiration, and the plan
Week 2 - paint, paint, paint
Week 3 - how to install picture rail molding
Week 4 - sourcing the artwork
Week 5 - refreshing a chair
Week 6 - the reveal!


Margot is getting an upgraded room to make space for baby sister in the nursery.
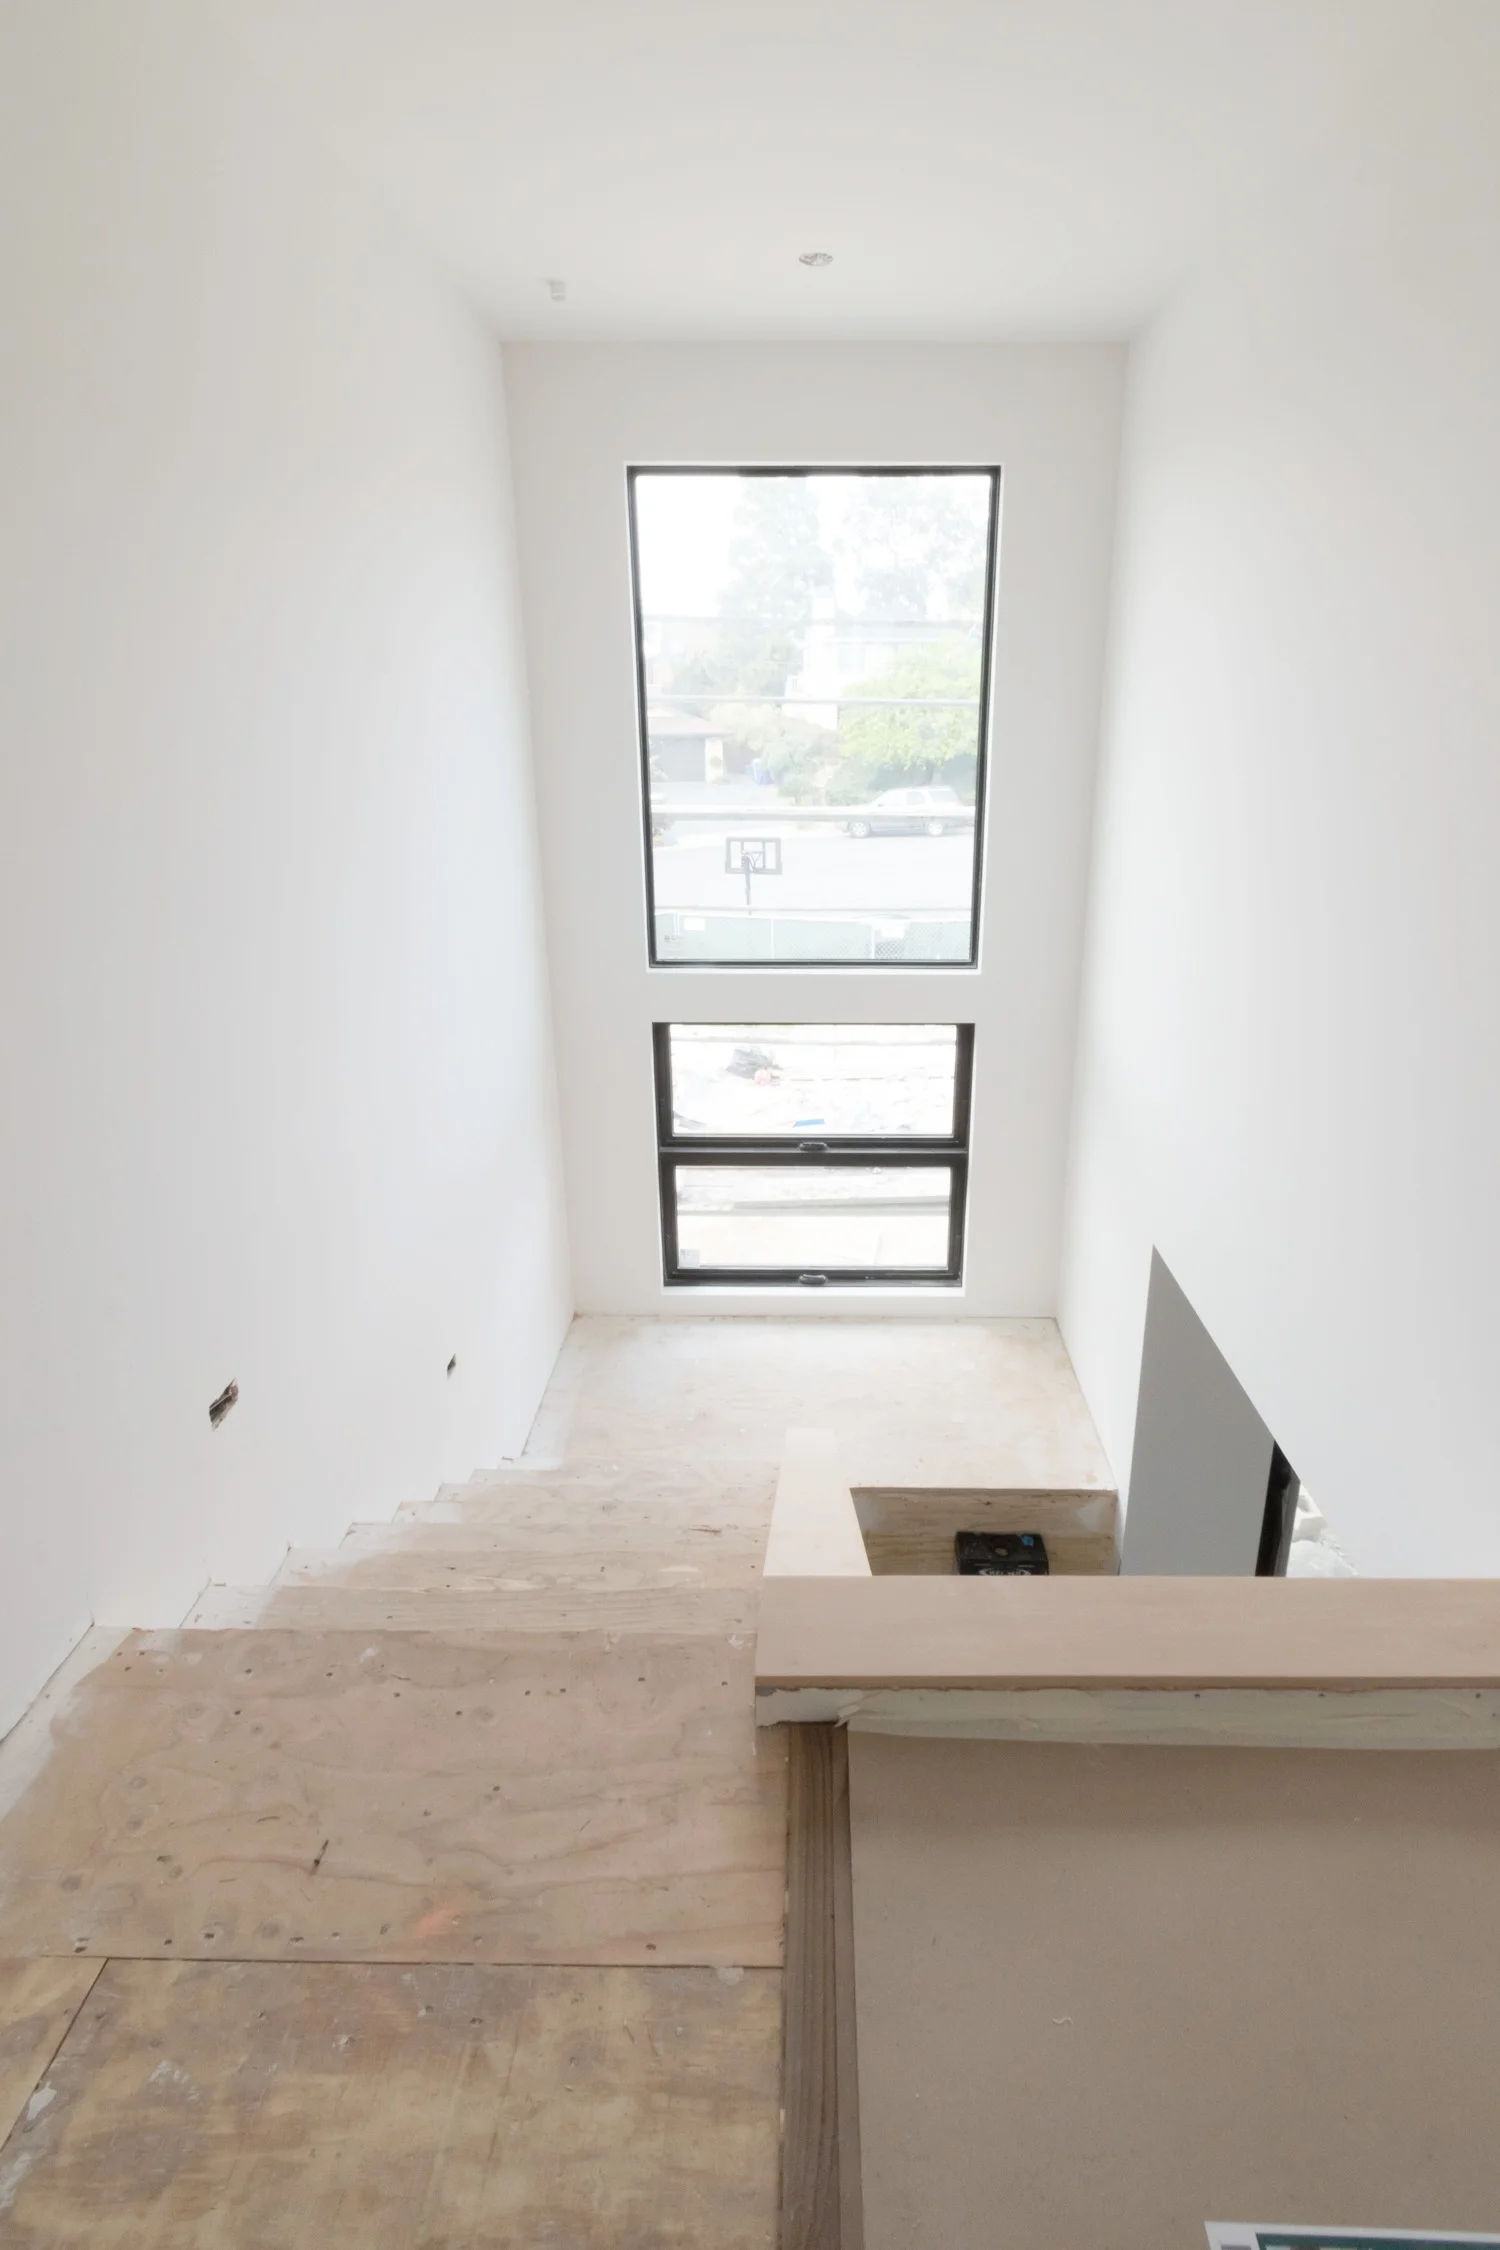
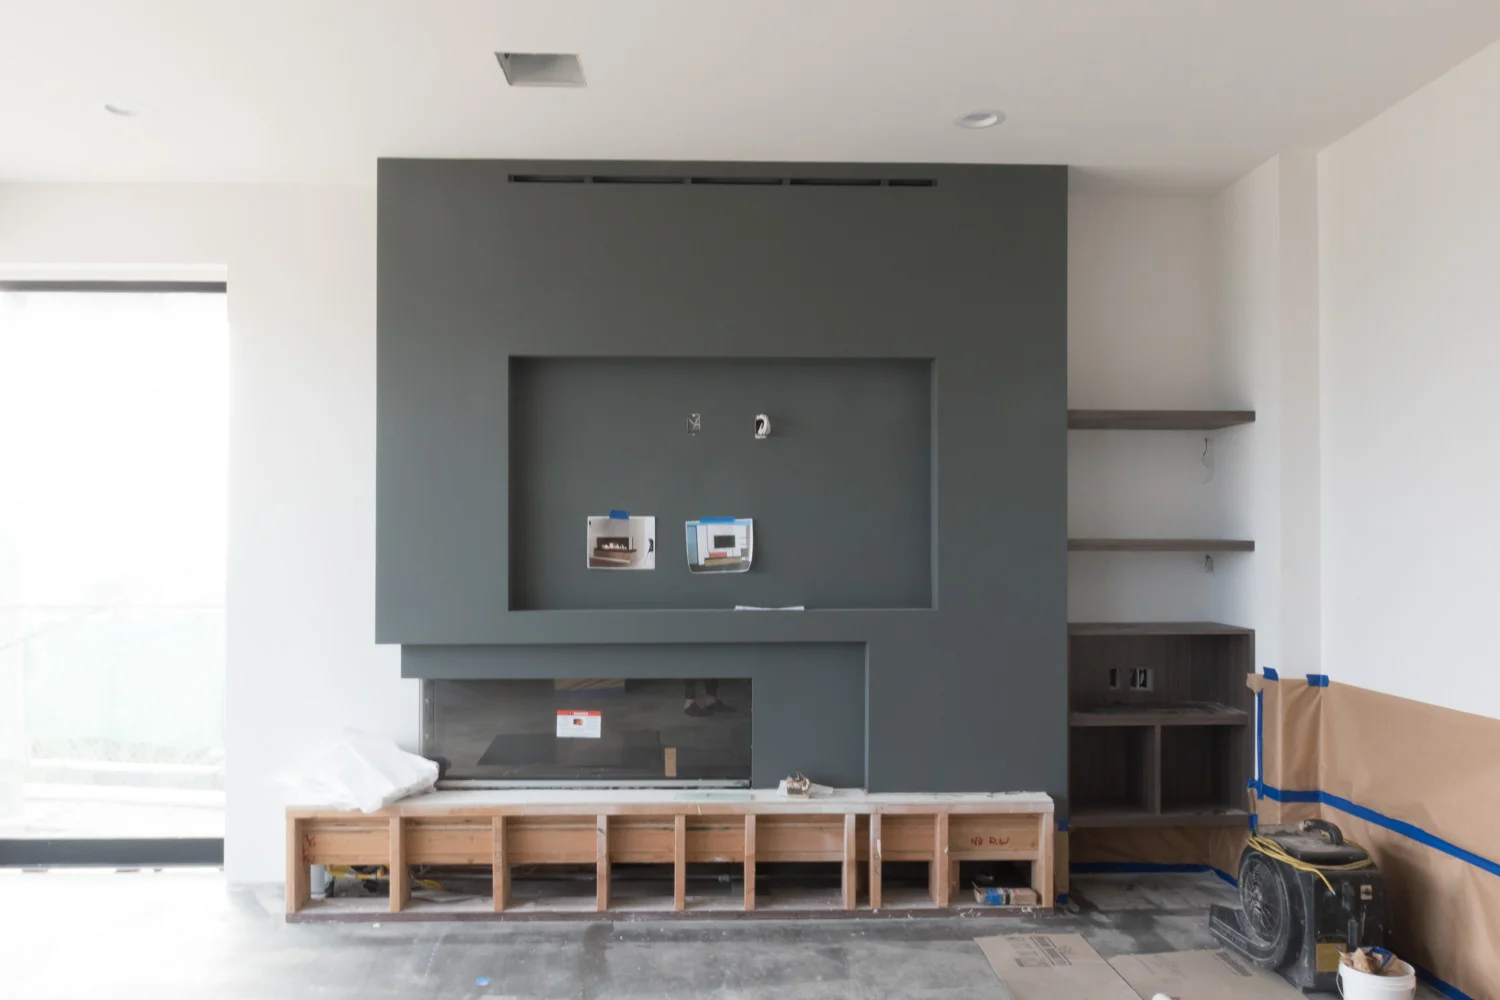
With an additional family member, we want to shuffle the rooms of our 3-bedroom house around. The one off the living room was being used as my home office, so now it’s time to convert it into an actual bedroom. The initial thought was to give this room to baby sister and keep Margot in her room. But we ultimately decided to put the baby in the room designed to be a nursery, then convert the home office into a space designed for a bigger kid. Plus, the office has more windows, and is right off the living room (Margot’s playroom) so it’s better suited for all the daytime play, whereas the single-window nursery is cozier for lots of daytime naps.