One Room Challenge Week 2 - Preparing for a Bold Wall Mural
/Welcome to week two of the One Room Challenge!
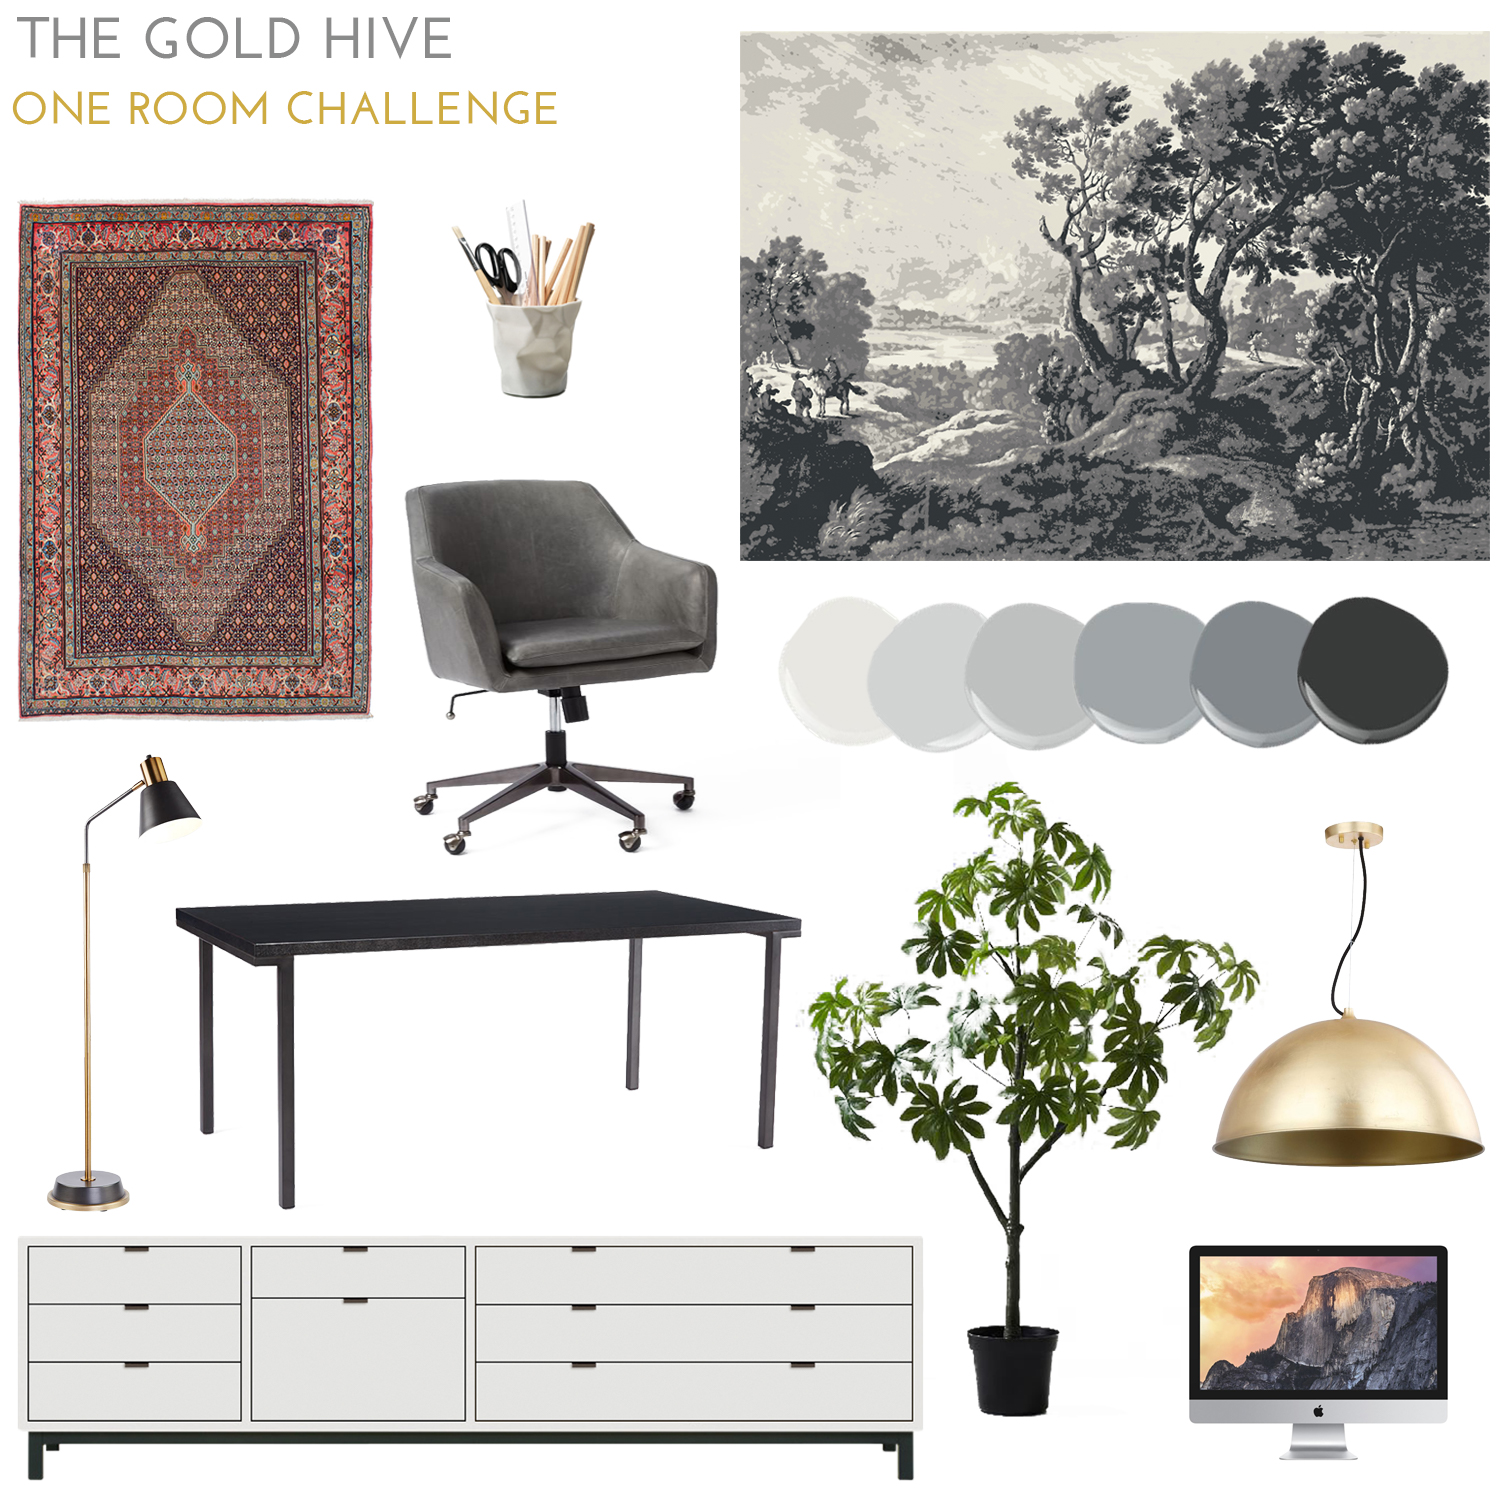
If you're just tuning in, I'm Ashley and I'm in the beginning of transforming the home office of our 1915 craftsman bungalow in San Diego. Take a look at the plans which include a new layout, storage, lighting, furniture, and most importantly, a pretty cool mural! For a refresher, here's where we're headed.
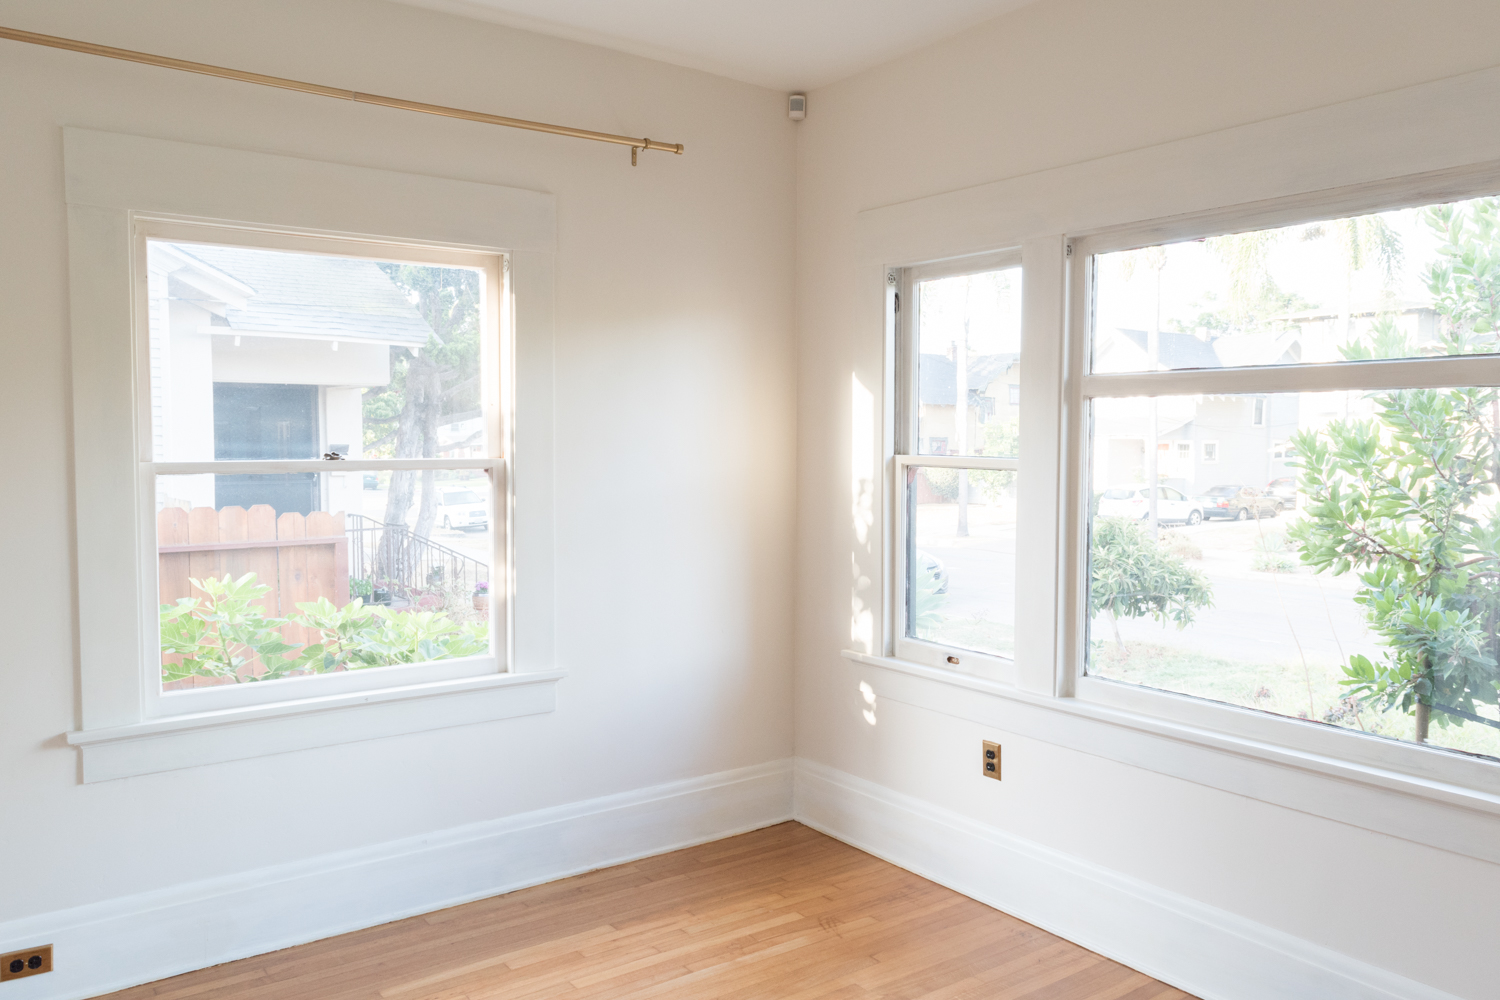
Week two is often pretty slow going - these last few days were all about preparing for the statement wall treatment. It's true when they say, "prep is the most important part of painting." It took a couple of days to sand, patch, prime, caulk, patch again, prime again, and finally, clean up. It already feels like a transformation, and we're only on the priming stage!
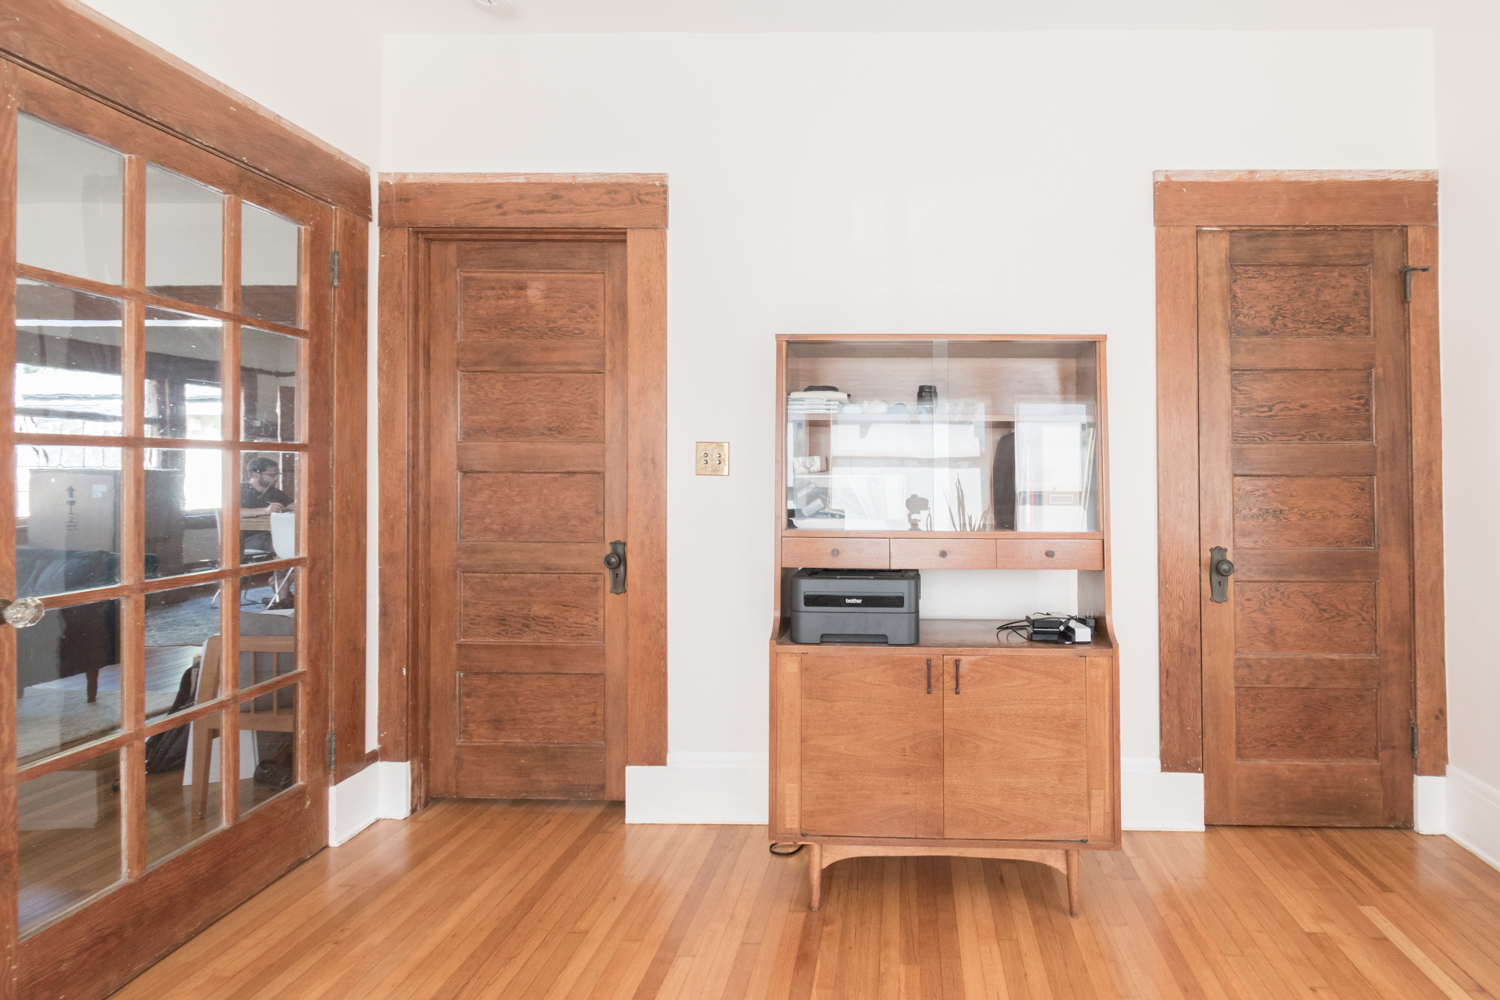
All this effort was put into the trim to give it new life. For anyone concerned about painting the woodwork, take a look at my logic here.
To see what I've been up to this past week, scroll through below. Note, it isn't dissimilar from watching paint dry.
First, I used a coarse grit sandpaper on my orbital sander to knock down the existing finish and remove the splinters.
The sander worked wonders for evening out the texture (I meant it when I said there were splinters on the interior woodwork). Shaving off the finish also gives the primer solid wood to grab hold of.
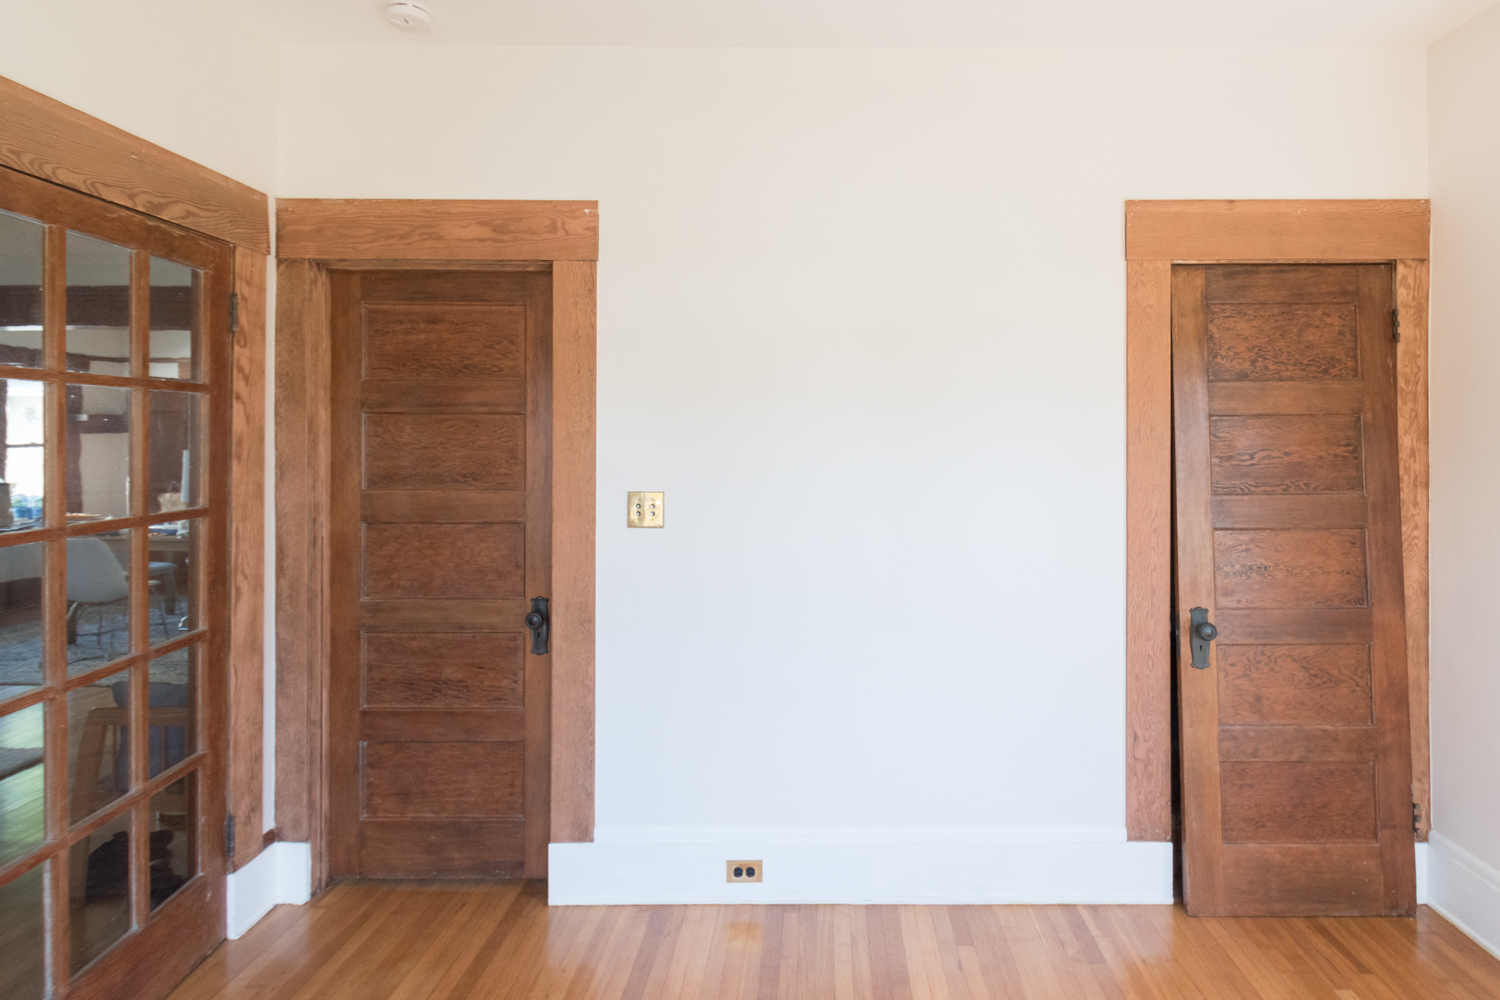
I only sanded the door casings because the doors are in great shape, even though the trim was rather unfortunate. The baseboards were already painted. To get an idea of the state of the wood and how I decided to paint it, check out this post.
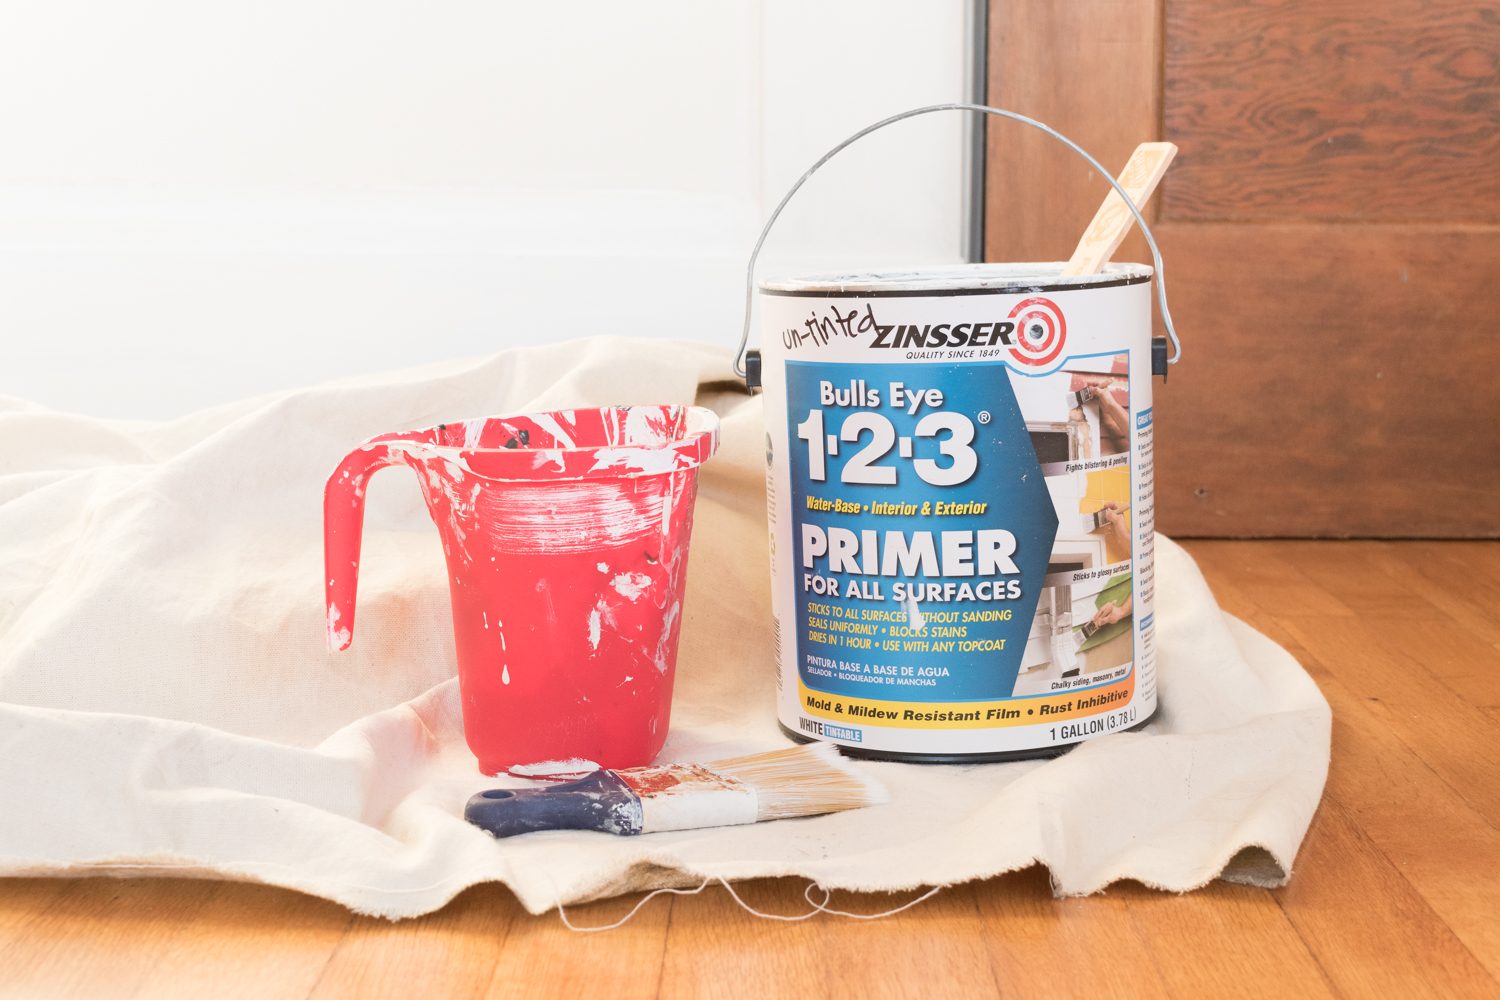
After sanding, I followed up with my go-to primer, my go-to paintbrush, and my go-to paint tool.
There were oodles of gouges in the wood and nail holes to fill. Some like to fill these gaps before priming, but I like how a thin coat of white paint helps to show each of the imperfections needing patches.
I like to use this putty. It's really easy to control and doesn't need sanding, but does require a long dry time (24-48 hours). My favorite caulk works wonders and can be painted in 30 minutes. My tip for caulking is to use a small container with water and a few paper towels for cleaning up messy fingers, and for dipping into for a smooth swipe along the bead of caulking.
After patching the holes, I did another layer of primer to be extra prepared. And I mean, once you're in your painting clothes, why bother stopping?
For more painting tips and tools, I always have a kneeling pad, a sturdy step ladder, two drop cloths (one for sliding around as I move throughout the room and one for keeping all of the supplies), an interchangeable screwdriver for removing hardware, clean paintbrushes for dusting, a can of LaCroix (can you spot it in the above photo?), stir sticks, and most importantly, a device for playing podcasts and tunes.
The reason the trim blends into the walls is that I used leftover primer from when I painted these walls. I had it tinted to the wall color (hot tip!) so the window casing isn't exactly popping off the wall right now. Not yet, at least!
Yep, that's a GoPro. Prepare yourself for a timelapse of the mural application!
Just look at how happy those doors are surrounded by a crisp blanket of white paint rather than neglected woodwork.
For a satisfying step-by-step, click through these images below.
All of this was laborious and not a wildly dramatic transformation, but it's a necessary step to get to a blank state before applying those 8 shades of grey to the walls. Come back next week for some mural progress!
If you're tuning in via the One Room Challenge and want to stay up to date on the progress of this project and see what I have coming in the future, subscribe to get blog posts in your email! Also, follow along on Instagram where I'll share stories of the transformation along the way.
Be sure to check out the featured design participants here and fellow guest participants here, too!
Fall One Room Challenge progress:
Week 1 - the before, the inspiration, and the plan
Week 2 - preparing for a bold wall mural
Week 3 - tricks for creating a perfect wall mural
Week 4 - painting the mural
Week 5 - walls, windows, and shades
Week 6 - IKEA storage hack
Week 7 - the reveal!
Look back at the Spring One Room Challenge:
Week 1 - the before, the inspiration, and the plan
Week 2 - paint, paint, paint
Week 3 - how to install picture rail molding
Week 4 - sourcing the artwork
Week 5 - refreshing a chair
Week 6 - the reveal!

