Three Ways to Add Kitchen Countertop Space On A Budget
/The biggest challenge with many kitchens is a lack of work surfaces. It's a pain to cook without sufficient countertop space, right? Yet, it's easy and inexpensive to DIY a spot to prep and cook. So, I bring you three super simple ways to add custom counters for cheap.
There are oodles of rolling bar cart options like this, this, or this, to give you more space to work, and they are great! Some have additional storage, some have spots for wine bottles, and some have fancy hooks and bars for all of your kitchen needs. But they don't always fit a space perfectly. Sometimes the height doesn't line up with the existing counters, or there's a gap next to the range, or it blocks an outlet. I tried out three different methods to add valuable work surface to a kitchen that has a couple of empty nooks.
1. The Cabinet & Counter
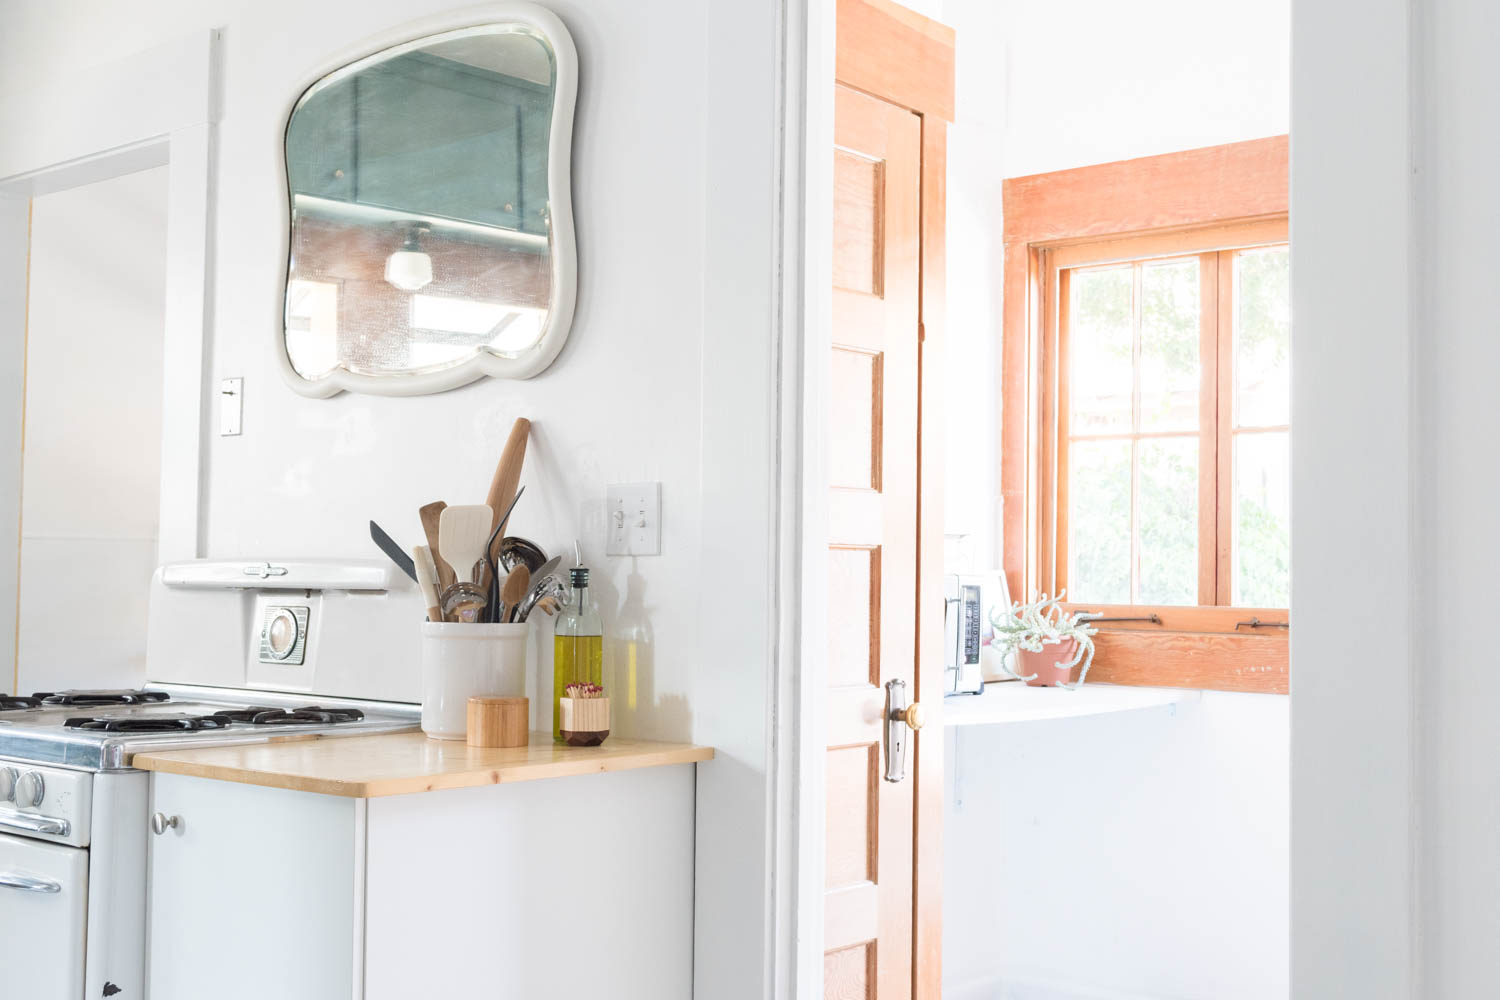
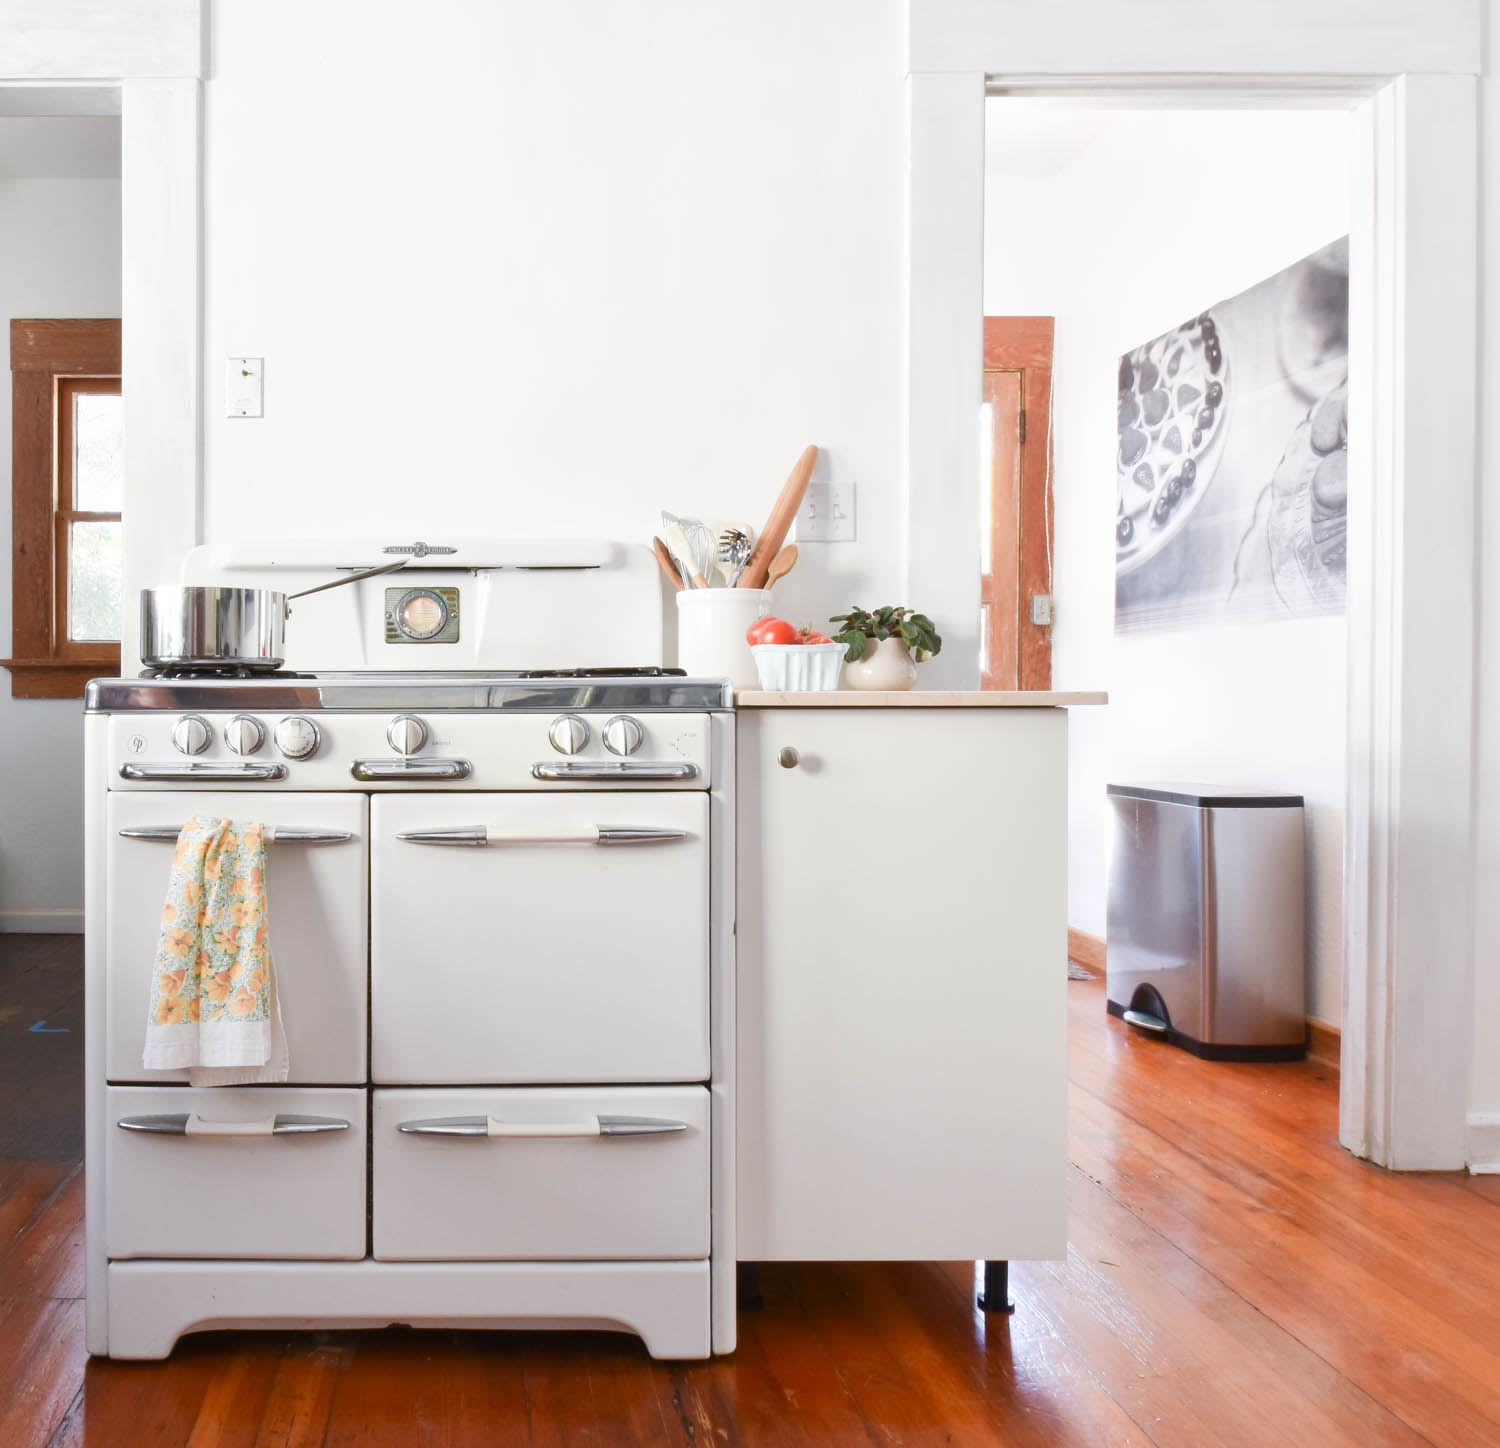
Our range was centered on a narrow wall so we never had a spot to rest our tools or prep. With a few inches on either side of the appliance, the area was the perfect candidate for a new work surface and even some concealed storage. The search for a base cabinet started at Habitat for Humanity ReStore, then Home Depot and Lowe's, but I ultimately found the best size and cheapest option at IKEA. After wiggling the stove over, I had the perfect amount of room to wedge in this 18x24x30" SEKTION base cabinet.
I assembled the base cabinet according to the instructions provided. Instead of using the track system for the full kitchen cabinet installation, I used the components that mount it directly to the wall and supported it with the adjustable cabinet legs.
These cabinets don't come with a countertop, so I made my own. Butcher block was my first choice since wood is easier to work with than stone. However, even the cheapest slabs were too pricy and more material than I needed, so I used this piece of 3/4" pine that works swimmingly. In an effort to get as much surface area as possible, I made the wood overhang by 2” and notched out a spot for the door trim using my trusty jigsaw. I also sanded the corners to match the round profile of the range.
To finish, I coated the pine with food-safe Acrylacq so it could better stand up to the moisture in the kitchen.
Cabinet: $60
Cabinet legs: $6
Countertop: $20
Acrylacq: left over from the concrete countertop project
Total Cost for The Cabinet & Counter: $86
2. The Custom Cleat Counter
The corner of the kitchen had been the home for a small breakfast table, but we never used it. A better use of the space was a long shelf to extend the existing counter. Instead of store-bought brackets (see #3), I used a cleat system. This technique provides strong support and gives the illusion of a floating countertop.
The first step was to identify the wall studs so the cleats would have something strong to sink into. I used my favorite technique from when I installed picture rail molding.
After finding all of the studs, the next step was to screw in lumber along the walls just below the counter. To find the height to screw in the cleats, subtract the thickness of the counter material from the height you want it off the floor. Make your mark, then using a level, draw the guide along all of the walls. It’s important that you make the cleats level so your food doesn’t roll off the counter!
I was lucky to have some scrap lumber, but you could get a few feet of 2x4s and cut them to size. I purposefully left a gap between the cleats so I could feed a power cord through to the top of the counter. It conveniently gets hidden behind the coffee maker.
I cut the pine panel to just a hair bigger than needed, then sanded it down until it was a snug fit. After cleaning up the edges, it got a coat of Acrylacq just like the cabinet counter.
Countertop: $35
Lumber & fasteners: already on hand
Acrylacq: left over from the concrete countertop project
Total Cost for The Cleat Counter: $35
3. The Off-The-Shelf Shelf
I used these brackets with this white melamine board to create out-of-the-way kitchen storage. It's as easy as hanging the brackets in the studs, then screwing the top to them. Simple dimple. We use this counter space to get the microwave out of the main part of the kitchen, store some small appliances, and plop things that are going in and out of the house. It's such a helpful spot to dump stuff, but over time, the board started to sag. See it bowing in the photo? It also started to tilt forward, so we had to reinforce it with some L brackets. Not a big deal, but it certainly doesn't have the floating cleat counter look.
Shelf brackets: $26
Melamine board: $13
L brackets: $6
Total Cost for The Off-The-Shelf Shelf: $45
For a grand total of $166, we gained 10.5 feet of additional counter space (and a few shelves)! While we were lucky to have lots of room to expand, I’m certain that even adding a 6” shelf between the range and the counter in a small space would do wonders. Each of these projects can be done in a weekend and are great for a rental. How would you upgrade the work surface in your kitchen?
To see how I skim coated tiled countertops with concrete and to see more kitchen progress, click here. To follow along with how the rest of the home renovation goes, subscribe!


