One Room Challenge Week 4 - Painting a Foliage-Filled Wall Mural
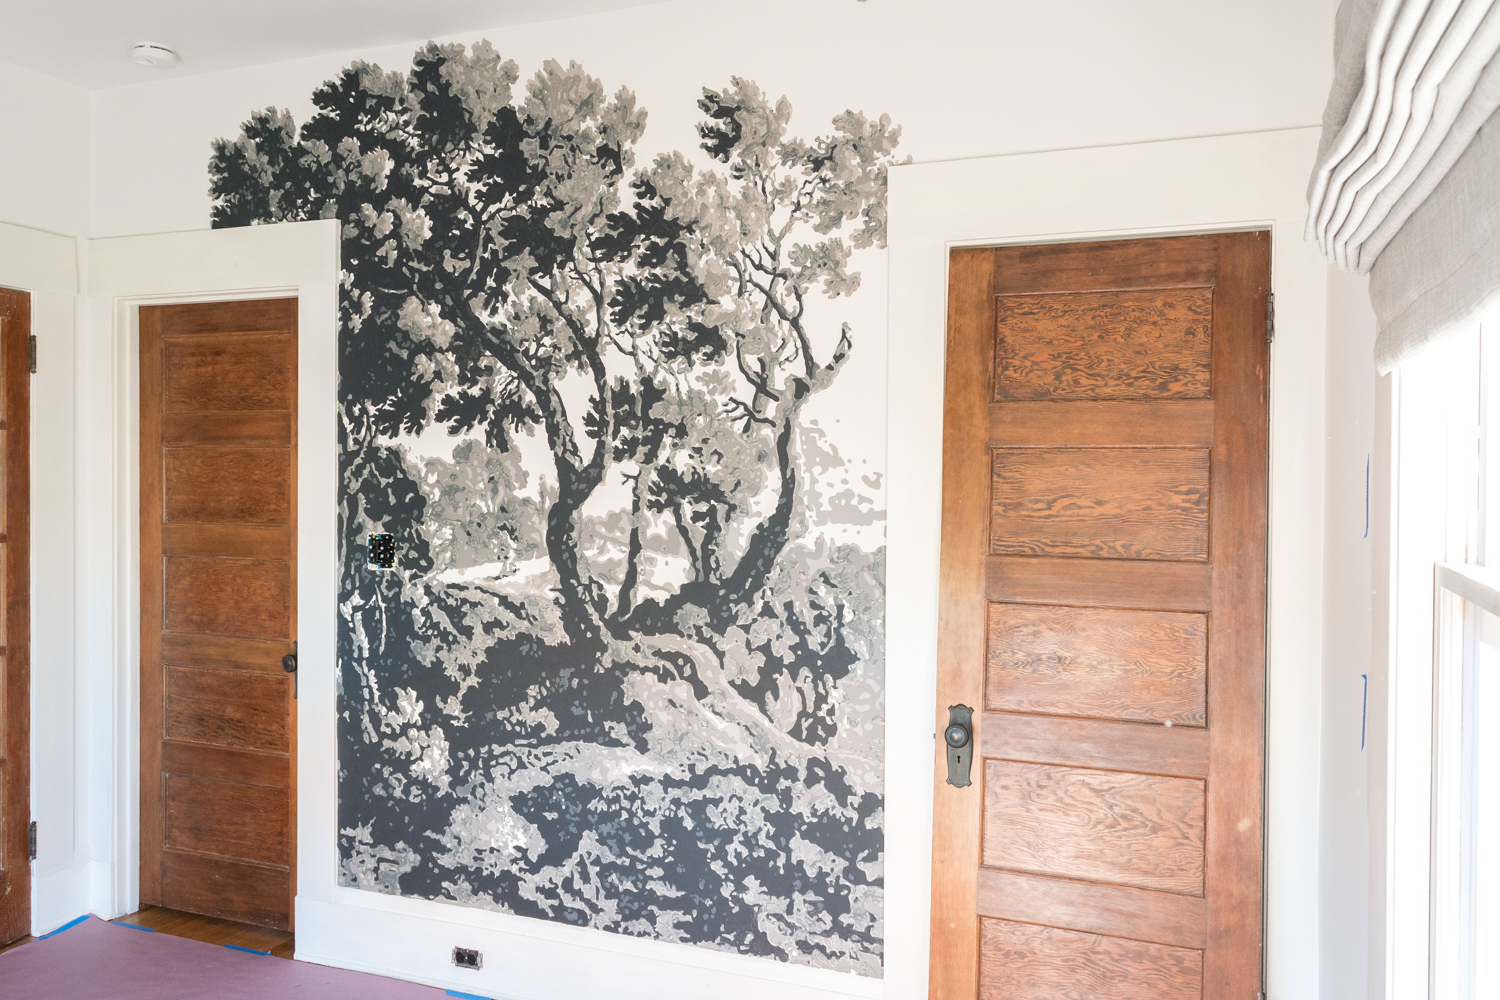
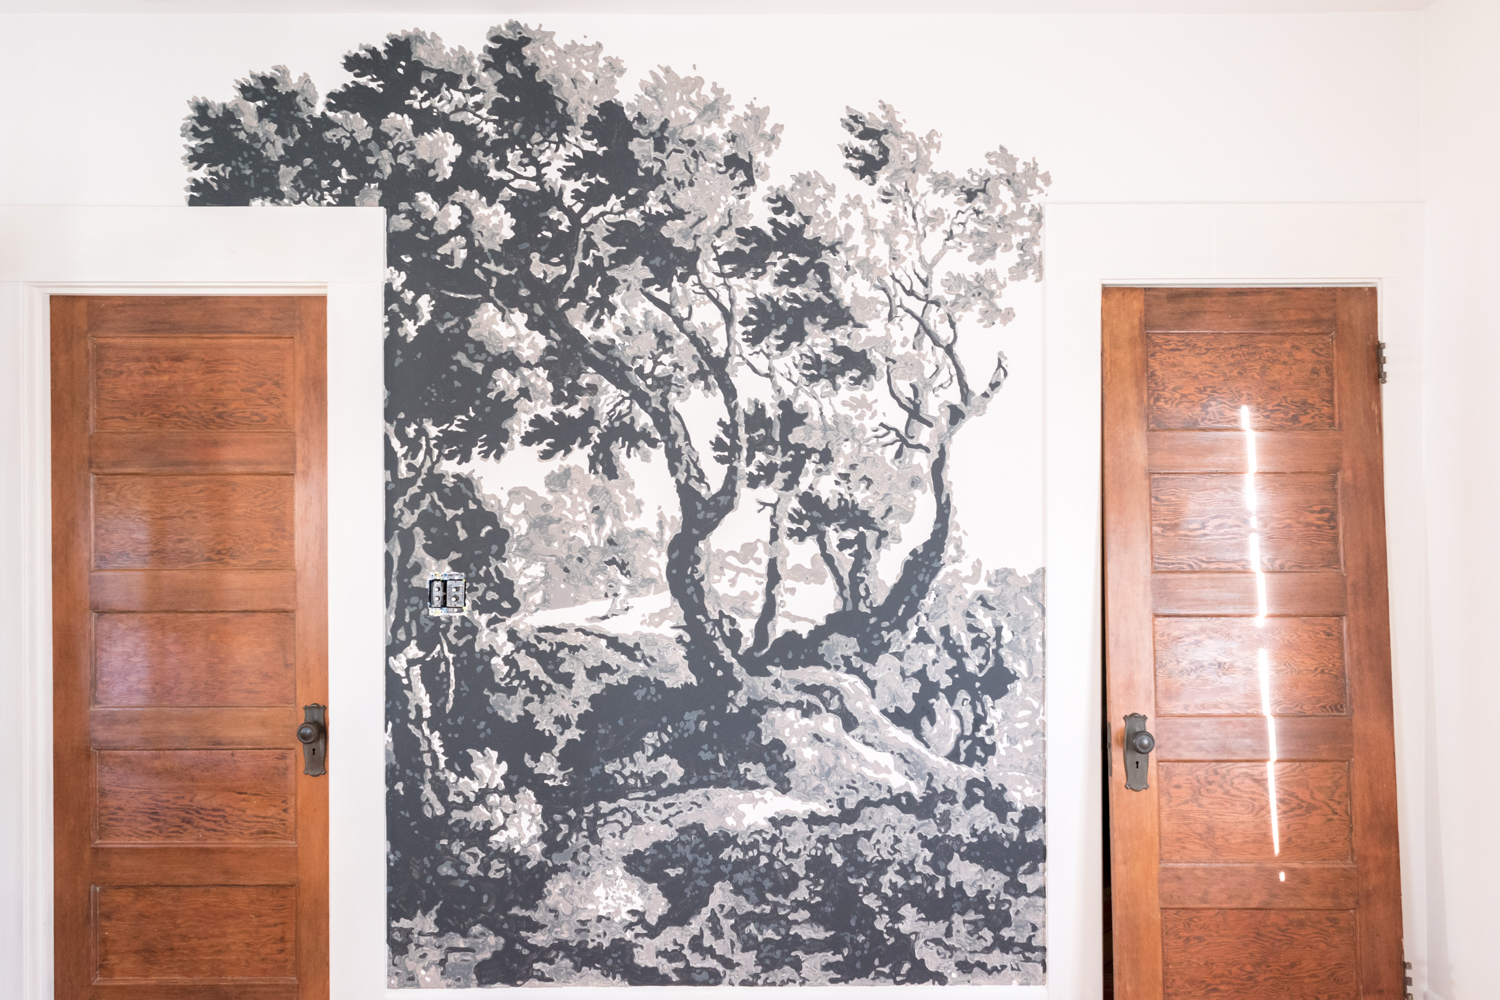
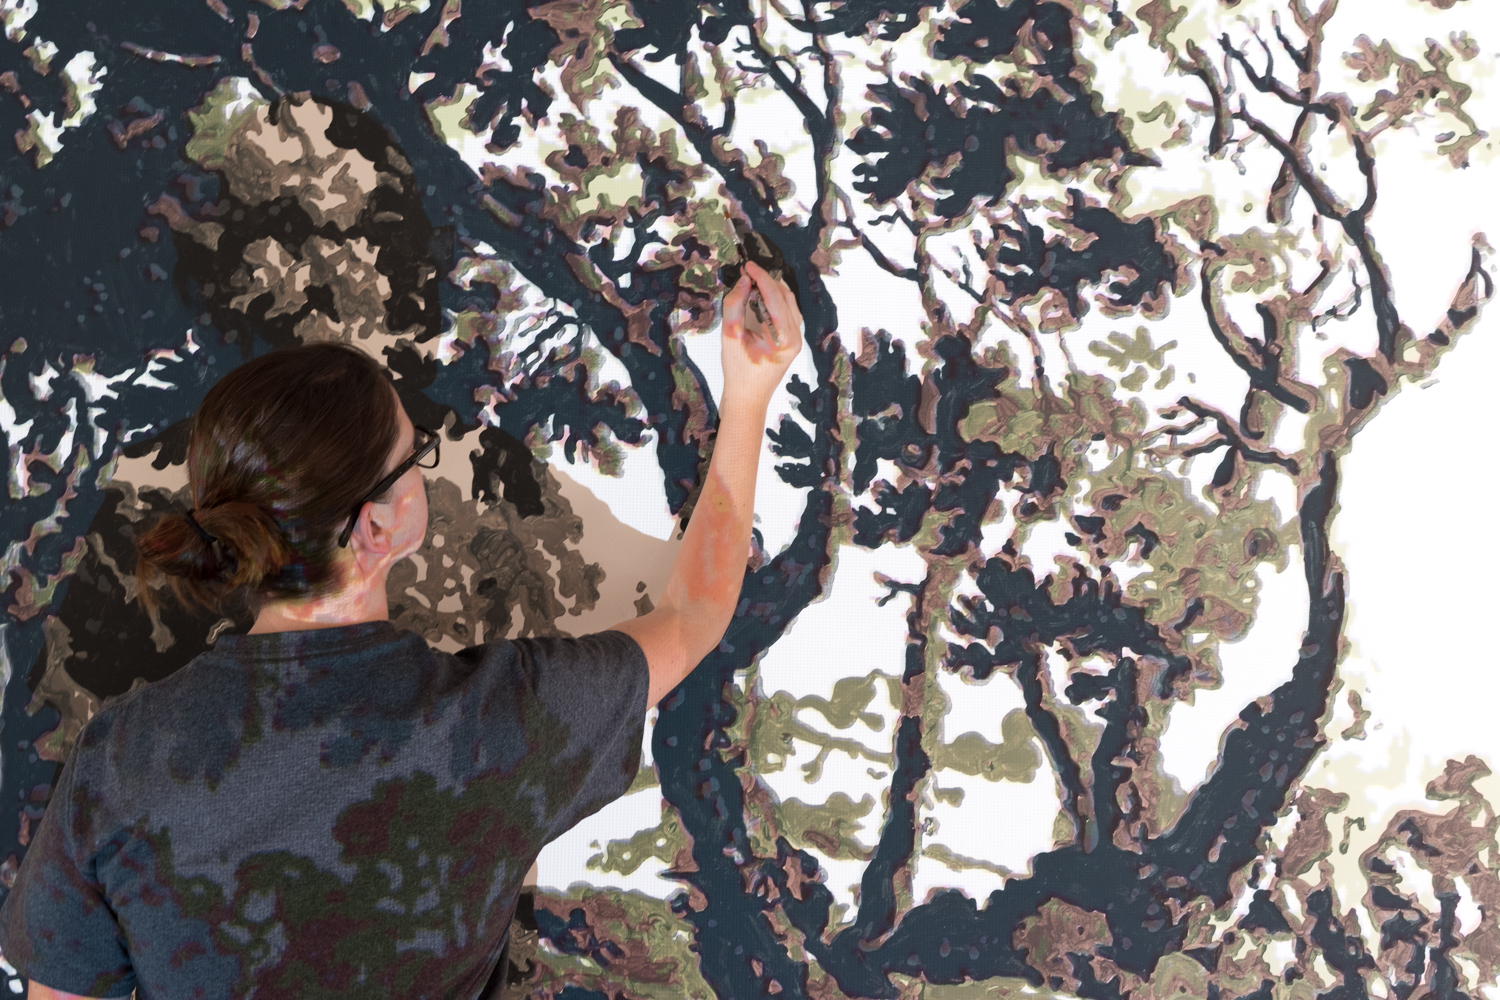
/It's week four of the One Room Challenge and boy has the past week been a doozy! I started the mural on Friday and found it to be a thousand times more time consuming than I ever anticipated. The One Room Challenge team decided to extend the event by one more week to assist participants affected by the recent natural disasters. I don't want to downplay the seriousness of the catastrophic events, but I'll admit that this extra 168 hours will most certainly come in handy. So, I get seven weeks to transform the space instead of six, but you will have to wait a few more days for the reveal - sorry!
This post is sponsored by Farrow & Ball. They generously provided the paint to make this mural possible yet all ideas and opinions are my own. Thanks for supporting the brands that allow me to share projects with you.
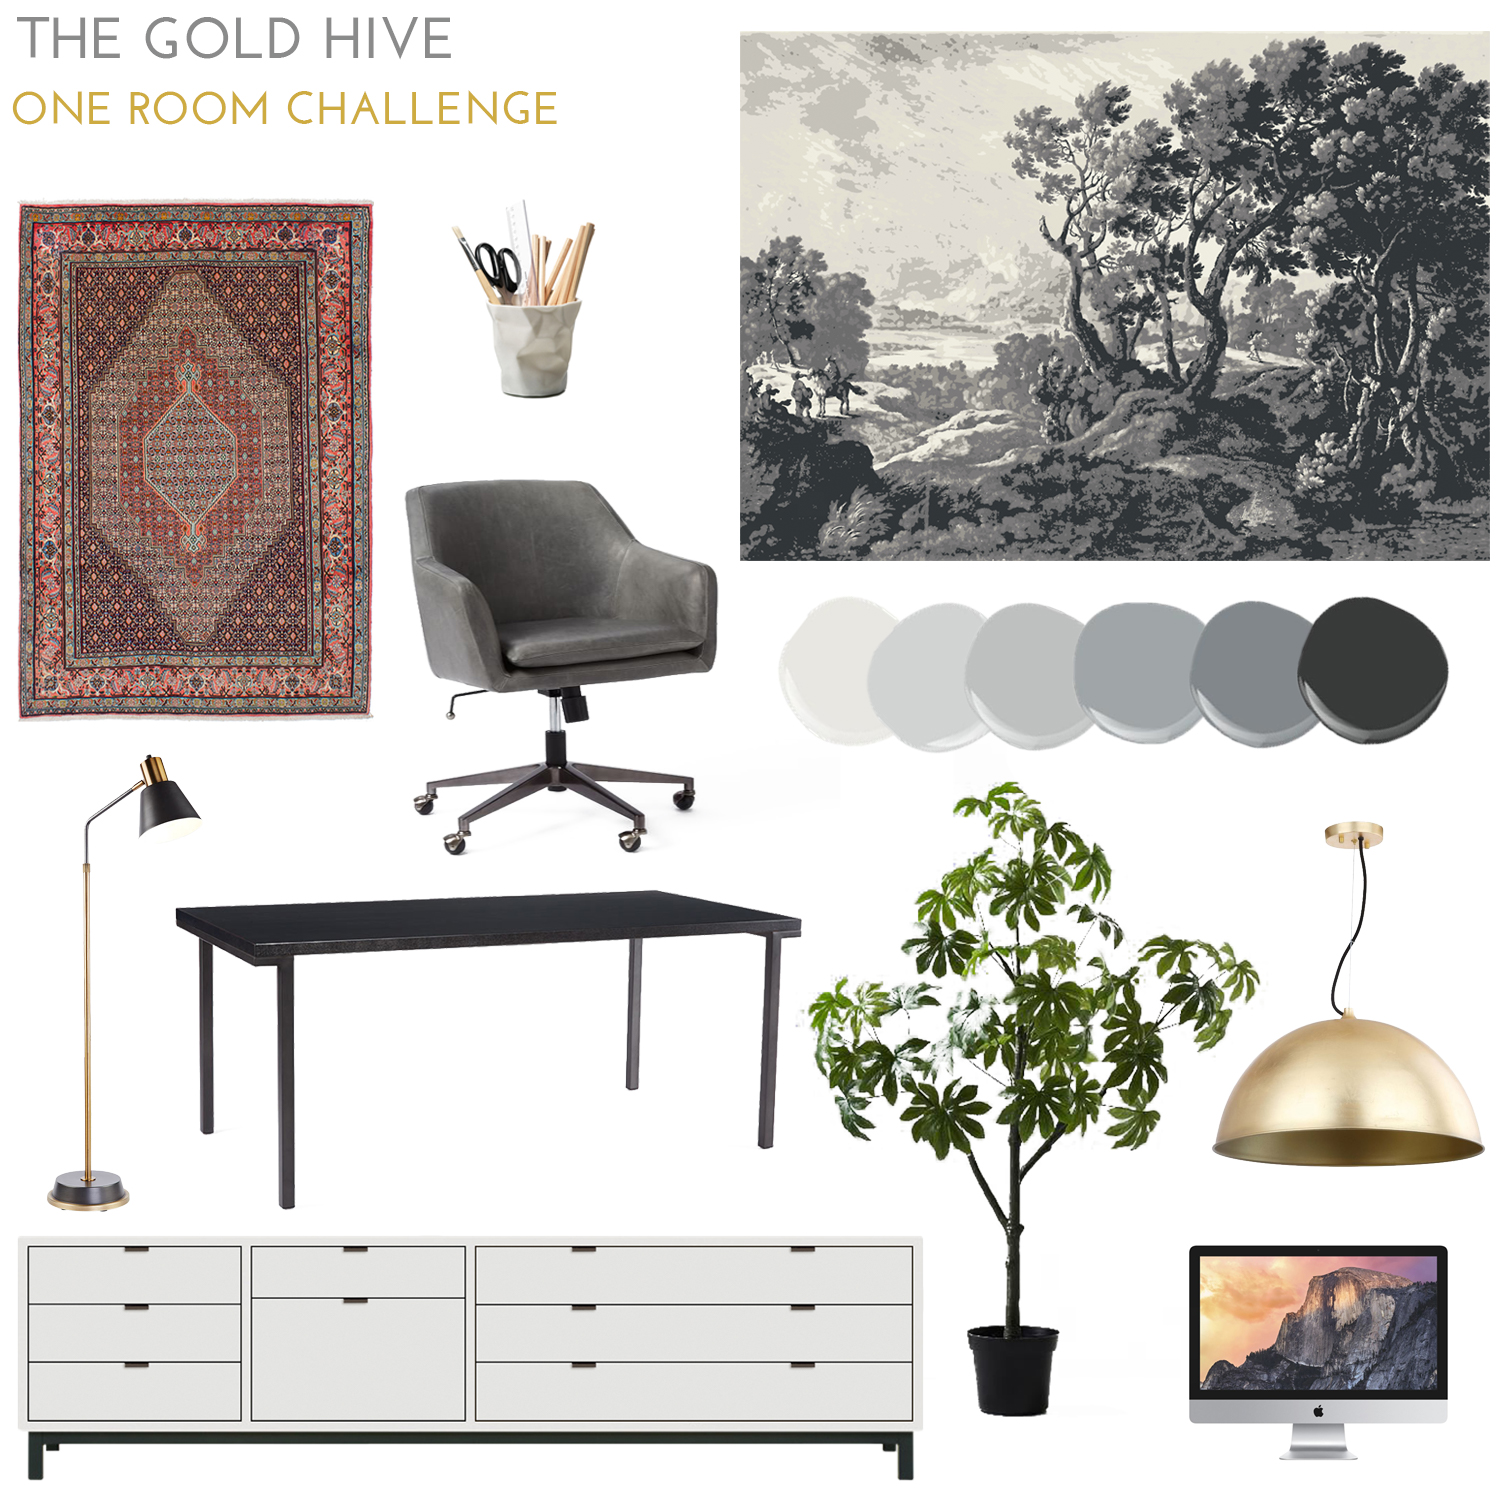
If you're just tuning in, I'm Ashley and I'm in the middle of transforming the home office of our 1915 craftsman bungalow in San Diego. Take a look at the plans which include a new layout, storage, lighting, furniture, and most importantly, a dramatic mural!
As a reminder, I'm painting an eight-color mural in a paint-by-numbers style. Take a look at last week's tutorial of how I planned to create a mural in the home office. It outlines sourcing a photo, modifying the design in photoshop, editing the image to cover multiple walls, and using a projector to cast the design onto the wall. It's worth reviewing to get some backstory on how this week's progress came to be.
If you're in an RSS reader, click through to admire the animation showing each color coming together to create the whole scene.
Without further ado, I started the mural!
I kicked off the painting on Friday night. Because starting at one end of the hue spectrum made more sense than bouncing around between colors, I launched the painting with the darkest shade since it takes up the most surface area.
This pretty deep color is Farrow & Ball's Off-Black. It took about 5 hours to do this layer from 10pm-3am - a real sacrifice because these are hours are when I get my best REM cycles in.
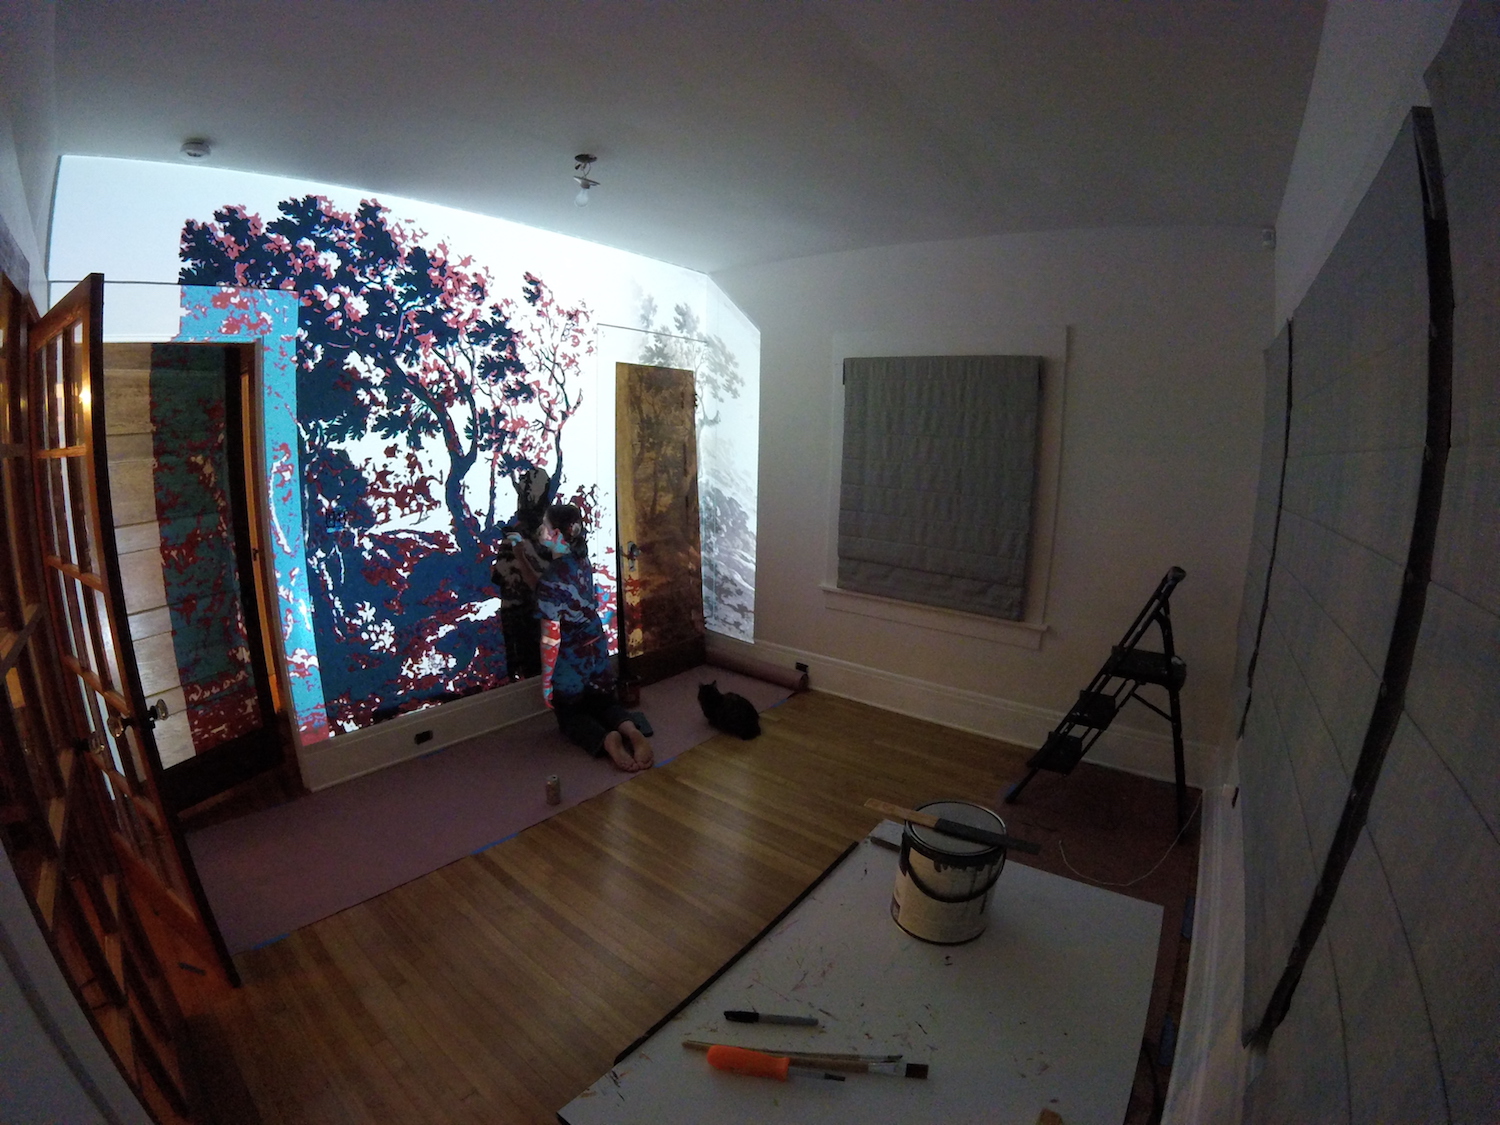
As a reminder, I was using my trusty projector and Photoshop to cast the image onto the walls for me to trace. It provided the perfect guide for each color as I turned off the hue layers that I wasn't painting at the moment.
Once the dreamy off-black color was on, I turned my attention to Farrow & Ball's Down Pipe which happens to be a very similar hue as the bathroom walls. This second layer took 7 hours - eek!
The next pretty shade was Mole's Breath which I guarantee looks better than what a furry animal smells like when they exhale. This coat took 5.5 hours.
The fourth color was Worsted, a rich warm grey. This one only took 3 hours!
After I got 20 hours into the project, I realized that I sorely overestimated how much I could accomplish during this tight timeline. I was 20 hours in, and only painted four out of the eight colors. PLUS! Each color would need a second coat.
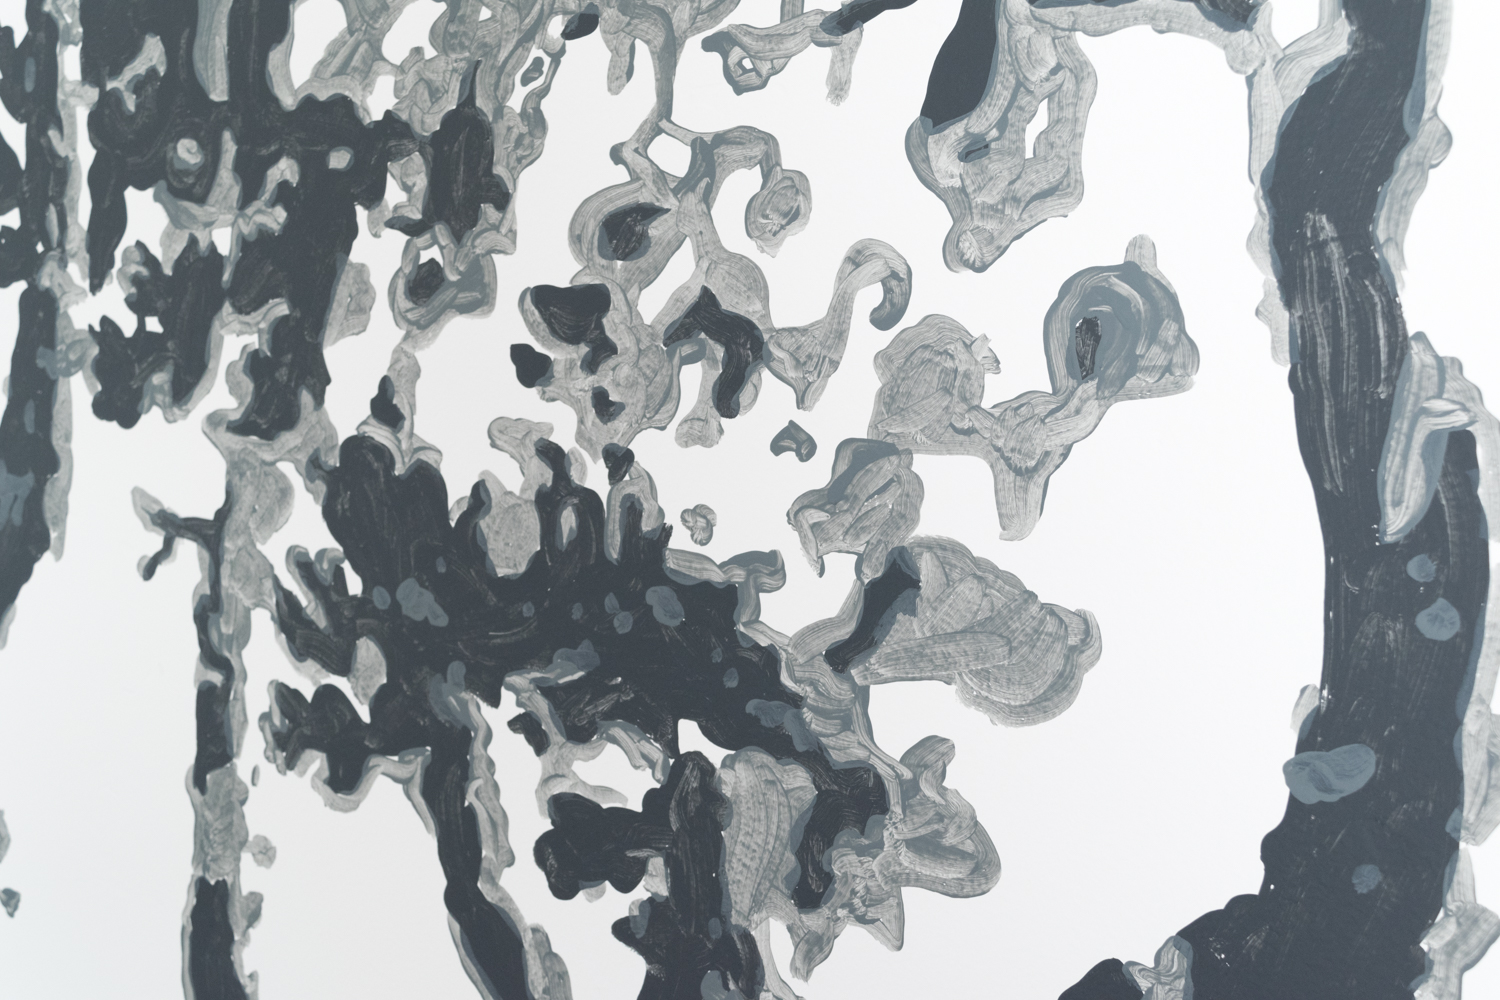
Some of you on Instagram were kind enough to reassure me that the single-coat was still pretty. Thank you to all of you that gave me feedback as I shared live updates over the weekend! But, I really wanted solid chunks of color that looked like a true paint-by-numbers more than a textural pattern.
So, another slathering of paint is a must. I wish I could say that the second coat was faster than the first, but it wasn't. It took more time because instead of taking some creative license like I did with the first layer, which allowed me to apply the paint more organically, I now had to perfectly trace the existing color.
Do you see my site supervisor Mabel keeping an eye on quality control?
I want to point out that the process isn't hard. It's just time-consuming and can be boring. I listened to a bunch of podcast episodes of 99% Invisible before switching over to a David Sedaris audiobook. That guy's impression of Billie Holiday always cracks me up!
I'm not tallying up the hours to complain or seek pity, but rather to be totally honest about the process. I didn't just whip a mural together overnight and my art school background didn't save the day. Patience is the biggest skill you need if you aim to take on a project like this.
Now that I've stared the double coat process, I've put in about 30 hours so far, and have a few more hues to go! If I haven't scared you away from taking on a project like this, here are a few tips I've gained from my experience so far.
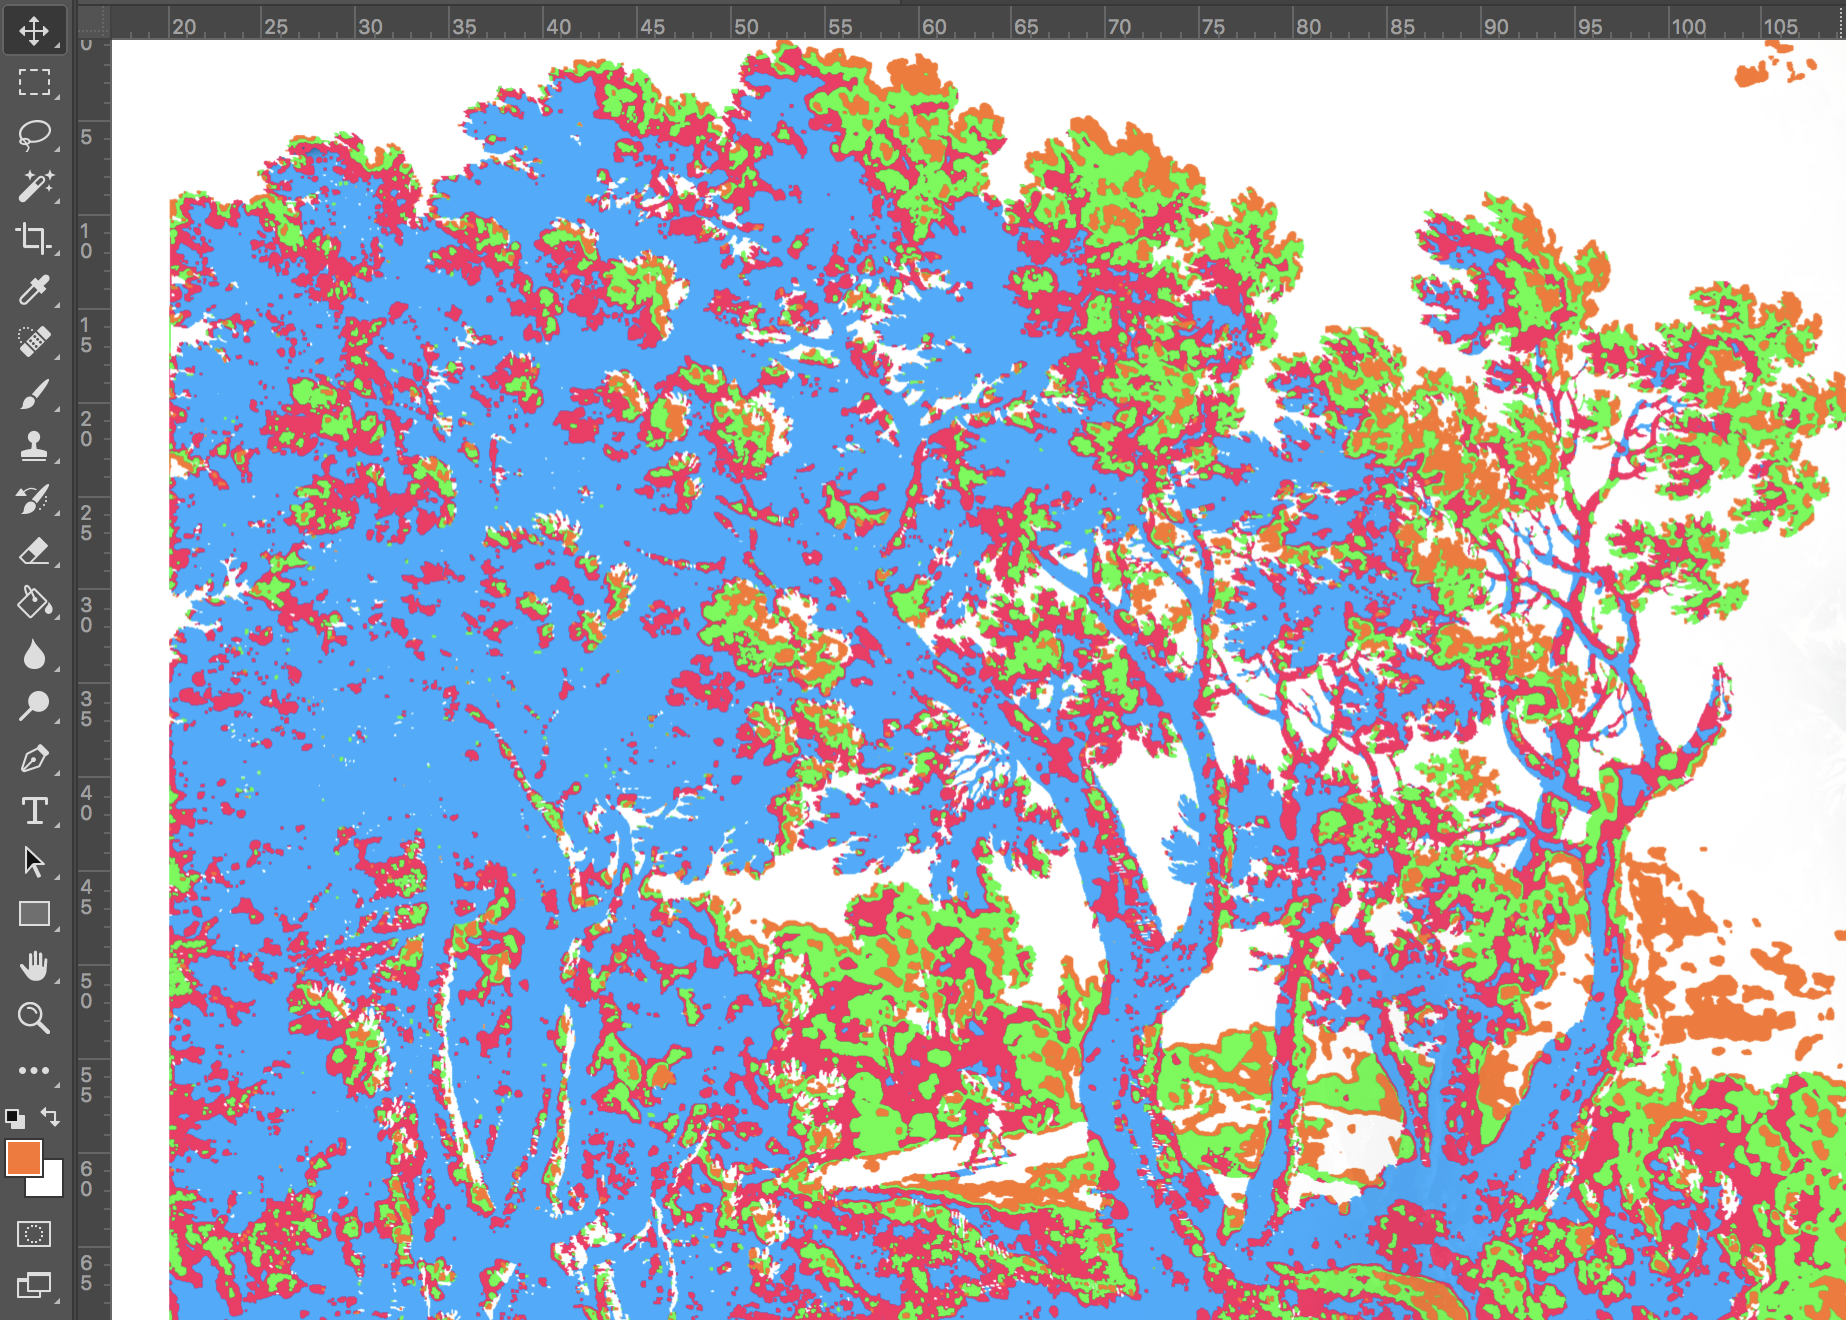
I explained in my previous post how to set up the projector. Since writing that post, a technique I found helpful is to color each hue a different bright color in Photoshop. This way, I can turn multiple layers on and clearly see each of them. At first, I just turned on each grey layer one at a time, but since the projector was known to move as I stomped around the room, maintaining visibility for each layer was super helpful.
Look how spiffy it is when those psychadelic colors project onto the white chair!
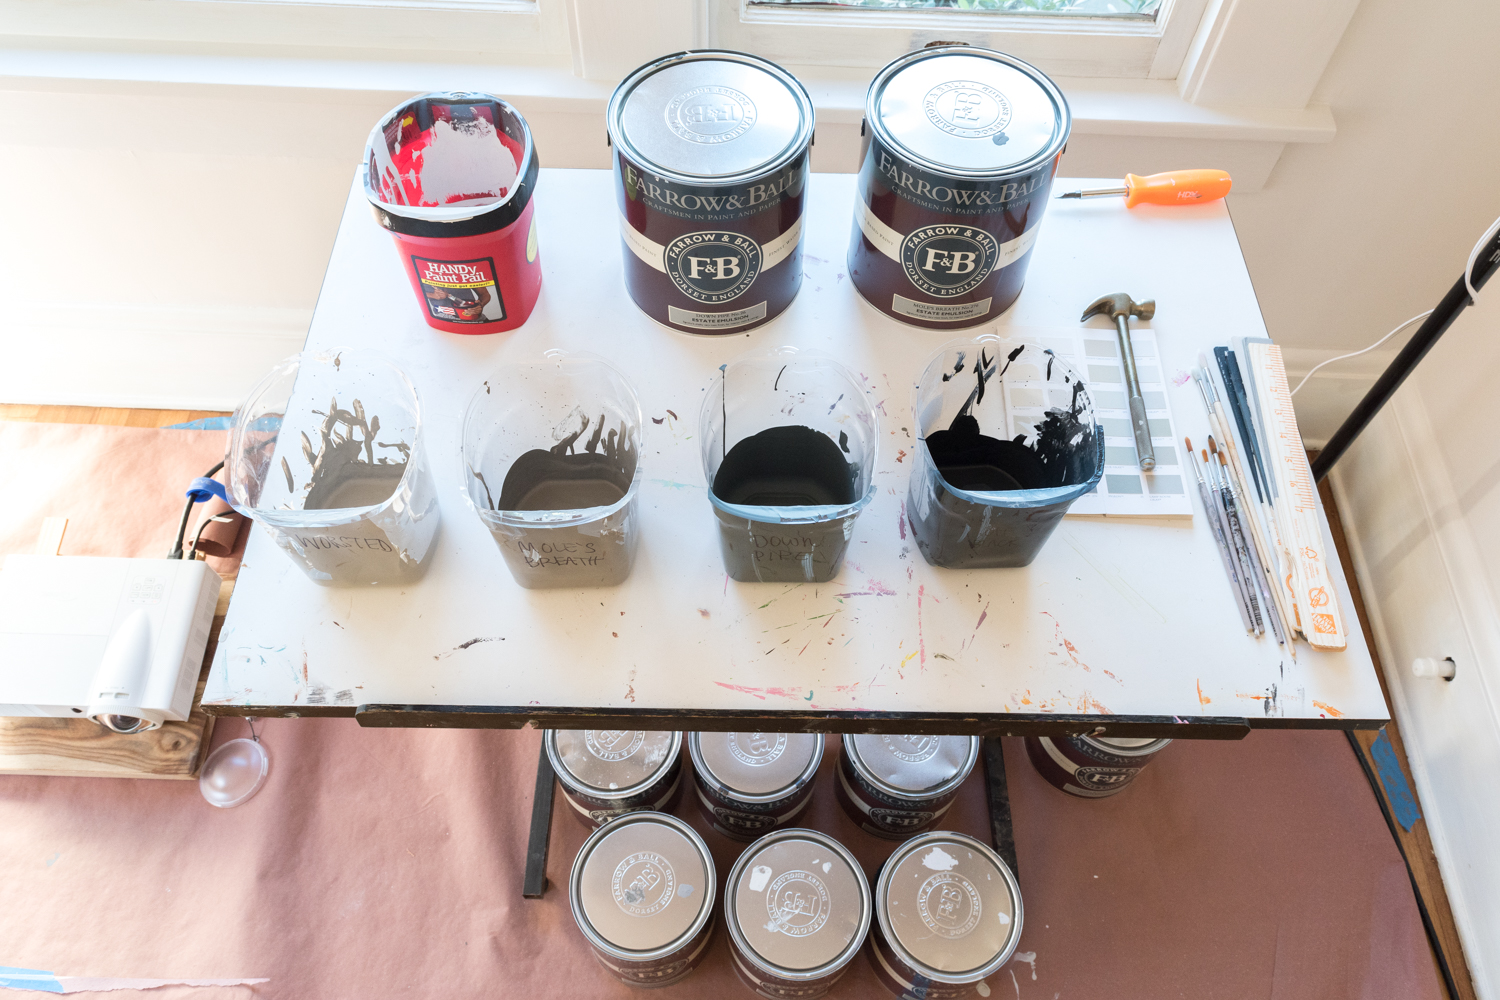
It seemed only fitting to use my childhood painting table/easel as my work surface. With so many paints, containing them in an organized fashion has been a must.
To keep each color organized, I'm using the HANDy Paint Pail and its corresponding liners - one for each color. I then labeled them accordingly. Whenever I want to use a shade, I pop it into the paint pail and paint away!
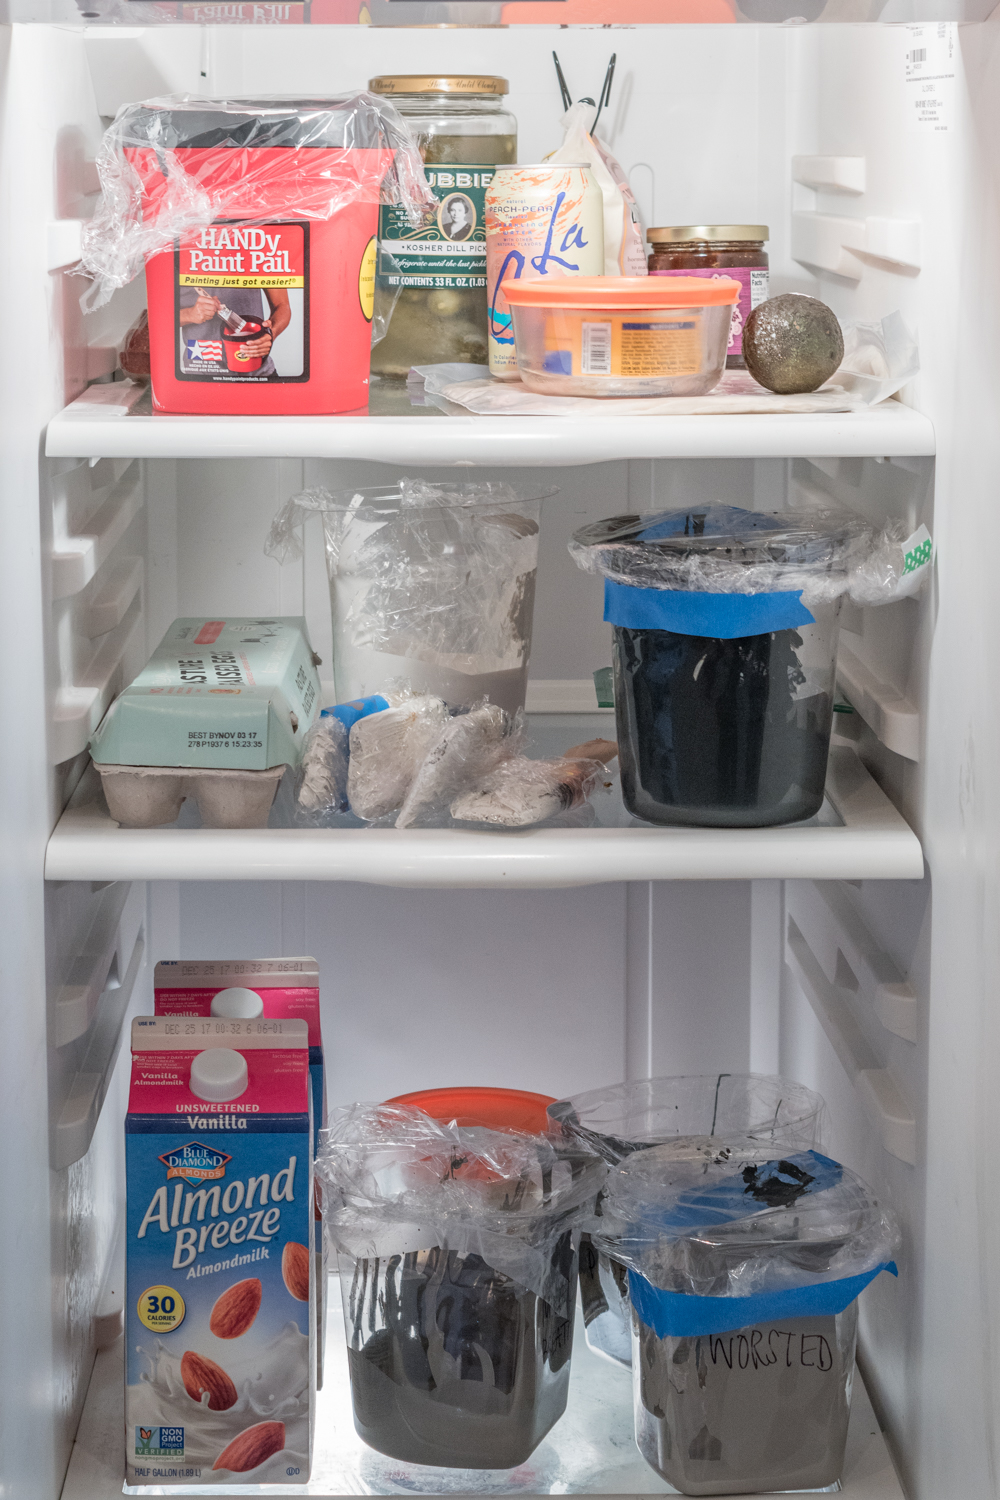
When I'm not using that color, I cover it in plastic wrap and pop it in the fridge. This storage method has definitely taken over my perishables. Do note, that I have been painting every day with small batches of paint. This storage technique doesn't last forever and will require dumping the paint and pouring fresh from the can every so often.
For brushes I'm using some old ones from high school and college, but any round brush for acrylics from your local art store would do the trick. Depending on the size of the image and the room, the detail will vary. For most of my mural, I've been getting away with a size 6 round brush, but certain images may require narrower brushes and others could get away with wider ones.
And that, folks, is where I'm at. I probably have another 40 hours of painting to go. There are 4 more hues to paint, 6 more colors to re-coat, 4 more walls to paint a solid color, trim to coat, and window sashes to give a dark hue. As you're reading this, I'm probably with a brush in hand!
Come back over the next few weeks for more updates on the progress and set an reminder to return the morning of November 16th to see the final reveal!
I'm thrilled to have partnered with Farrow & Ball on this project. They generously provided me oodles of paint for this mural that's requiring eight of their beautiful grey hues. Their paints are the bee's knees so I'm excited to work with their quality and eco-friendly paints for this project. Thanks, Farrow & Ball!
If you're tuning in via the One Room Challenge and want to stay up to date on all of my home's transformations, subscribe to get future posts in your email! Also, follow along on Instagram for daily updates. You're seeing only a sneak preview of the mural, so be sure to come back for more progress updates!
Be sure to check out the featured design participants here and guest participants here, too!
Fall One Room Challenge progress:
Week 1 - the before, the inspiration, and the plan
Week 2 - preparing for a bold wall mural
Week 3 - tricks for creating a perfect wall mural
Week 4 - painting the mural
Week 5 - walls, windows, and shades
Week 6 - IKEA storage hack
Week 7 - the reveal!
Look back at the Spring One Room Challenge:
Week 1 - the before, the inspiration, and the plan
Week 2 - paint, paint, paint
Week 3 - how to install picture rail molding
Week 4 - sourcing the artwork
Week 5 - refreshing a chair
Week 6 - the reveal!

