My Tree Mural is Now Available as an Art Print (and as Wallpaper, Cards, and More!)

My Tree Mural is Now Available as an Art Print (and as Wallpaper, Cards, and More!)

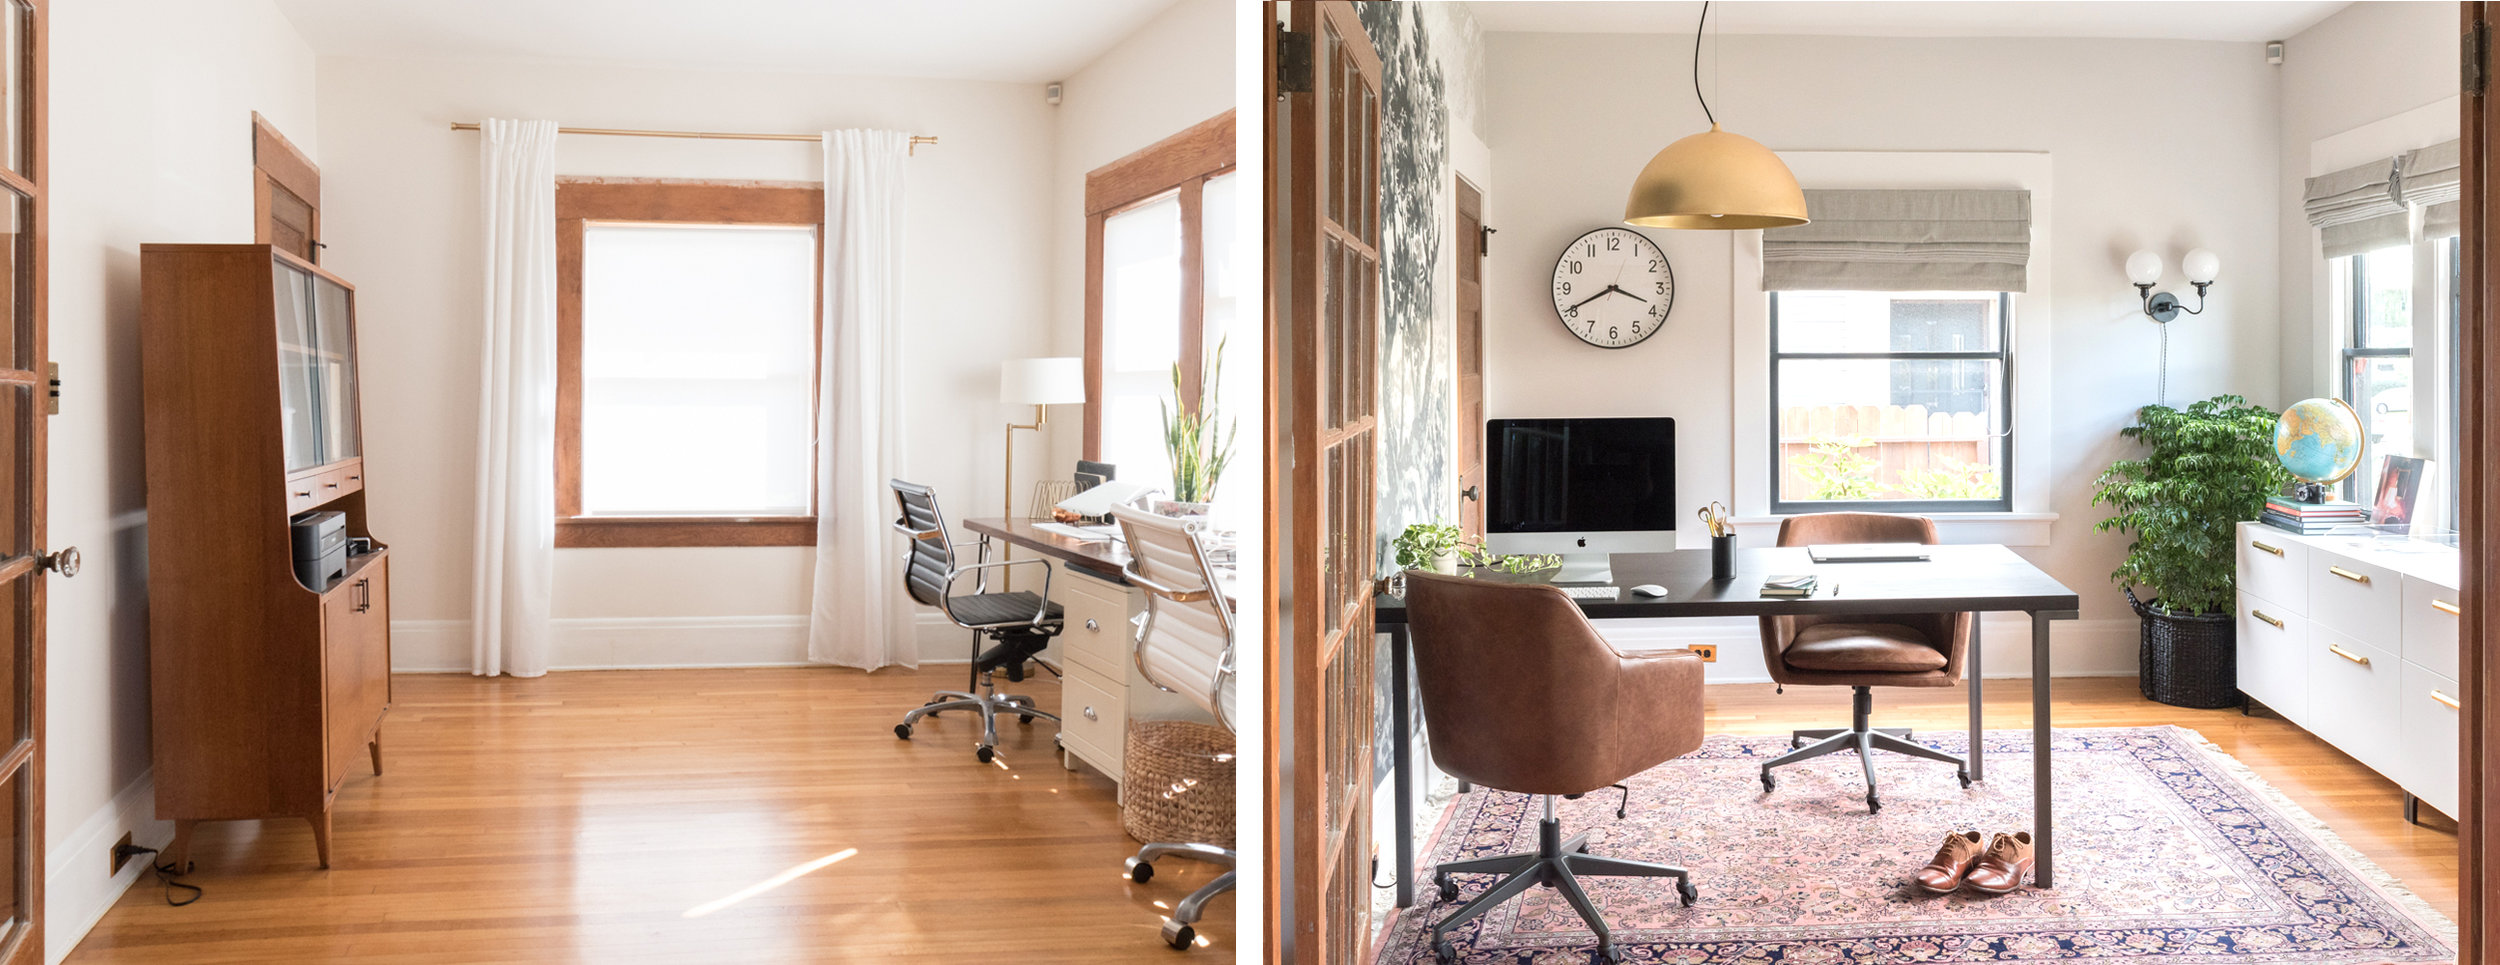
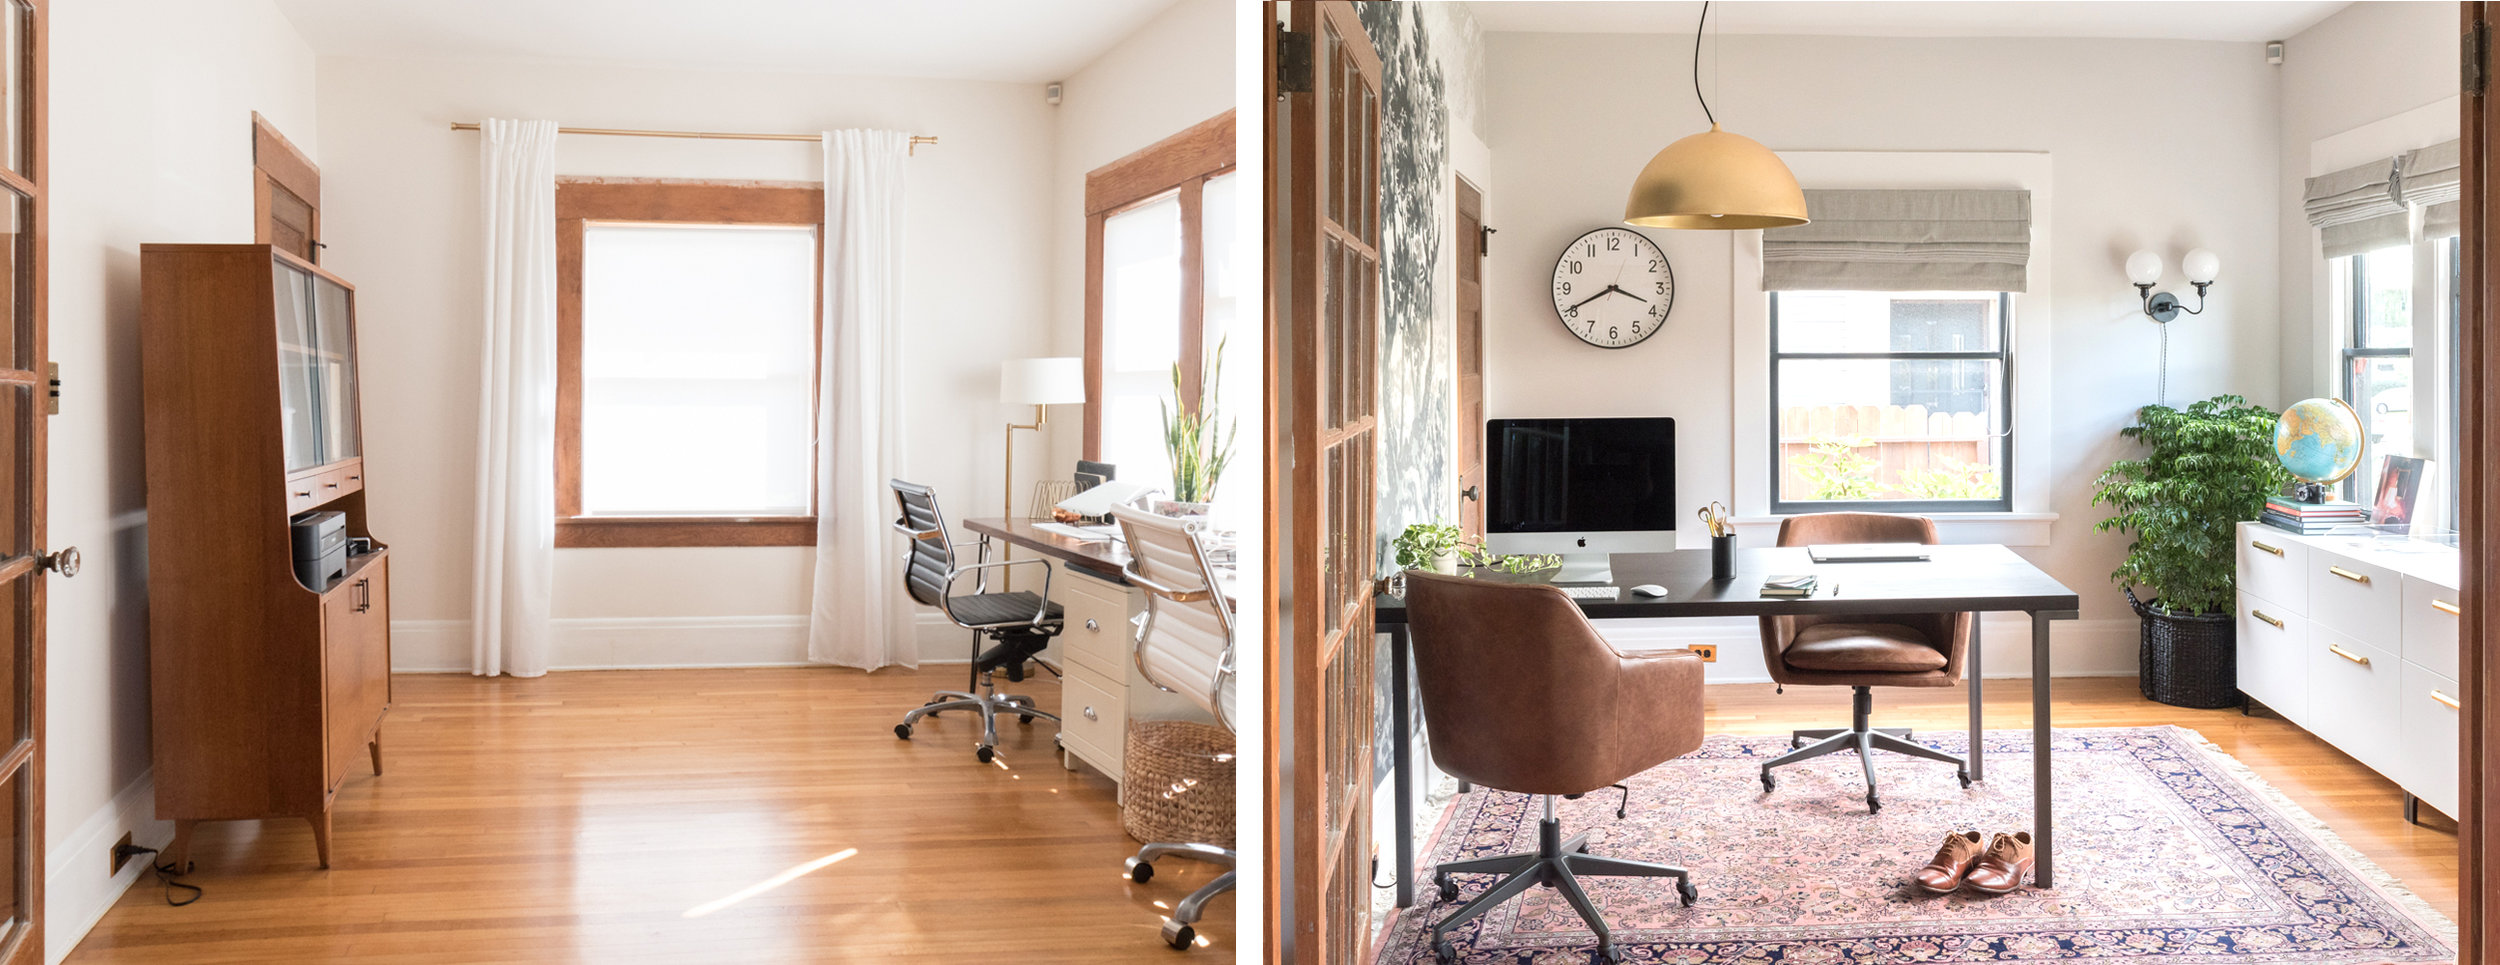
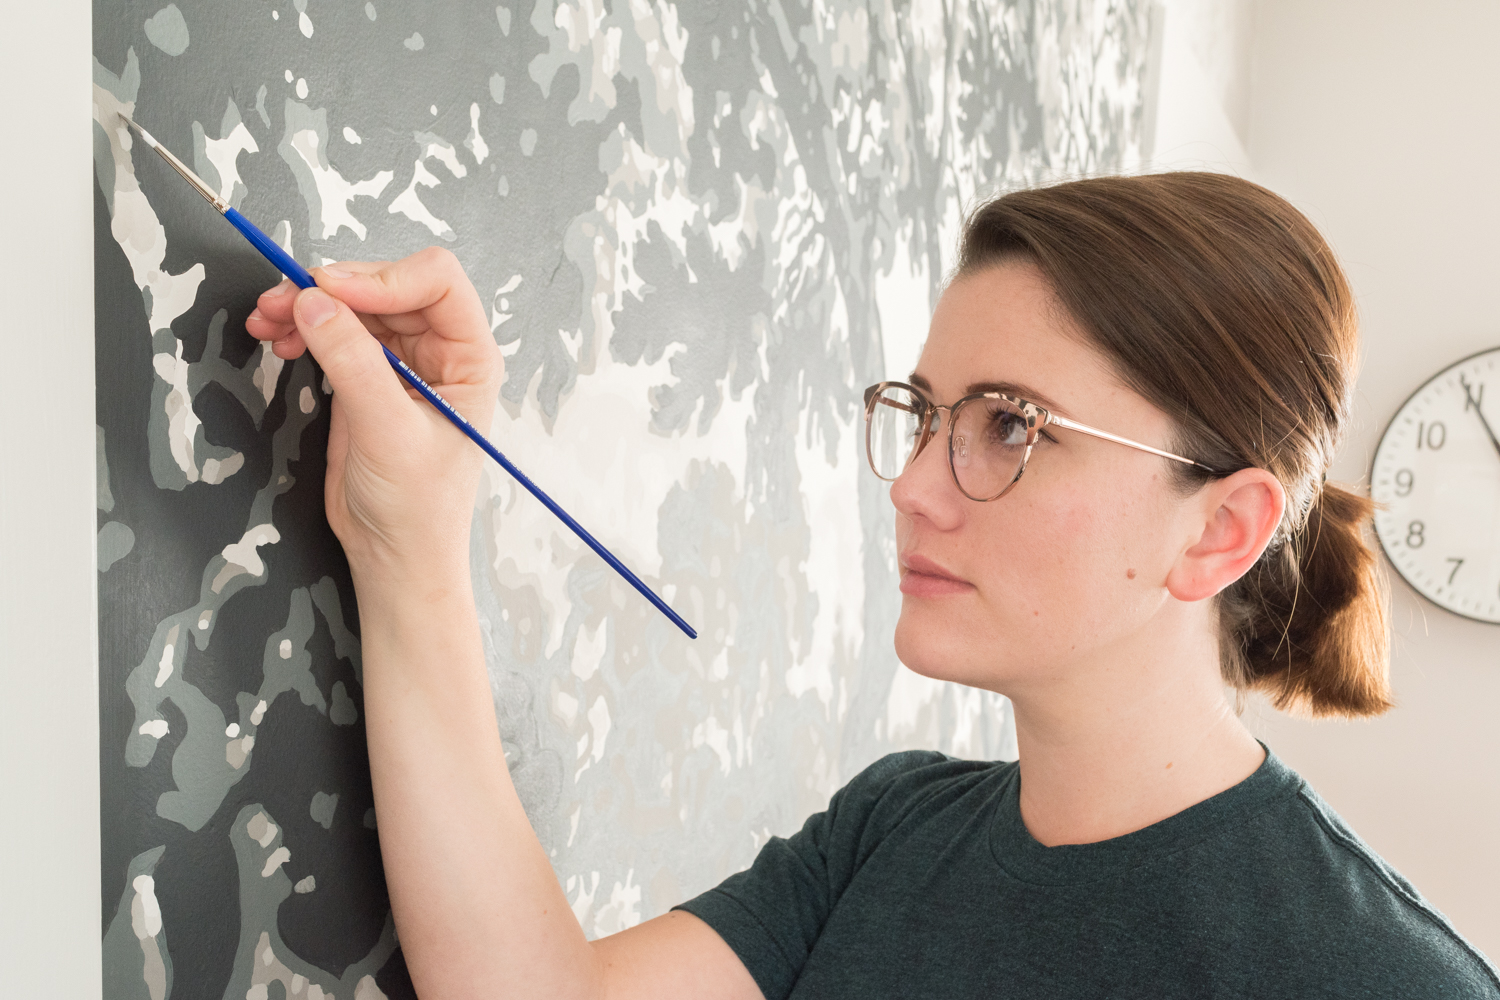
Big news!! You can now have my office tree mural for yourself! The design is now available as an art print, a poster, a pillow, a clock and even as your own wall mural!

I've received many kind requests for my hand-painted mural to be made available for all to enjoy in their homes, so now you can enjoy the design without the 100+ painstaking hours I spent painting it.

Even better news, the entire shop is 25% off through midnight on Saturday, 12/7! Now is a perfect time to buy it for yourself or as a gift for a loved one.

Read More

Master Bedroom Reveal - One Room Challenge Week 6! + VIDEO

Master Bedroom Reveal - One Room Challenge Week 6! + VIDEO

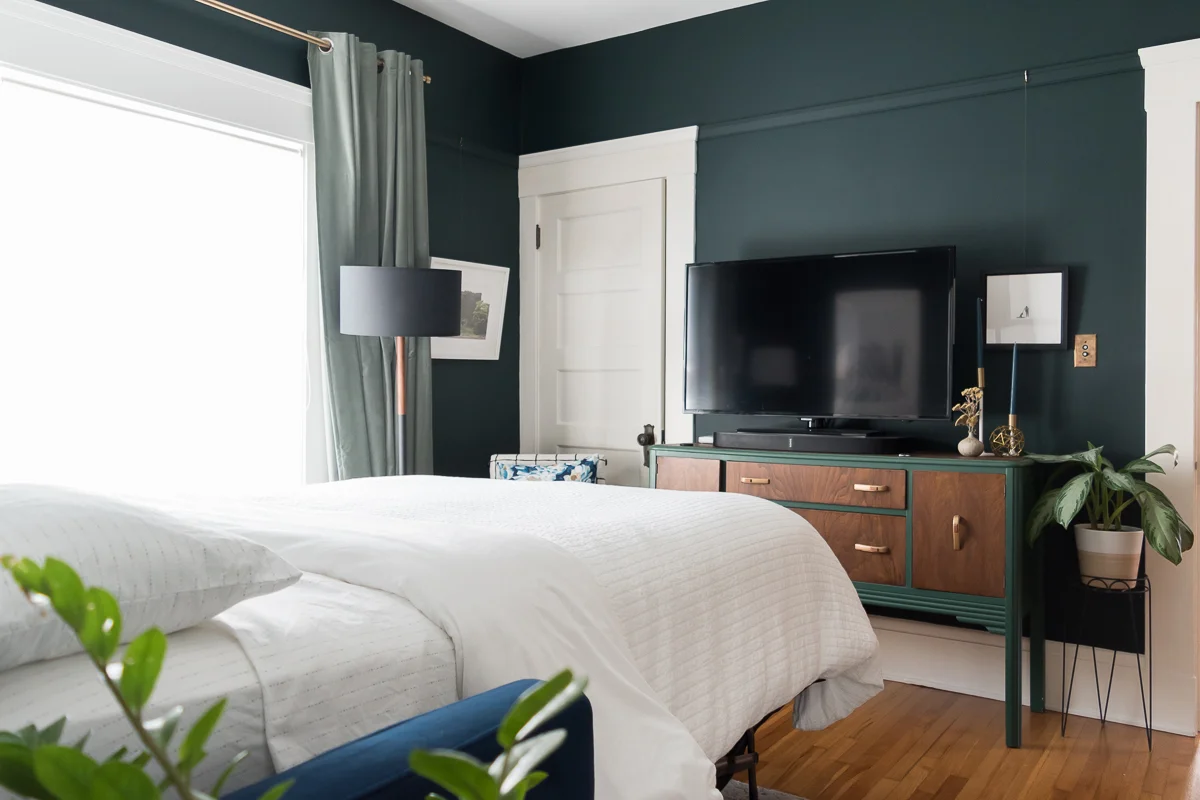
IT'S DONE!! I've officially completed my THIRD One Room Challenge and what a journey! The ORC has been such a big part of my home and blog - HALF of my house has been transformed through the design challenge. I'm so proud and grateful to participate! I mean, look at this new bedroom I get to sleep in, now!

Read More

A New Door Off the Master and Fresh Paint - One Room Challenge Week 5 + A VIDEO!

A New Door Off the Master and Fresh Paint - One Room Challenge Week 5 + A VIDEO!

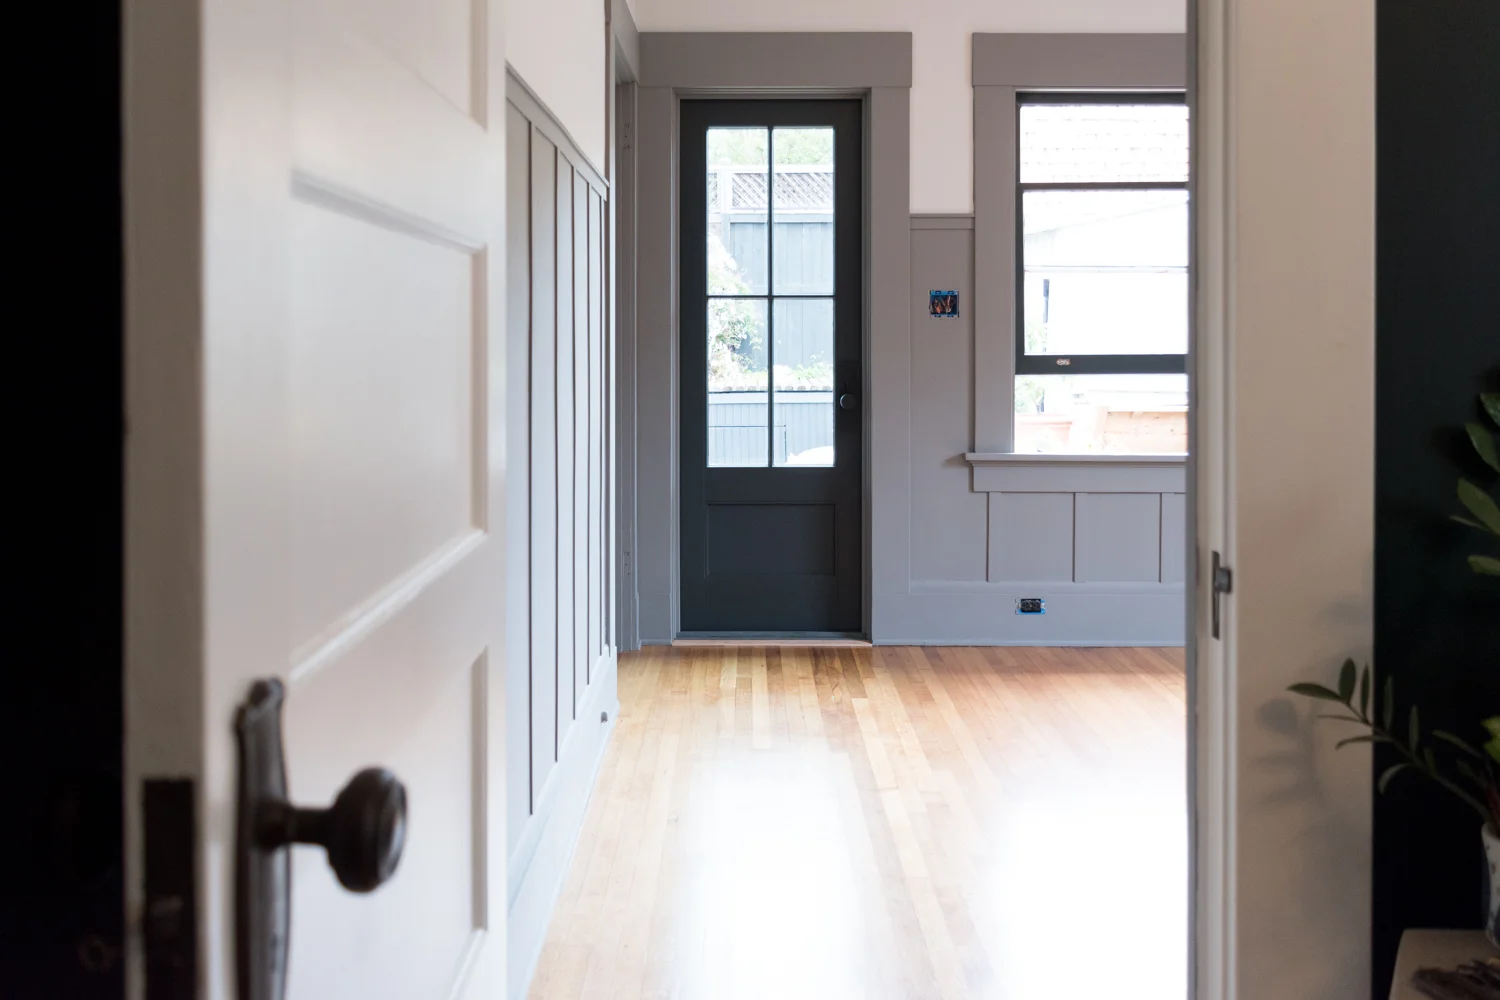
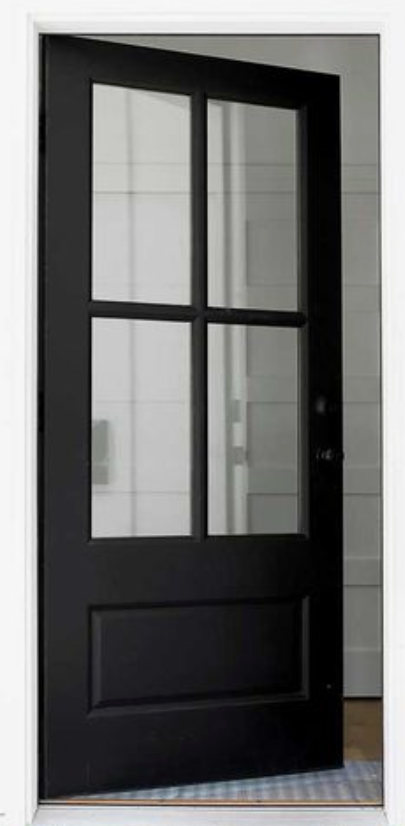
OMG it's week five of the One Room Challenge! The moment we've all been waiting for - the new exterior door was installed, and boy is it a beaut. We also built a deck this week (so I didn't fall to my death out the new door) and painted the room in the prettiest hues.

Read More

My Episode on the Home Love Network!

My Episode on the Home Love Network!

I can't believe I'm saying these words, but I have an episode on Home Love Network's new show! GASP! I've been in love with Candis and Andy Meredith for ages now - you might know them as Old Home Love. For years, they've been fixing up old houses in the best possible way, they wrote a book that I treasure, they had an HGTV show before creating their own network, and they are just all around great humans. When they reached out to film at my house I had a mild panic attack from the sheer excitement of it.

Read More

Master Bedroom Makeover - One Room Challenge Week 2 - Electrical and Doorways + A VIDEO!

It's week two of the One Room Challenge! I didn't start until I wrote last week's announcement blog post so I'm only a week into the challenge. 7 days down, 28 more to go!

If you found me through ORC, welcome! I'm Ashley and for the past three years, I've been restoring a craftsman bungalow in San Diego, CA. Learn a touch more about me here, preview the before-and-after room transformations here, and see my previous ORC rooms here and here.

bed to bedroom2-1-2.jpg

The first week of ORC is always prep week. It isn't the most glamorous, but there's nothing like emptying a room and putting holes in the wall to feel like you're making progress. I find that this week is much more fun in time lapse and music video (minus any dancing) format, so I give you a video of the week's progress. If you like old-fashioned reading, then scroll down!

This Week's Video:

P.S. I promise the video is more entertaining than the text. It's less than 4 minutes long, so it's worth the watch.

Ross was out of town, so I emptied the room solo. Whenever I do that, it becomes my workout for the day. It's not a good habit, but I definitely find myself skipping yoga after doing demo, or heavy lifting, or really after doing anything sweaty.

The Gold Hive One Room Challenge Den Guest Room

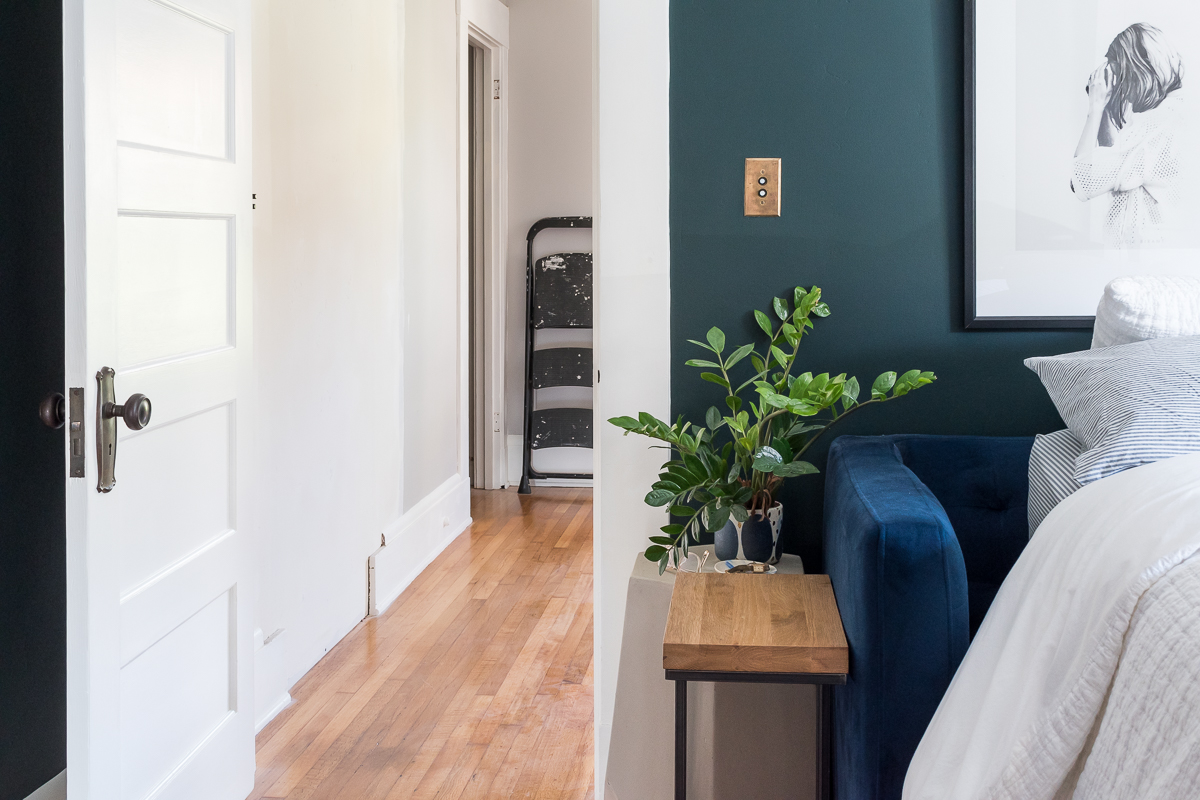
Since we moved out of the master and I'm selling all of the furnishings, I needed a spot to sleep, so I moved into the den next door. The blue velvet couch is a pull-out, so I stacked our mattress on top of the couch mattress and I feel like the Princess and the Pea. If double mattresses weren't luxury enough, the den also has the TV, so I can watch my British crime shows fully reclined. Winning.

The Gold Hive One Room Challenge Week 2 Electrical

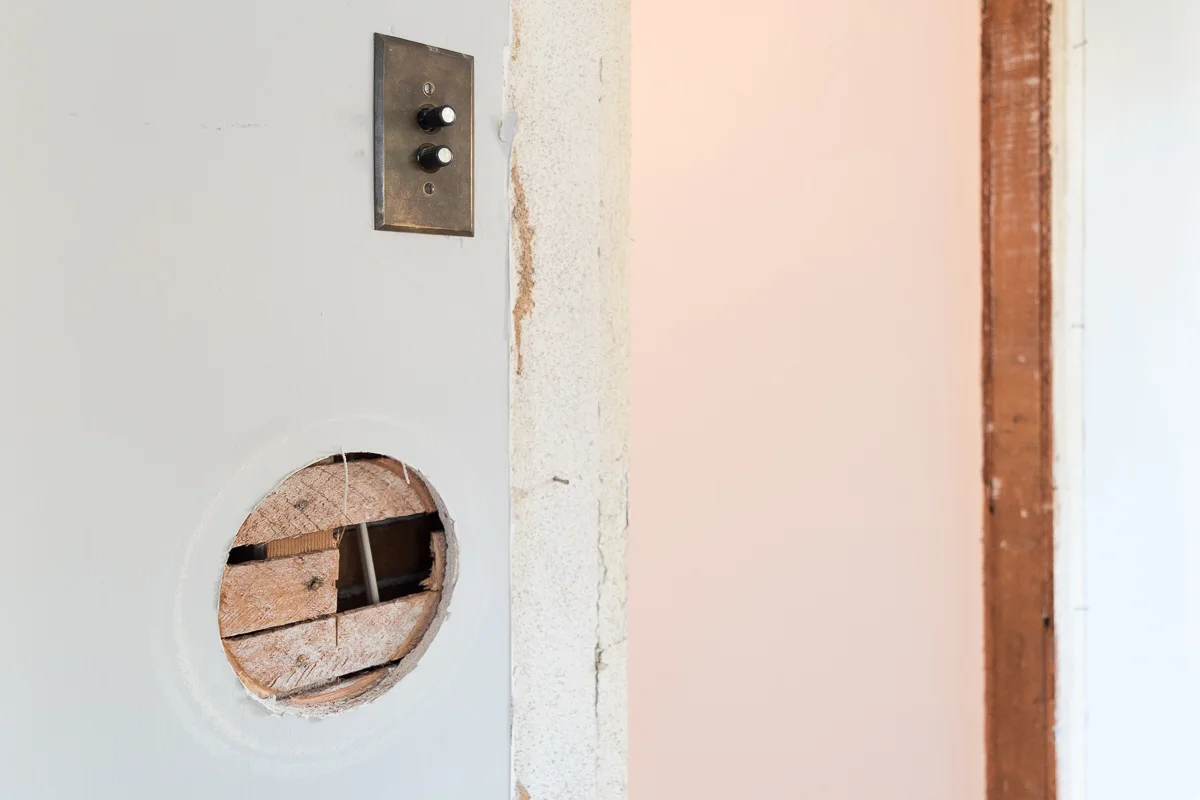
After emptying the room, I called in our trusty electrician who previously rewired the entire house to bring us into the 21st century. For this room redo, he moved an outlet to hide behind the nightstand, moved an outlet that would be in the way of the new exterior door, wired for the exterior light, put in a switch for the new light, added a 3-way switch for the overhead flush mount, and wired for the new bedside sconces.

The Gold Hive One Room Challenge Week 2 Conduit Before

While the electrician was here, I got inspired to do a project that was on my agenda for a long time. There have been three lines of conduit running the length of the back of the house to power clunky floodlights and a single bulb in the garage. I figured I'd leave them until we did more electrical work down the road, but knowing I'd be installing a new sconce right next to the ugly pipes, I decided to pull it all down. Now that it's gone I'm regretting not doing it sooner. It's really the little things that are most satisfying! (also, watching the time-lapse of it coming down is veeeery satisfying)

After putting holes in the walls of the bedroom for new electrical, I needed to close off a really big one - the doorway into the kitchen. If you recall in my week 1 plans, I'm closing off the door from the master bedroom to the kitchen. Removing this passageway is kind of a bummer, but it's the right thing to do for the layout of the bedroom. We'll be able to maximize storage and create a more open space. Don't forget, I'm adding a door with lots of glass to the backyard in a couple of weeks, so soon enough I'll have forgotten about the loss of the kitchen door.

Below are the views sans door from the bedroom and the kitchen, respectively.

The Gold Hive One Room Challenge Week 2 Closed off doorway
The Gold Hive One Room Challenge Week 2

I pulled off all of the trim (delicately as to save it for future use) but hired out help to frame and drywall the opening. Getting perfectly smooth walls on a big patch is not the easiest thing to do, so hiring it out to the pros was certainly the right thing for me to do. Once I paint, you won't even know a door was there - unless you read this blog, of course.

That's all I finished between week 1 and 2 so come back next week for more progress! Be sure to follow along on Instagram Stories where I share live updates and ask for your advice when I can't make a decision! This is only the first of my ORC videos, so subscribe to my YouTube channel to support future videos. If you aren't already subscribed to the blog, you can do that here.

If you want a refresher on the plans and the before photos, you can review the week 1 post here.

Check out progress from my fellow featured designers below, and don't miss out on the guest participants!

Apartment 34 | Beginning in the Middle | Coco & Jack | The English Room | The Gold Hive
Gray Malin | Jenna Sue Design | Jojotastic | Kelly Rogers Int. | Linda Holt | Marcus Design
Michelle Gage | Natasha Habermann | The Painted House | Rambling Renovators
Sacramento Street | Shannon Claire | Sketch 42 | Stephanie Kraus | Bisou Style
Media Partner House Beautiful | TM by ORC

Psst! To jump into the future and see how this room turned out, click here!
 

This Week's Sources

The Master Bedroom Is Getting An Update! - One Room Challenge Week 1 - The Before and The Plans

I'm back for my third round of the One Room Challenge! I considered taking a break from the 6-week design challenge after I painted that mural last time, but I just love putting pressure on myself, so here I am again!

If you found me through ORC, welcome! I'm Ashley and for the past three years, I've been restoring a craftsman bungalow in San Diego, CA. Learn a touch more about me here, preview the before-and-after room transformations here, and see my previous ORC rooms here and here.

We're supposed to keep which room we're working on under wraps, but I accidentally gave out clues when I asked for your input on the layout changes for the back of our house. If you guessed I would do the kitchen, then bless you for thinking I can tackle that in 6 weeks. If you guessed dining room, sorry! If you were hoping for a master ensuite, so was I, believe me! BUT, the master bedroom it is!

The Before

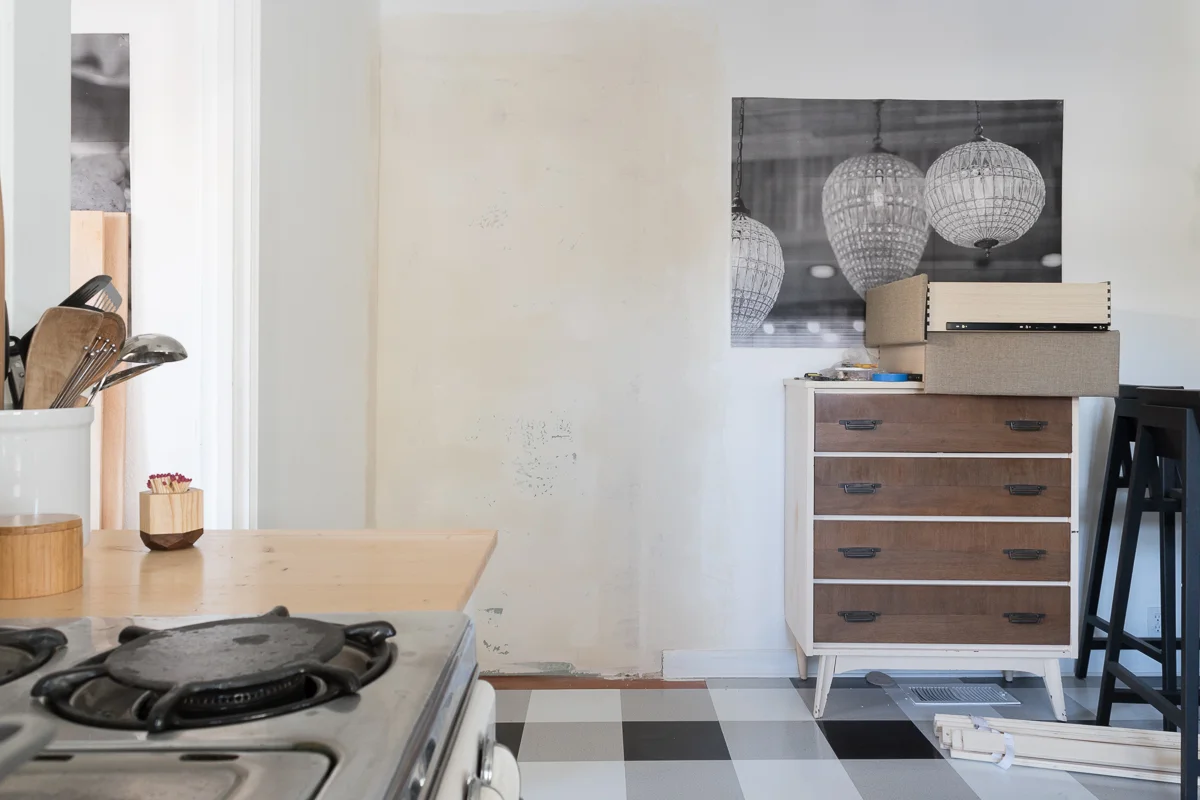
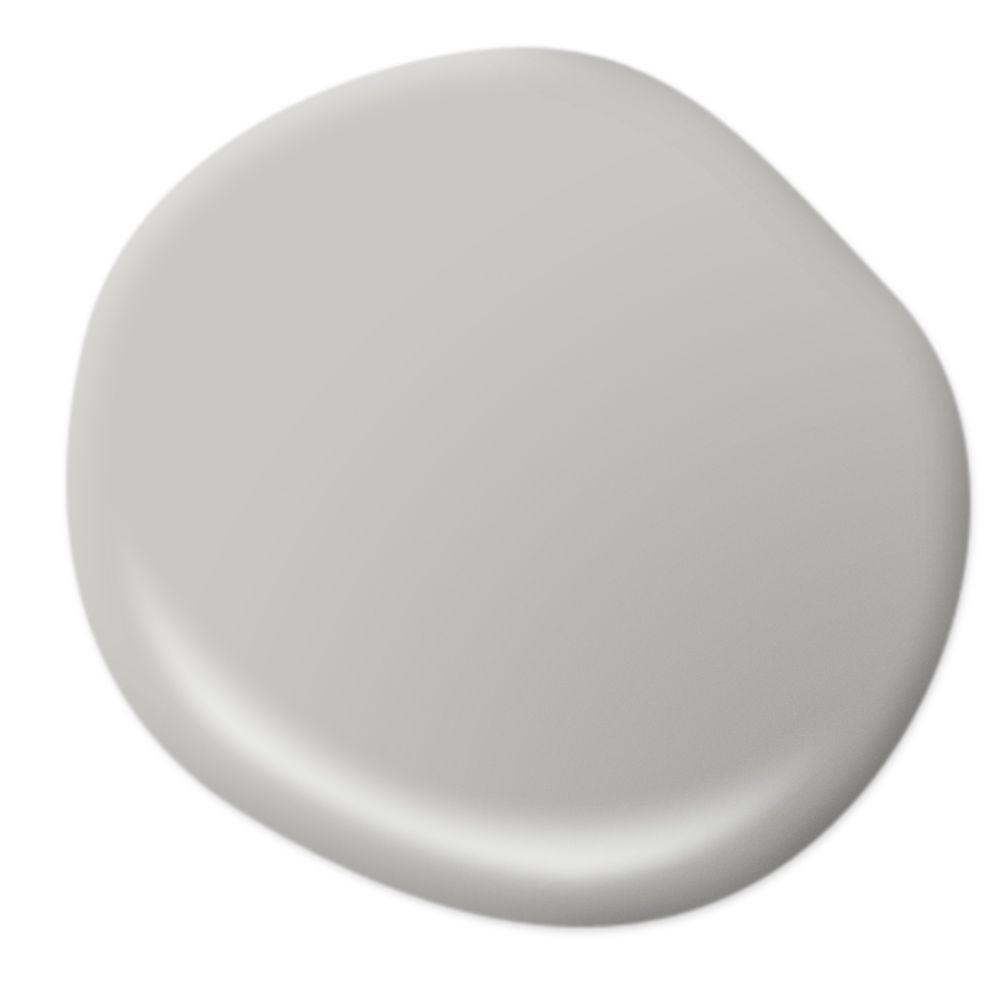
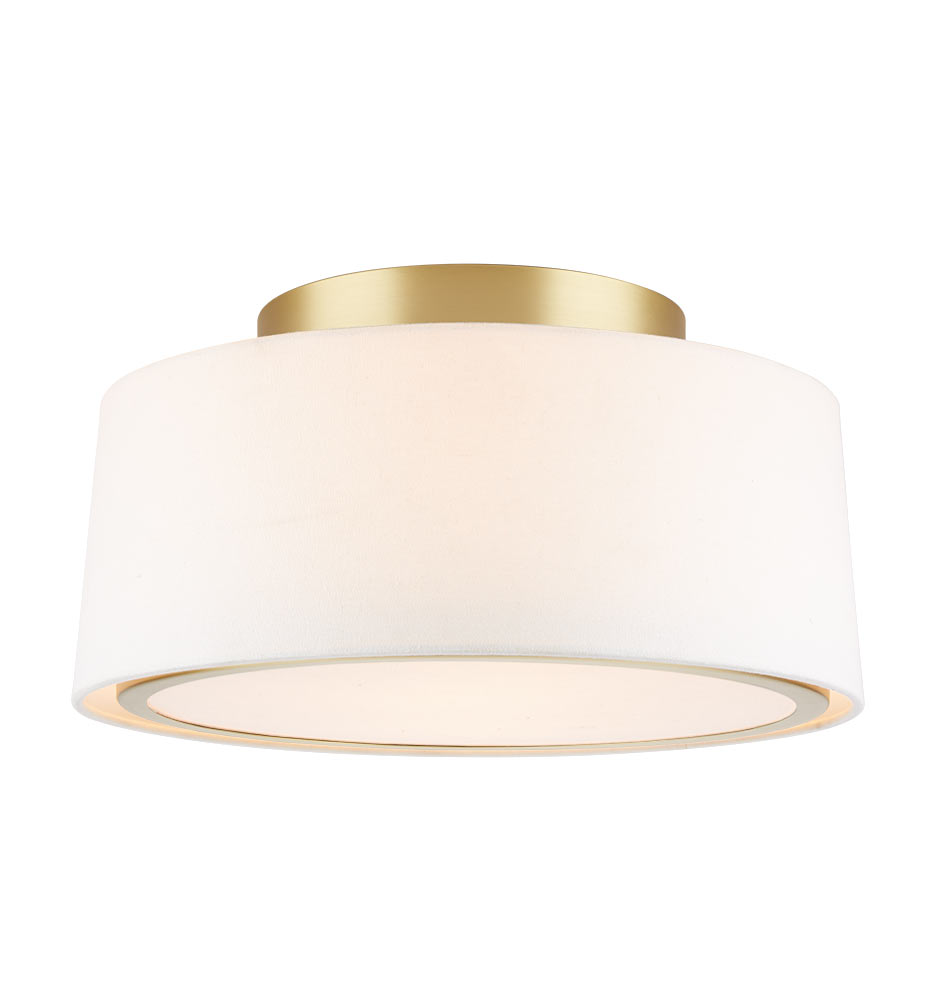
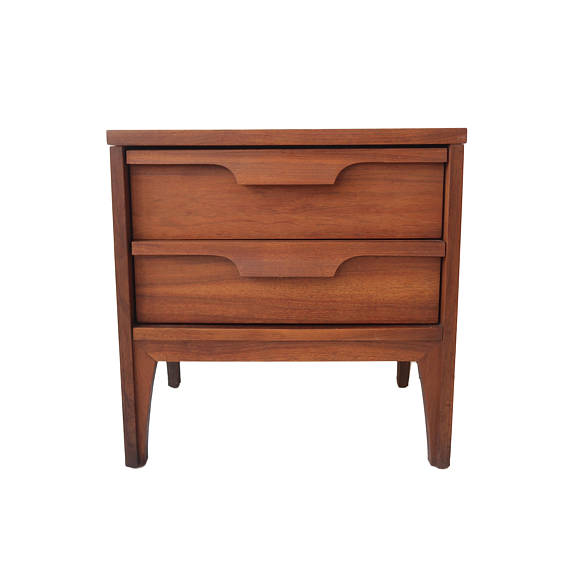
The room right now isn't bad! I coated the walls in Behr's Silver City, replaced half of the hardwoods due to termite damage, moved in all of the same furniture we had in our old house, then added a few new things. If you're into the before sources, here they are:

The Gold Hive ORC Bedroom Before-1-6.jpg
The Gold Hive ORC Bedroom Before-1-8.jpg
The Gold Hive ORC Bedroom Before-1-7.jpg

The Plan

First things first, I'm going to remove the door into the kitchen. While it's convenient to grab a snack before crawling into bed, having the door there prevents us from using the wall for furniture or art. Plus, when we remodel the back of the house later this year, this door is going to be in a different spot, so let's get it outta there now!

The Gold Hive ORC Bedroom Before-1-13.jpg

While I'm removing a door, I'll be adding one, too. I'm SO excited to have backyard access from the master. Since the bedroom isn't that big, by adding a door, it will open up the room to our (future) outdoor living space. When we remodel the backyard, I imagine a nice sitting area with a fire pit and lots-o-plants.

The Gold Hive ORC Bedroom Before-1-12.jpg

Also, how great will the view be from the den and the rest of the hallway when there's a view to the outdoors there? Swoon!

When these doors get removed/added, it will change the configuration of the furniture, too. Here's what I have in mind.

The Gold Hive ORC Bedroom Layout Plans.jpg

Along with the new orientation, the room will get all new bedding, furniture, light fixtures, window treatments, a rug, paint, and art. While I promise I'm not painting another mural, I will still be adding interest to the walls.

I'm a total sucker for board and batten, so that's what the master is getting! While wall treatments are currently trending - shiplap, anyone? - I'm adding a detail that has been in this house for the last 103 years. Tucked behind the room dividers in the living/dining room is some pretty, subtle board & batten that I'll be mimicking. Yay for old-house features and dimensions for inspiring new rooms!

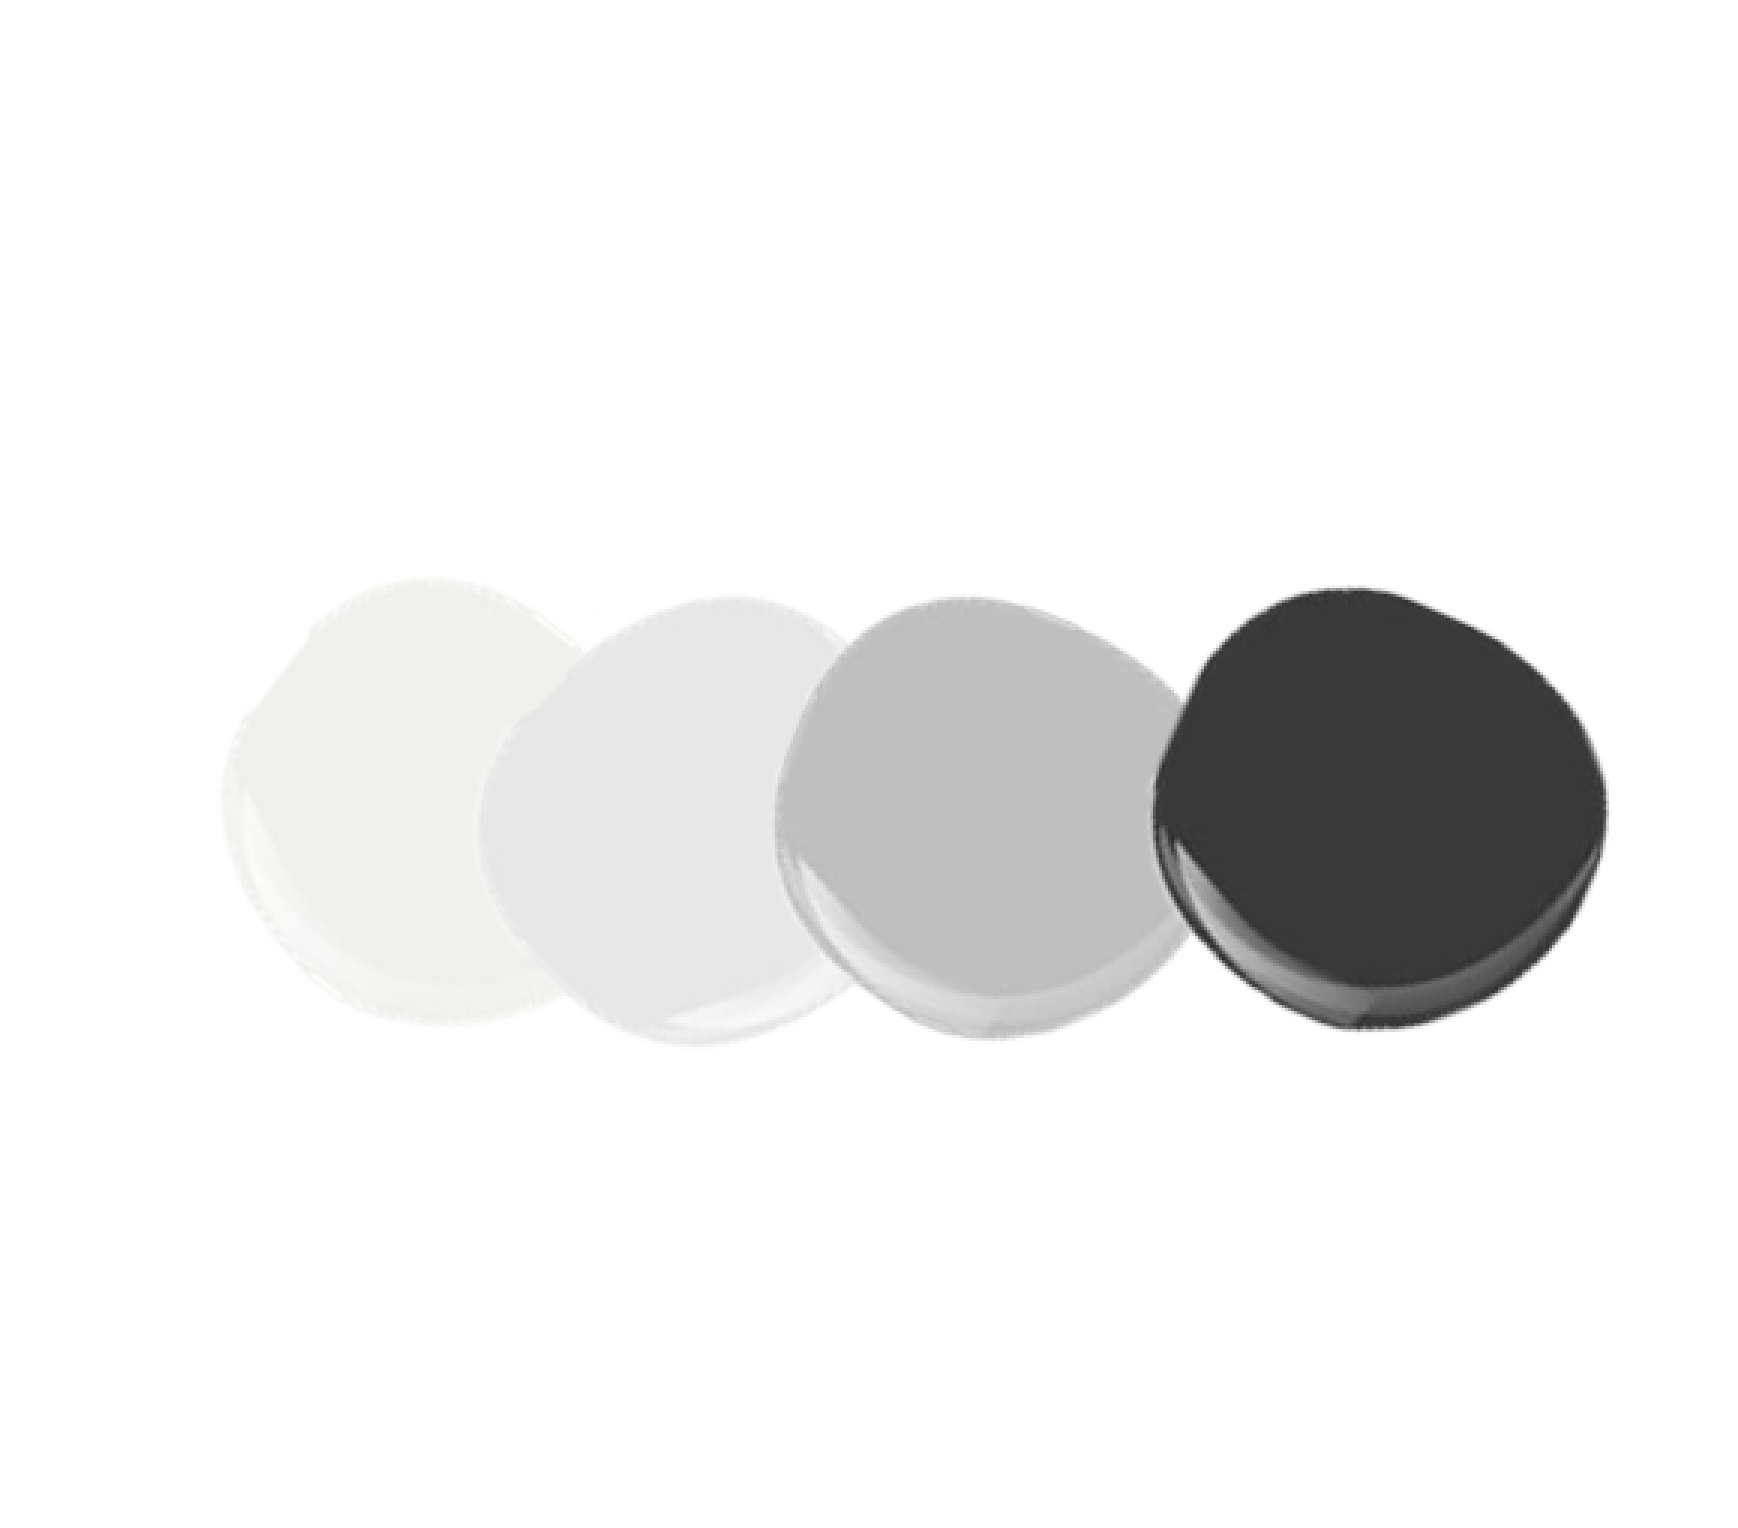
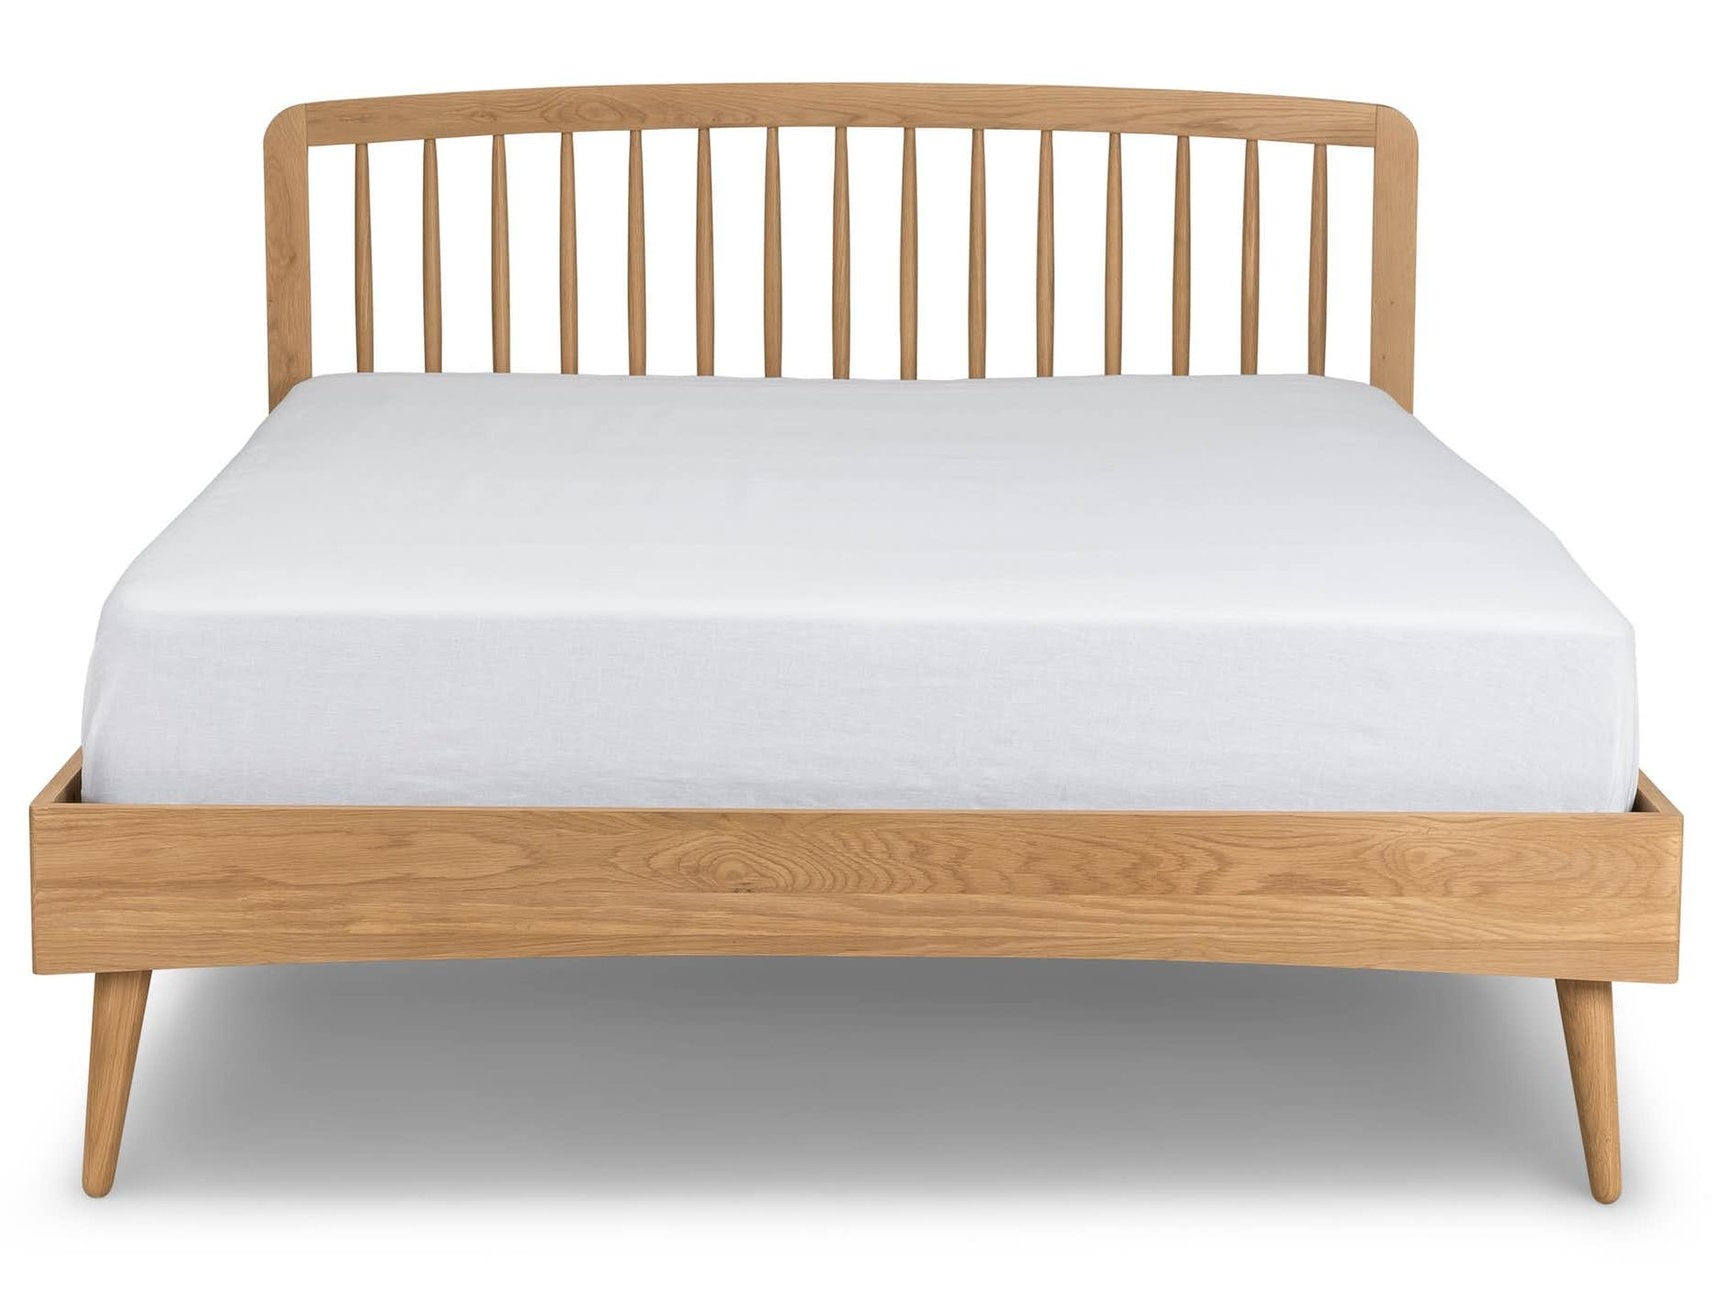
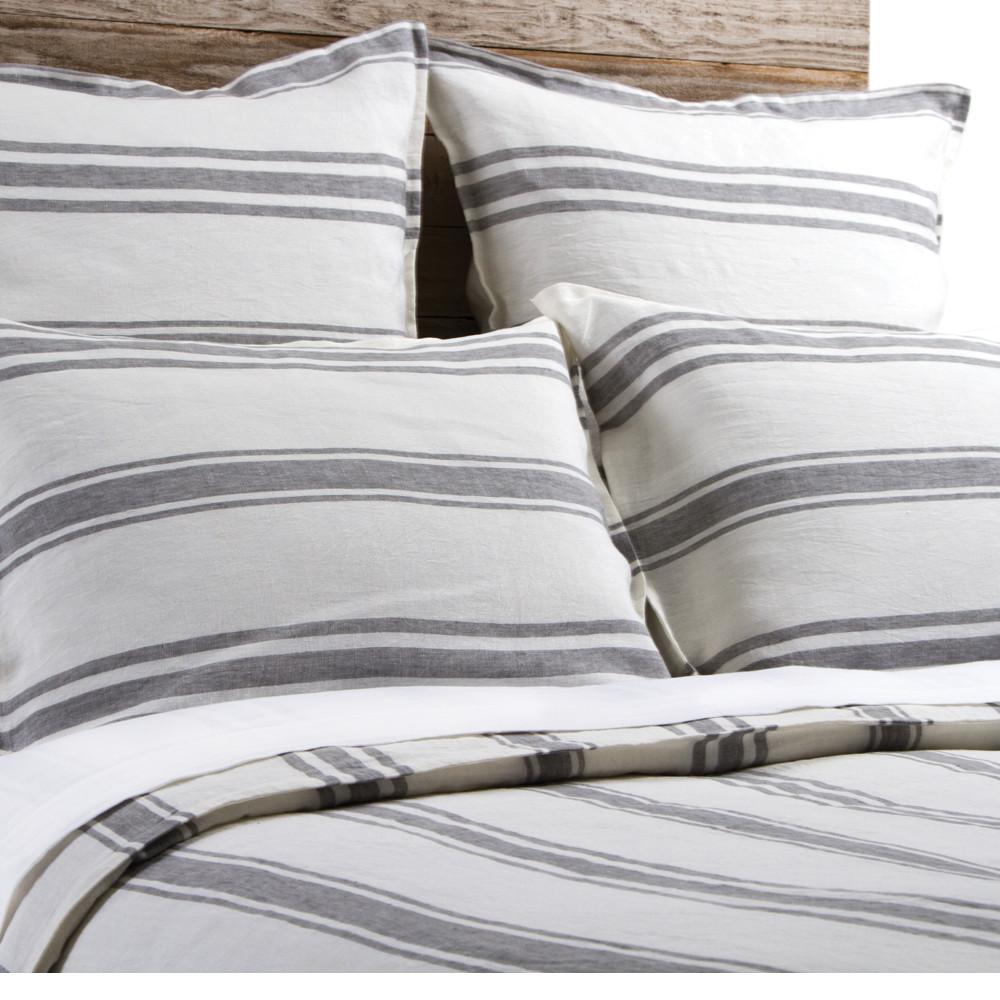
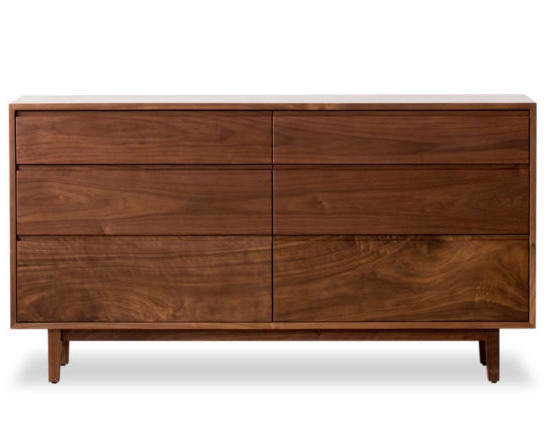
For the room transformation, I'm going for a subtle, moody vibe with neutrals and simple finishes. I'm still sourcing products because I'm plagued with indecision, so keep coming back for more updates! In the meantime, I give you a shoppable mood board.

the Future Products

I can't wait to share more with you as I finalize the finishes and pull the whole look together!

Come back next Wednesday for a progress post. I'm going to start putting holes in the wall this weekend to run new electrical, and I'll probably need your help picking paint, so keep an eye out in Instagram Stories! I'm also going to do videos throughout the process, so subscribe to my YouTube channel so you don't miss out. If you aren't already subscribed to the blog, you can do that here.

Check out progress from my fellow featured designers below, and don't miss out on the guest participants!


Apartment 34 | Beginning in the Middle | Coco & Jack | The English Room | The Gold Hive
Gray Malin | Jenna Sue Design | Jojotastic | Kelly Rogers Int. | Linda Holt | Marcus Design
Michelle Gage | Natasha Habermann | The Painted House | Rambling Renovators
Sacramento Street | Shannon Claire | Sketch 42 | Stephanie Kraus | Bisou Style
Media Partner House Beautiful | TM by ORC

To jump into the future and see how this room turned out, click here!

I Won The One Room Challenge, So I'm Doing It Again!

I can't remember if I even shared this glorious news on the blog, but I won the One Room Challenge last fall! Sophie Donelson, editor in chief of House Beautiful magazine, picked her top two favorites out of 200+ guest participants and mine was one of them! GASP! The other room transformation winner was my blogger bud, Natasha Habermann.

In case you forgot the room transformation I did, my home office won for the handpainted mural and my love for organization. You can walk through each of the seven weeks of the transformation here.

The Gold Hive Office Winner of the One Room Challenge Fall 2017
The Gold Hive Office Winner of the One Room Challenge Fall 2017 Before and After

Winning was a highlight, but the prize also comes with the honor of being a featured designer in the upcoming season of the One Room Challenge! The last two times I joined in, I was a guest participant which is open to anyone with a blog (so jump in if you like rambling on the internet!). Natasha and I will be participating with a group of 18 other featured designers for the Spring ORC starting next week! Come back in exactly 7 days to see what we all have up our sleeves. A handful of blog friends are joining as guests (like Sarah, Nicole, Cathy, and Alison) and I'm already itching to see what they do, so don't play favorites - check out the featured AND guest participants!

Spring 2018 Featured One Room Challenge Designers:

Apartment 34 | Beginning in the Middle | Coco & Jack | The English Room | The Gold Hive | Gray Malin | Jenna Sue Design | Jojotastic | Kelly Rogers Int. | Linda Holt | Marcus Design | Michelle Gage | Natasha Habermann | The Painted House | Rambling Renovators | Sacramento Street | Shannon Claire | Sketch 42 | Stephanie Kraus | Style Me Pretty Living
Media Partner House Beautiful | TM by ORC

I promise that this time around I won't hand paint a mural for 100+ hours. I'll take it a little easier, but I'm really excited for the changes headed for another room in our house. Any guesses as to which space is earning a 6-week makeover?

The Gold Hive Office Winner of the One Room Challenge Fall 2017 Before and After

One Room Challenge Week 7 - The Office and Mural Reveal!

Can you believe the One Room Challenge is over!? The day we've all been waiting for is here - the reveal! I've spent the last seven weeks completely transforming our home office and I'm thrilled to finally share it.

The Gold Hive Home Office Reveal ORC-0652.jpg

If you're anything like me and can't stand watching TV shows out of order, you can catch up on the progress at each of the below links. 
Week 1 - the before, the inspiration, and the plan
Week 2 - preparing for a bold wall mural
Week 3 - tricks for creating a perfect wall mural
Week 4 - painting the mural
Week 5 - walls, windows, and shades

If you're already caught up but want a refresher, take a look at the before photos.

The Gold Hive Office Before

And since side-by-sides are the best.

The Gold Hive Home Office Before and After.jpg
The Gold Hive Home Office Before and after 2.jpg

The room got an entirely new layout, lighting, storage, and window treatments, but most dramatically, an accent wall mural.

The Gold Hive Home Office Reveal ORC-0783.jpg
The Gold Hive Home Office Reveal ORC-0836.jpg

I think I put in about 100 hours painting this thing and I'm so tickled with how it turned out!

Come back next week when I release a video with a full time-lapse from start to finish!

The Gold Hive Home Office Reveal ORC-0715.jpg

As a reminder, I used an image I found on the Met's open source image archive, converted it into an image to project on the wall, then coated eight different colors (two layers each!) using beautiful paint from Farrow & Ball to get to where we are today.

The Gold Hive Home Office Reveal ORC-0584.jpg
The Gold Hive Home Office Reveal ORC-0603.jpg

We rearranged the layout to make better use of the room. The desk, which is actually a dining table, gives us more room to spread out and it's just so darn pretty with its black top and metal legs.

The Gold Hive Home Office Reveal ORC-0568.jpg
The Gold Hive Home Office Reveal ORC-00391.jpg
The Gold Hive Home Office Reveal ORC-0526.jpg

To make the table function more like a desk, we devised a cable management solution that lets us plug in our devices without cords dangling everywhere. We screwed the grid-it to the underside of the desk to keep our power supplies for our computers contained and also as flush as possible to the bottom of the desk. We also attached a cable clip to the corner and adhesive on the leg to run the extension cord along the leg to a nearby outlet. So many typical cord storage options are chunky and thus would be visible from nearly any angle. This configuration is invisible unless you're looking for it!

The Gold Hive Home Office Reveal ORC-0108.jpg

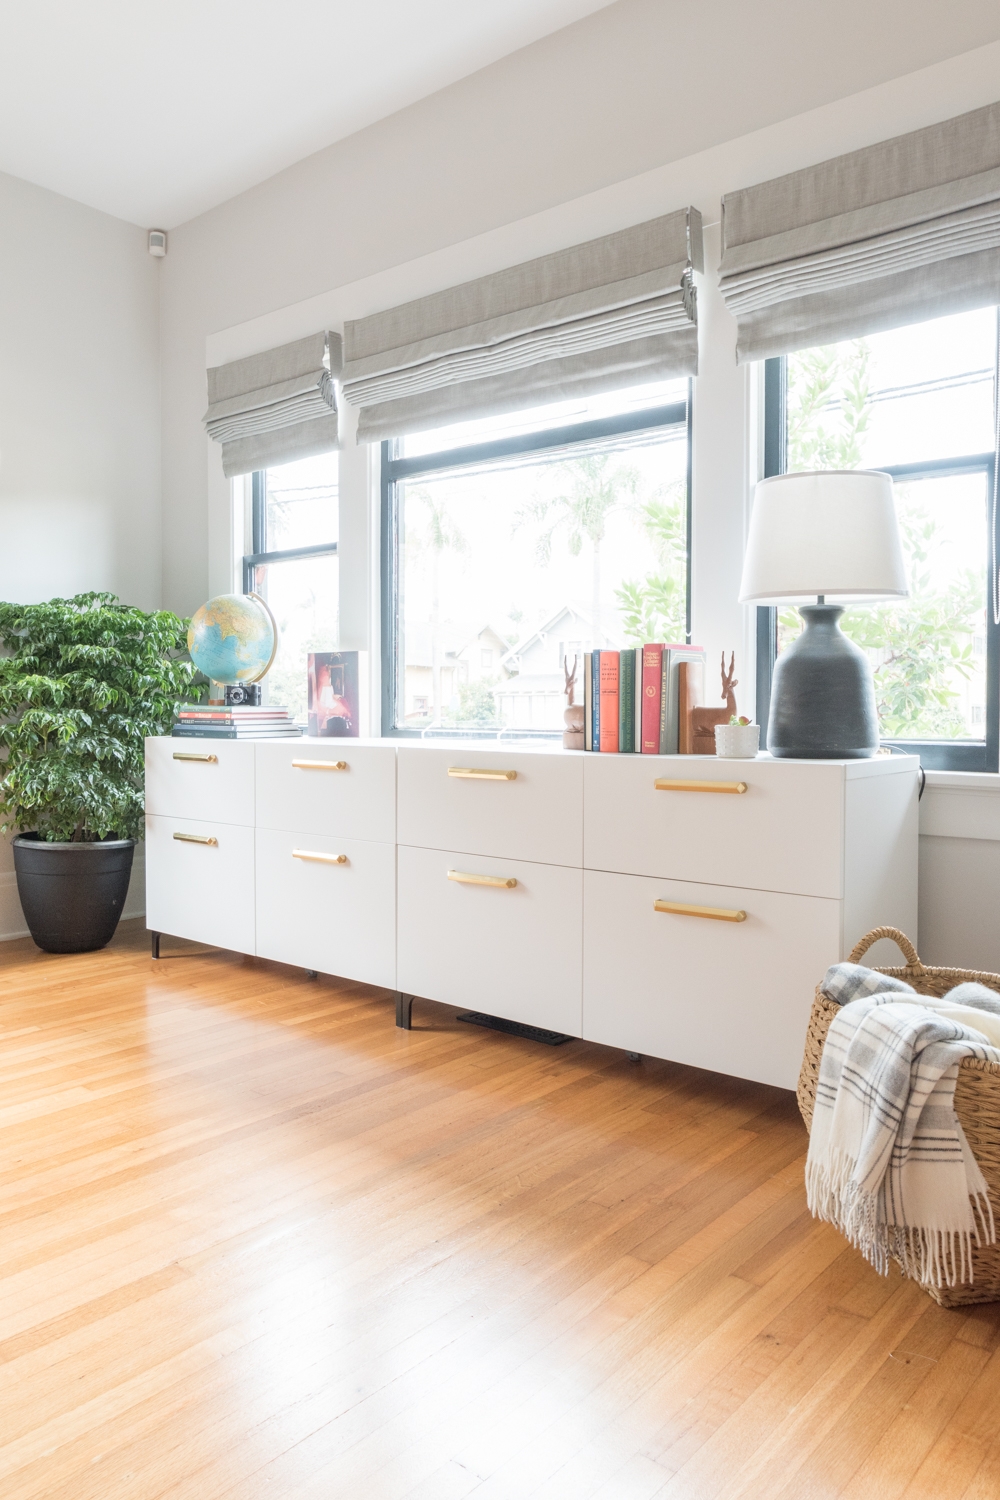
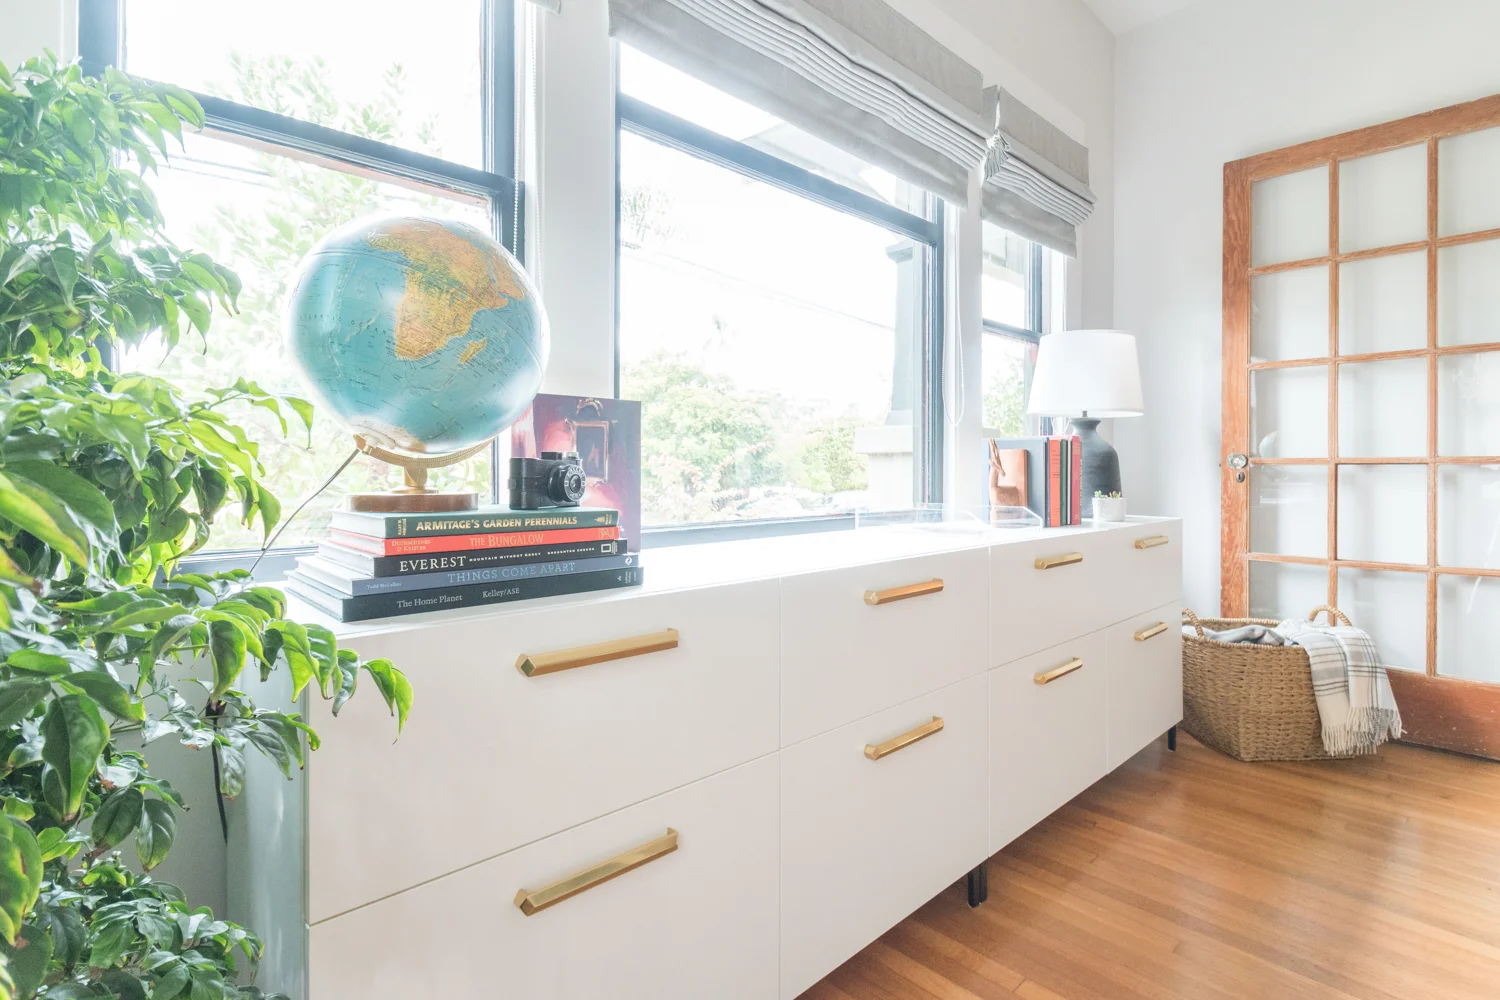
Speaking of storage, we put two IKEA cabinets side-by-side and customized the interior for all of our supplies. Be sure to check out last week's post detailing how we customized a ready-made piece.

The Gold Hive Home Office Reveal ORC-0720.jpg
The Gold Hive Home Office Reveal ORC-0723.jpg

Since Ross does most of his work on the road, his backpack is his portable office. The backpack used to get plopped on the floor in the corner whenever he was home. Now, it has its own spot in a basket.

The Gold Hive Home Office Reveal ORC-0113.jpg
The Gold Hive Home Office Reveal ORC-0710.jpg

Every office needs a graphic clock. One of the volunteers at the nonprofit I work at spotted this one for me and knew it was the perfect fit. Thanks, Nancy!

The Gold Hive Home Office Reveal ORC-0687.jpg

We moved the ceiling junction box a few feet over to provide task lighting for the desk. This brass beauty casts a lovely warm glow over the desk in the evenings.

The Gold Hive Home Office Reveal ORC-0706.jpg

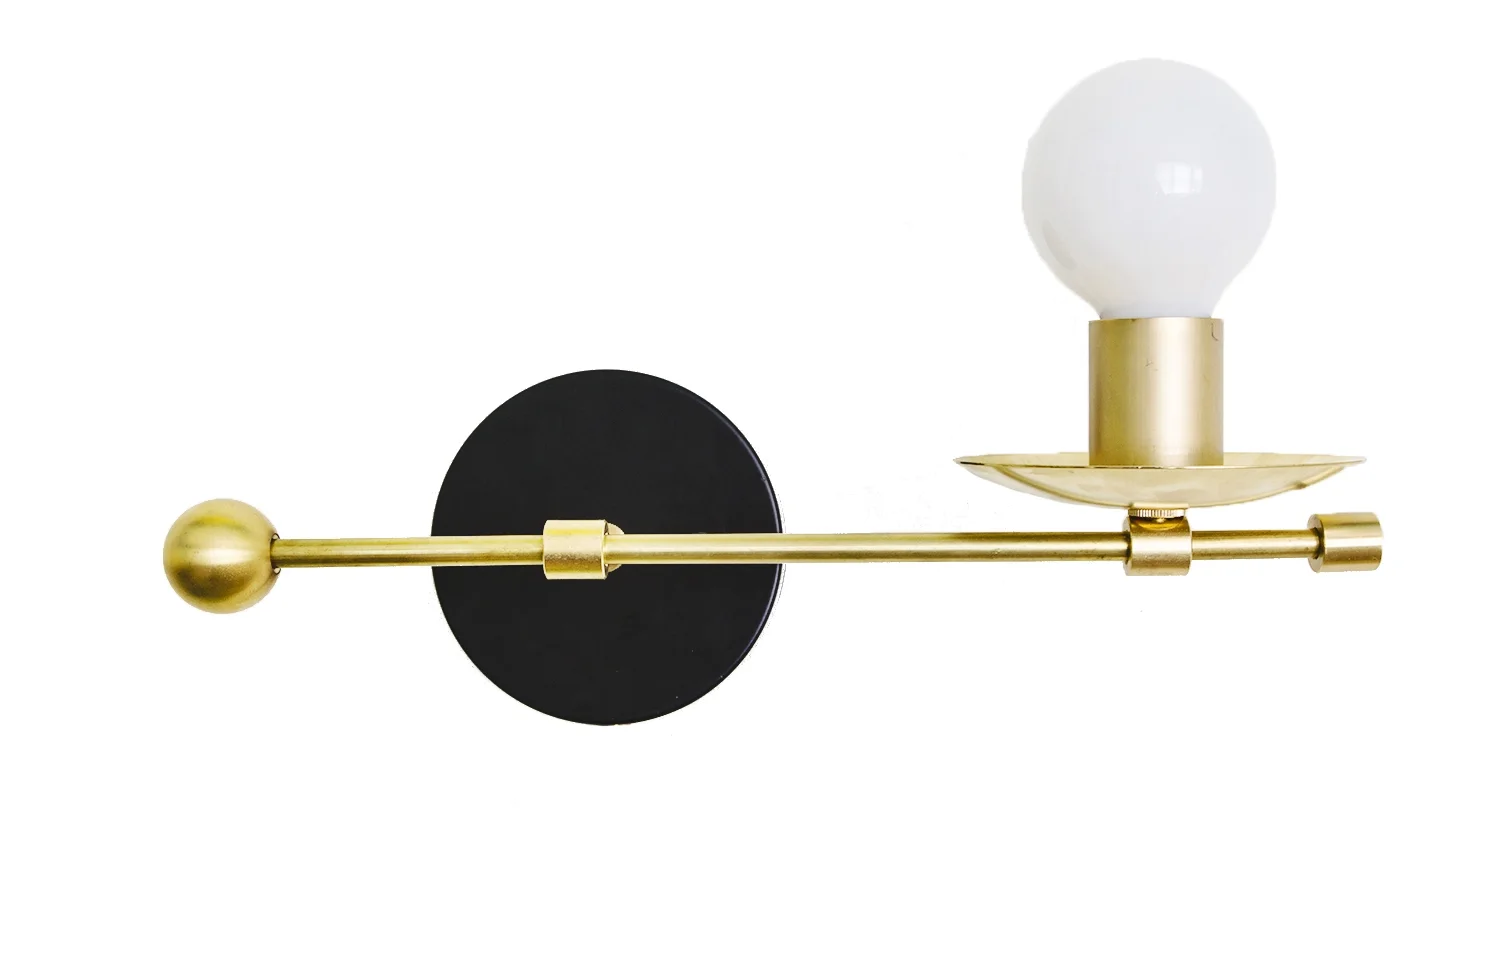
This wall sconce that I customized from one of my favorite Etsy shops lights the corner when the sun isn't pouring in. That globe also lights up, too!

You'll notice that the trim got a couple of coats of paint. I shared all about prepping walls for paint here and I talked about the woodwork painting debate here. Spoiler: I'm still a wood purist, which, while it seems oxymoronic, is why this severely damaged trim needed a slathering of paint.

We're lucky to have sunlight flood into this south and west-facing room, but sometimes it's a bit much. We added roman and solar shades to give us a variety of sunlight adjustments.

I have the hardest time picking rugs. Why? I have no idea! Someone help me next time! For this room, I wanted something traditional but not too high-contrast. I like the muted palette of this one and it's seriously the softest rug in the whole house. The. Softest.

reveal storage unit-0266.jpg

Because the mural is such a statement, I didn't want to go wild with graphic art, but I couldn't say no to the two pieces that live on the storage unit. Artist Mary Sinner is one of my favorites and she kindly sent me this original that I can't get over.

The Gold Hive Home Office Reveal ORC-0082.jpg

On our latest vacation, we picked up this print in Austin by Jon-Michael Frank. We knew it would be the perfect print for our office - even before the One Room Challenge was a twinkle in my eye. The print cracks me up every. single. time. I look at it. 

The Gold Hive Home Office Reveal ORC-0662.jpg
The Gold Hive Home Office Reveal ORC-0106.jpg

Get The Look:

If you're tuning in via the One Room Challenge and want to stay up to date on all of my home's transformations, subscribe to get future posts in your email! Also, follow along on Instagram for daily updates.

Big thanks to Farrow & Ball for supplying the paint to make the mural possible! For a full breakdown on each color and the painting process, click here!

I'm not the only one that slaved away to transform a space over the past seven weeks. Check out the featured bloggers and guest participants!

One Room Challenge Week 6 - IKEA Hack for Custom Office Storage

It's week six of the One Room Challenge! Today would be the day that you'd see the full reveal. However! You have to wait another seven days since the design challenge has been extended by another week.

modern office storage reveal

If you're jumping in now, I'm Ashley and I'm transforming my home office of our 1915 craftsman bungalow in San Diego. Take a look at the plans which include a new layout, storage, lighting, furniture, and most importantly, a dramatic mural! Catch up on the last five weeks of progress here.

I'm still actively working on the mural, but this week I'm sharing how we customized storage for our home office needs.

If you recall, the only storage we had in our previous office was a hutch.

Office storage before

It was a mid-century beauty but it wasn't designed for keeping files, electronics, or office necessities. So, I added a filing cabinet to the mix, but still had nowhere for camera gear or odds and ends. Everything we didn't use was on display and everything necessary for the office didn't have a home and was just strewn about on top of the desk or throughout the house.

Have you ever tried looking for attractive filing cabinets with combined storage and drawers? It's nearly impossible. I first started looking at office furniture but the options are pretty limited to exclusively filing cabinets without any other storage for odds and ends. So then I looked at credenzas and media cabinets. They were the best option, but if they had doors, I wanted drawers, and if they had drawers, I'd wish they were deep enough to fit hanging files. Gah!

Additionally, I wanted a low cabinet that wouldn't obstruct the view out the window, and something long enough to fill most of the wall. It just simply doesn't exist out there! Then, I came across this beauty that can be customized to the depth, height, and length as well as drawer and cabinet features. It was exactly what I wanted. I was in love. BUT because it was custom made, it wouldn't have arrived in time for the One Room Challenge. 

So I went back to square one and searched high and low for something premade that fit the bill. Then, decided an IKEA hack was the way to go. 

custom IKEA office storage

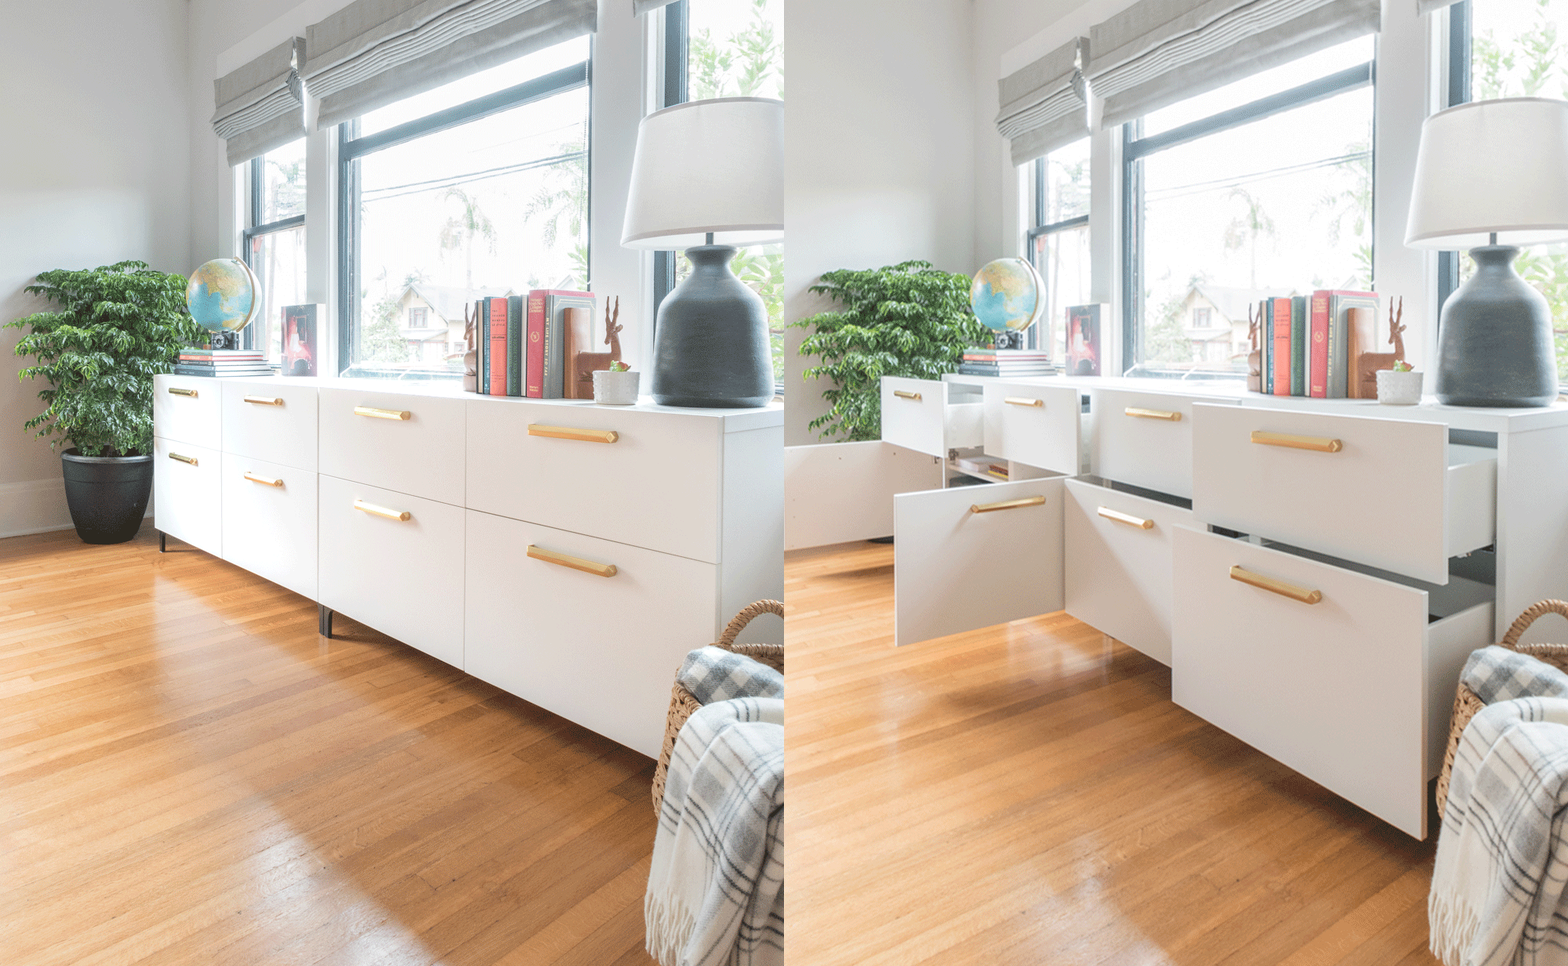
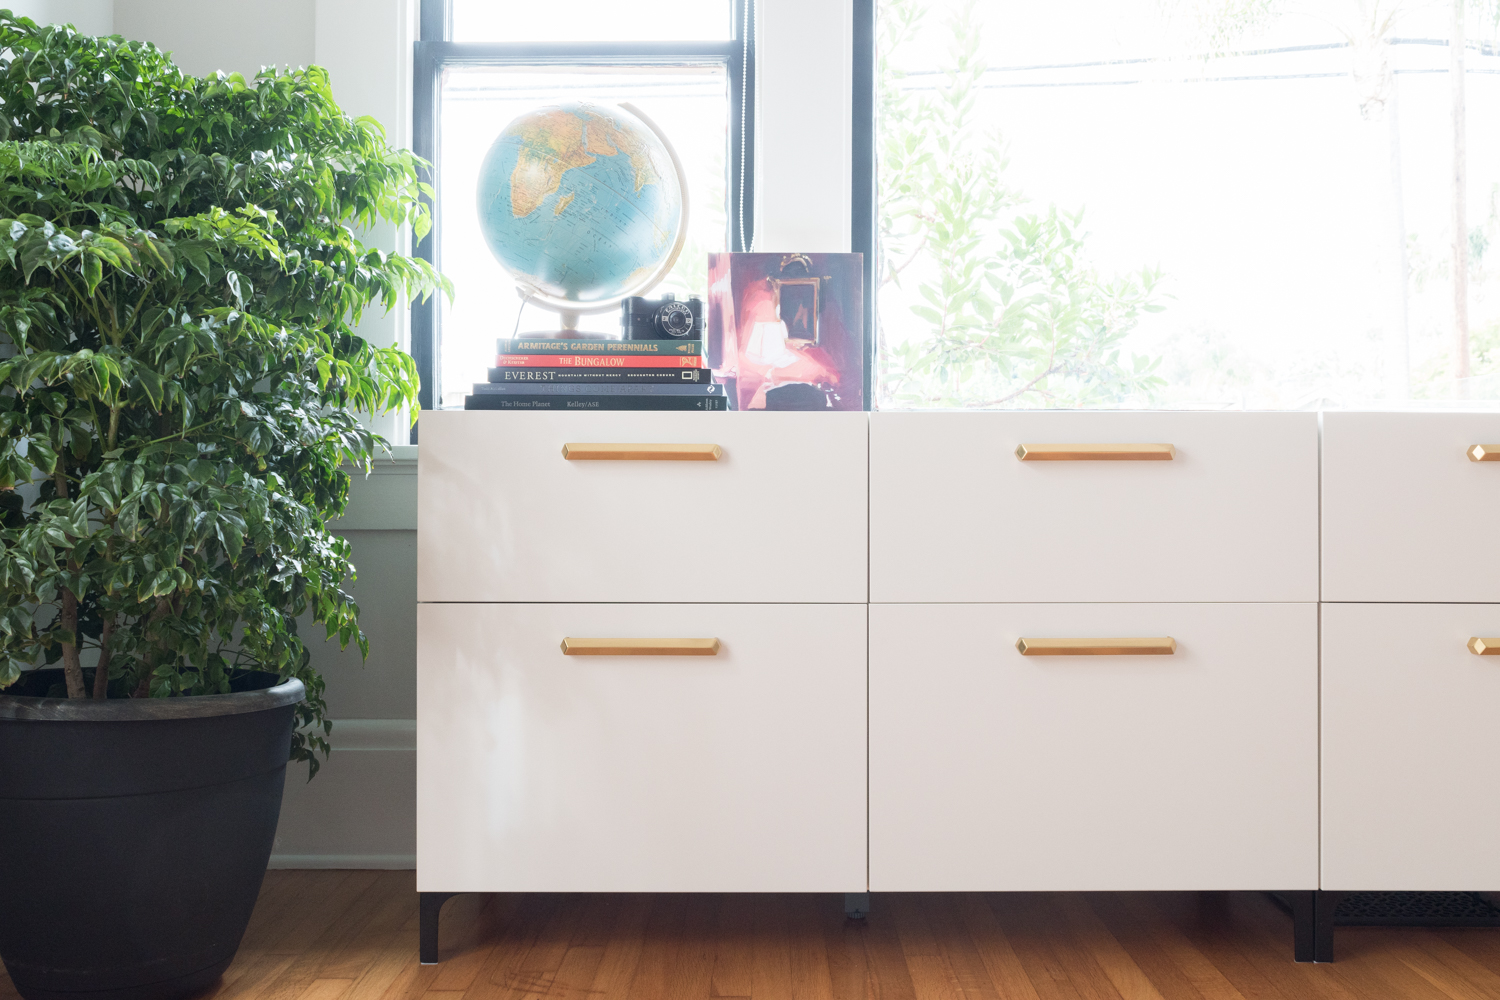
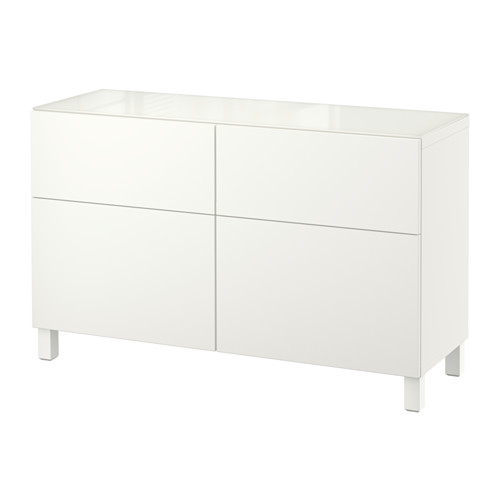
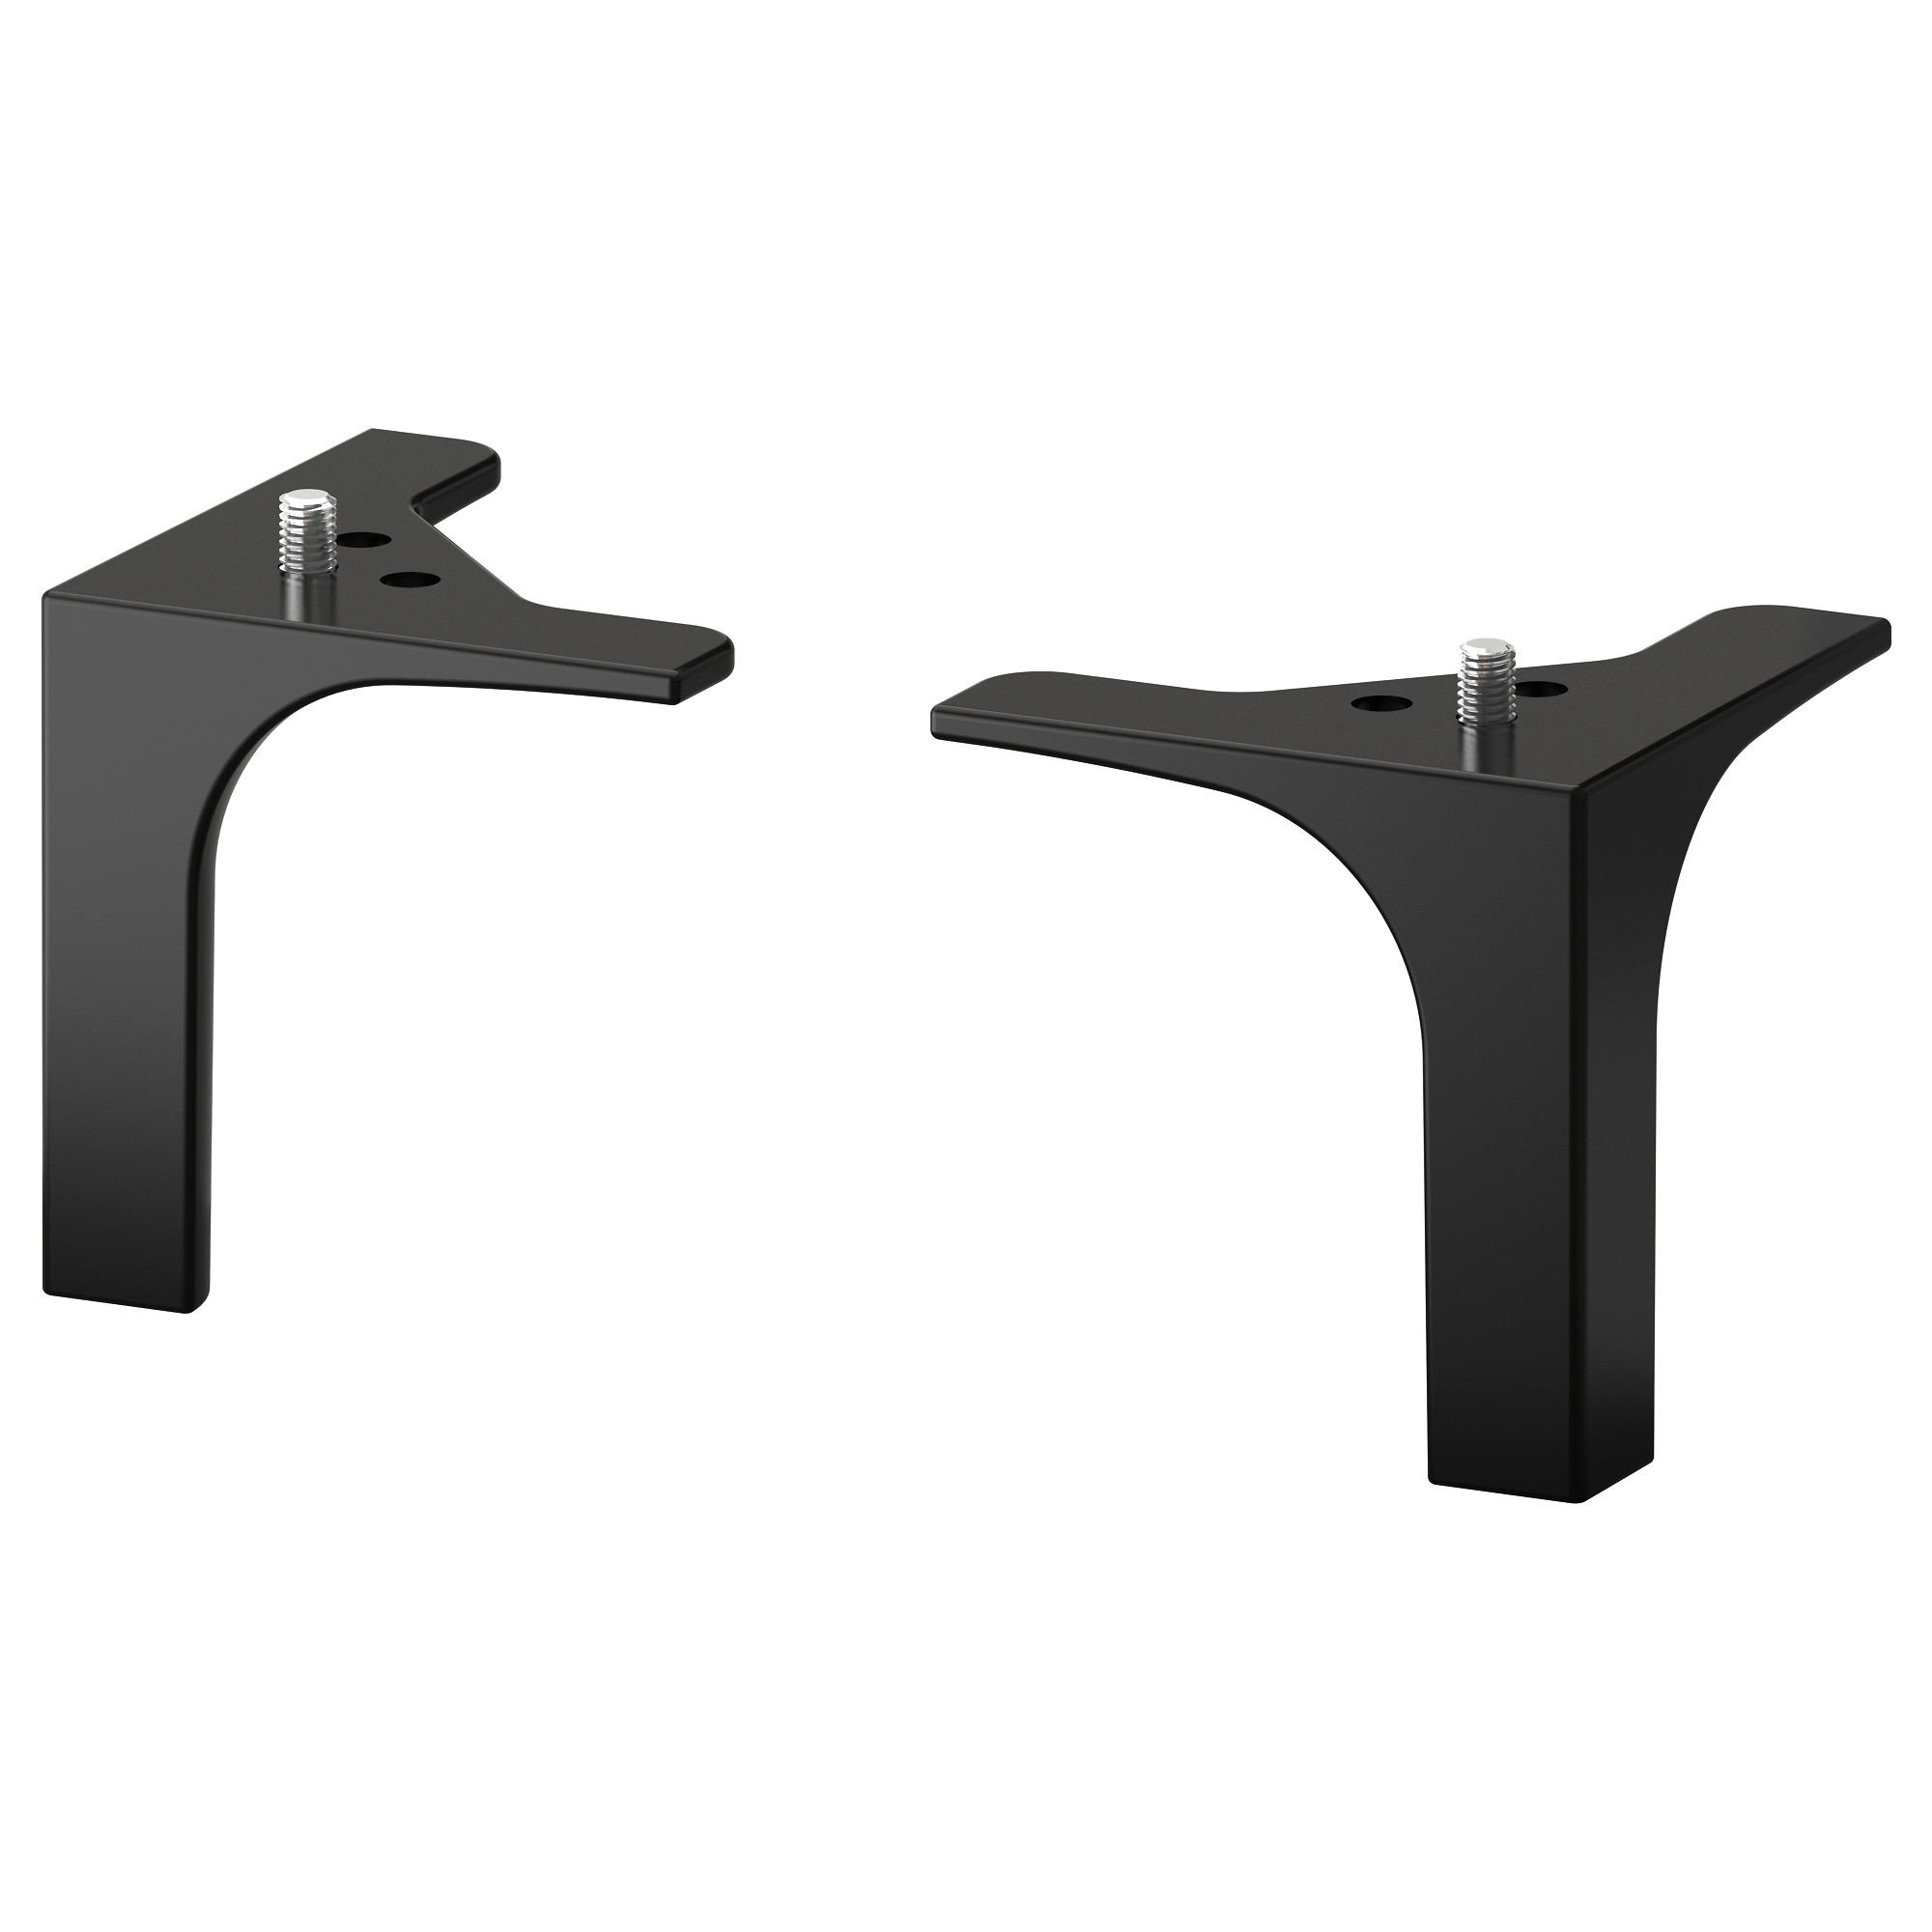
I started off with one of the BESTA units in the 47x15x29" size with four drawers. Then, got another of the same size, but with three drawers and one cabinet with doors. We also added a few legs and shelves to the mix along with some of the BESTA storage options. A full shopping list is at the bottom of this post.

IKEA has a bad rap, but I genuinely enjoy assembling their furniture. Call me up the next time you don't want to assemble your cabinet. I'll bring my "helpful" assistant along with me to support. 

reveal storage unit-0239.jpg

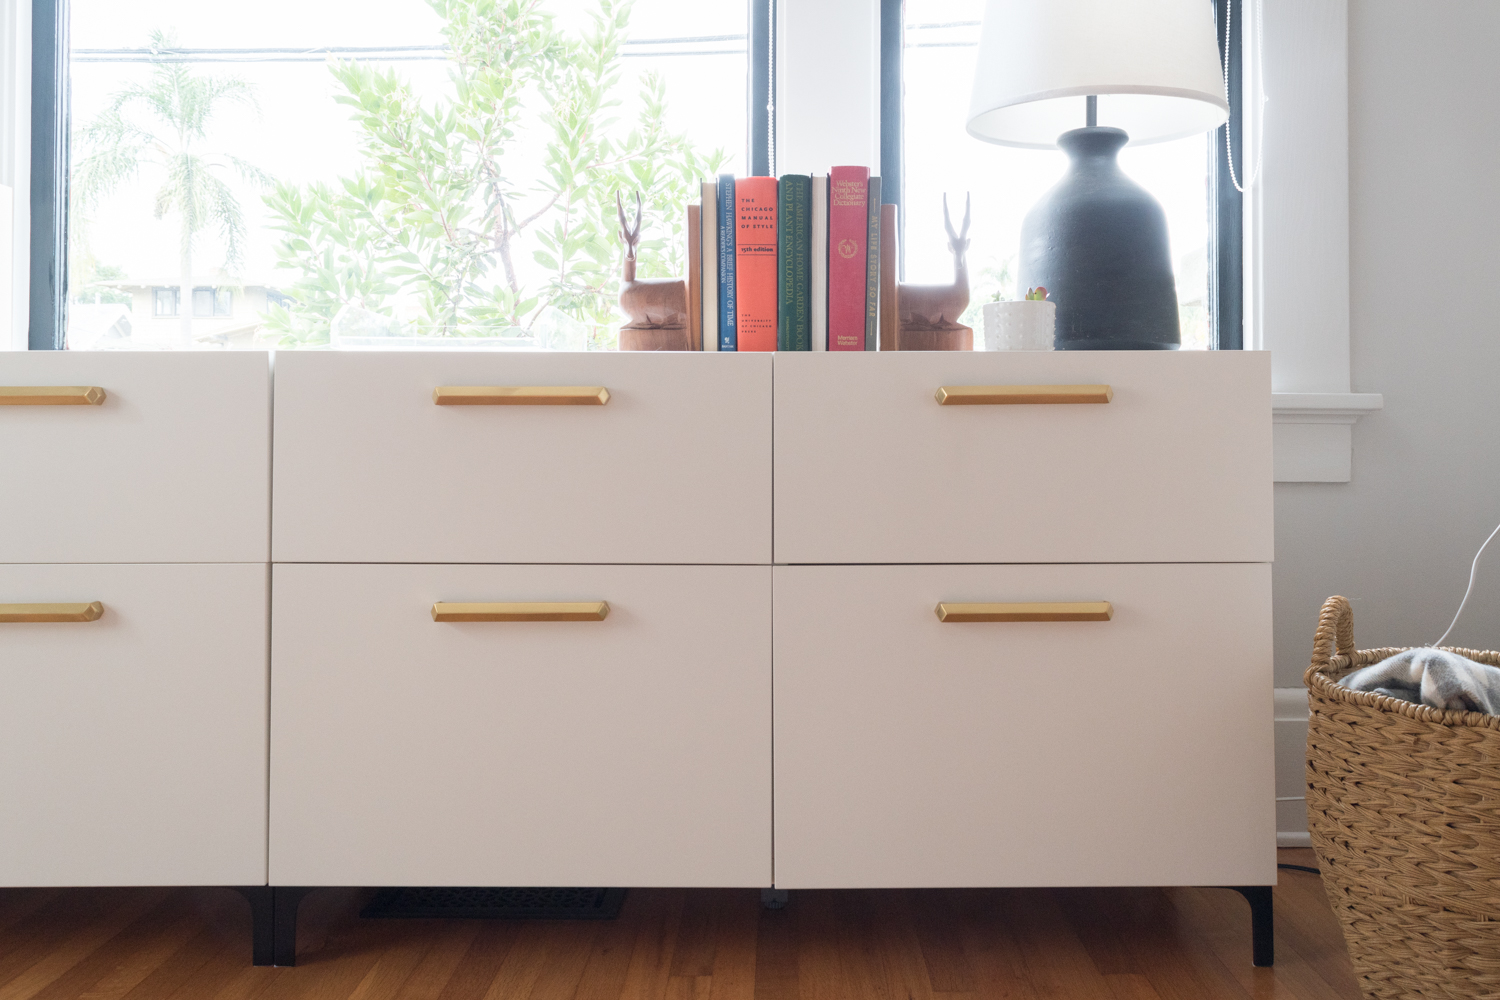
We dressed up the plain white cabinets with the most beautiful handles.

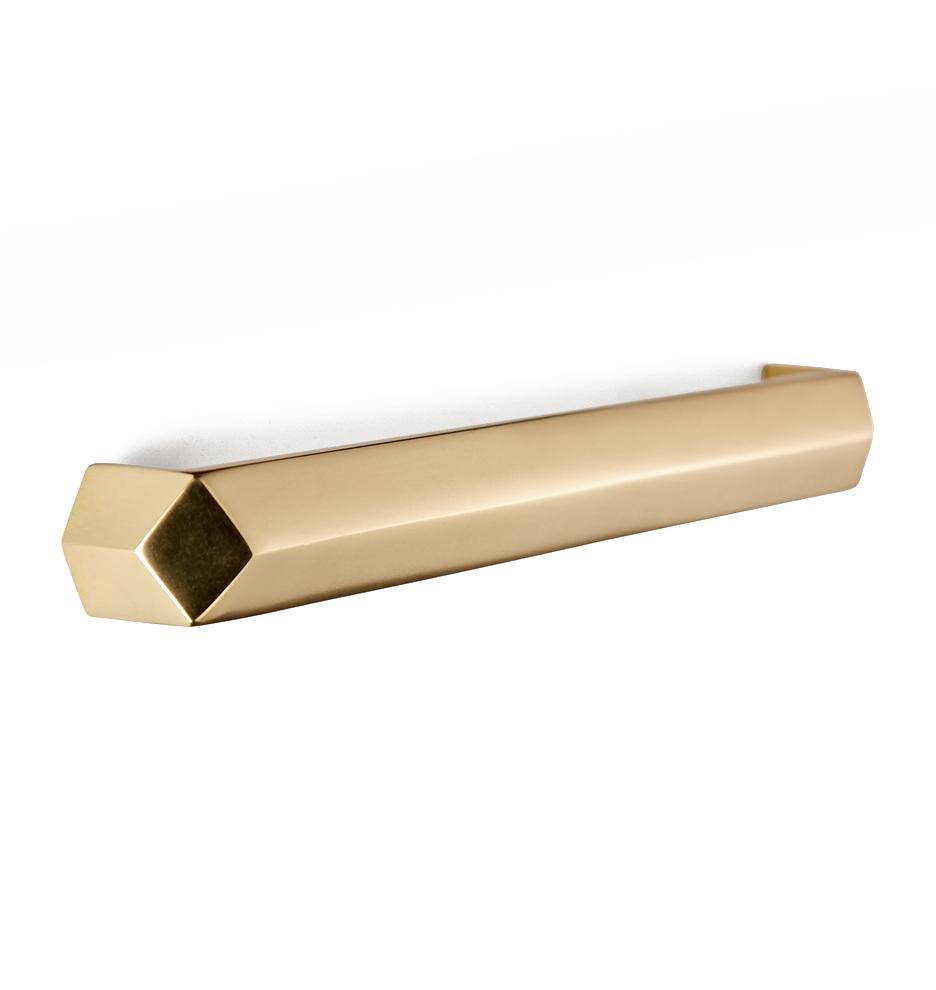
It's no surprise that I went with a pretty brass finish. These are the 8" Blake Drawer Pulls from Rejuvenation and me oh my are they dreamy!

drilling holes-0220.jpg

What's great about the IKEA drawer fronts is that you can install any kind of hardware in any spot on the cabinet because it doesn't have any pre-drilled holes. I could have done knobs, narrower handles, or installed them at any height. The unlimited design options are great, yet I was plagued with indecision when it came to placing the handles. 

reveal storage unit-0177.jpg

The beauty of the customization is how it holds all my things. Shall we take a look at what's inside?

open-and-close.gif
reveal storage unit-0235.jpg

The most officey drawer is the one with the everyday office gear. It also houses everyday home improvement tools so I don't need to run to the garage whenever I need to hammer something. This collection of tools is veeeery minimal at the moment. I'm sure this will become a junk drawer in no time, but I'm going to try to resist putting the reciprocating saw in here. 

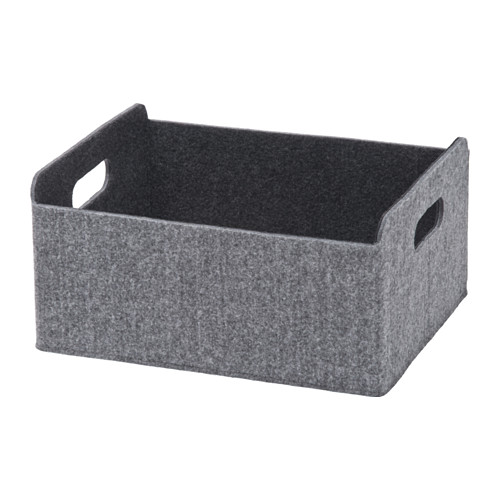
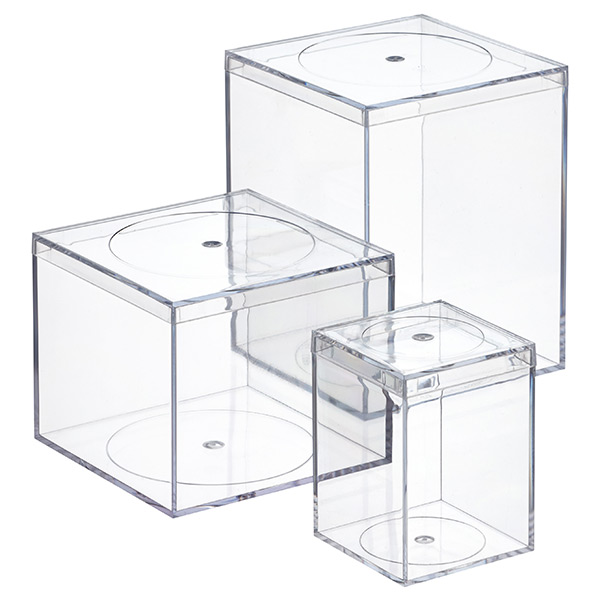
To corral everything, I used the BESTA box and these Amac boxes from the Container Store.

reveal storage unit-0296.jpg

I'm prone to losing my shutter release remote for the camera, so I am sure glad to have a spot to keep the camera gear. Obviously not pictured is the camera and the tripod, both of which fit in the drawer.

reveal storage unit-0195.jpg

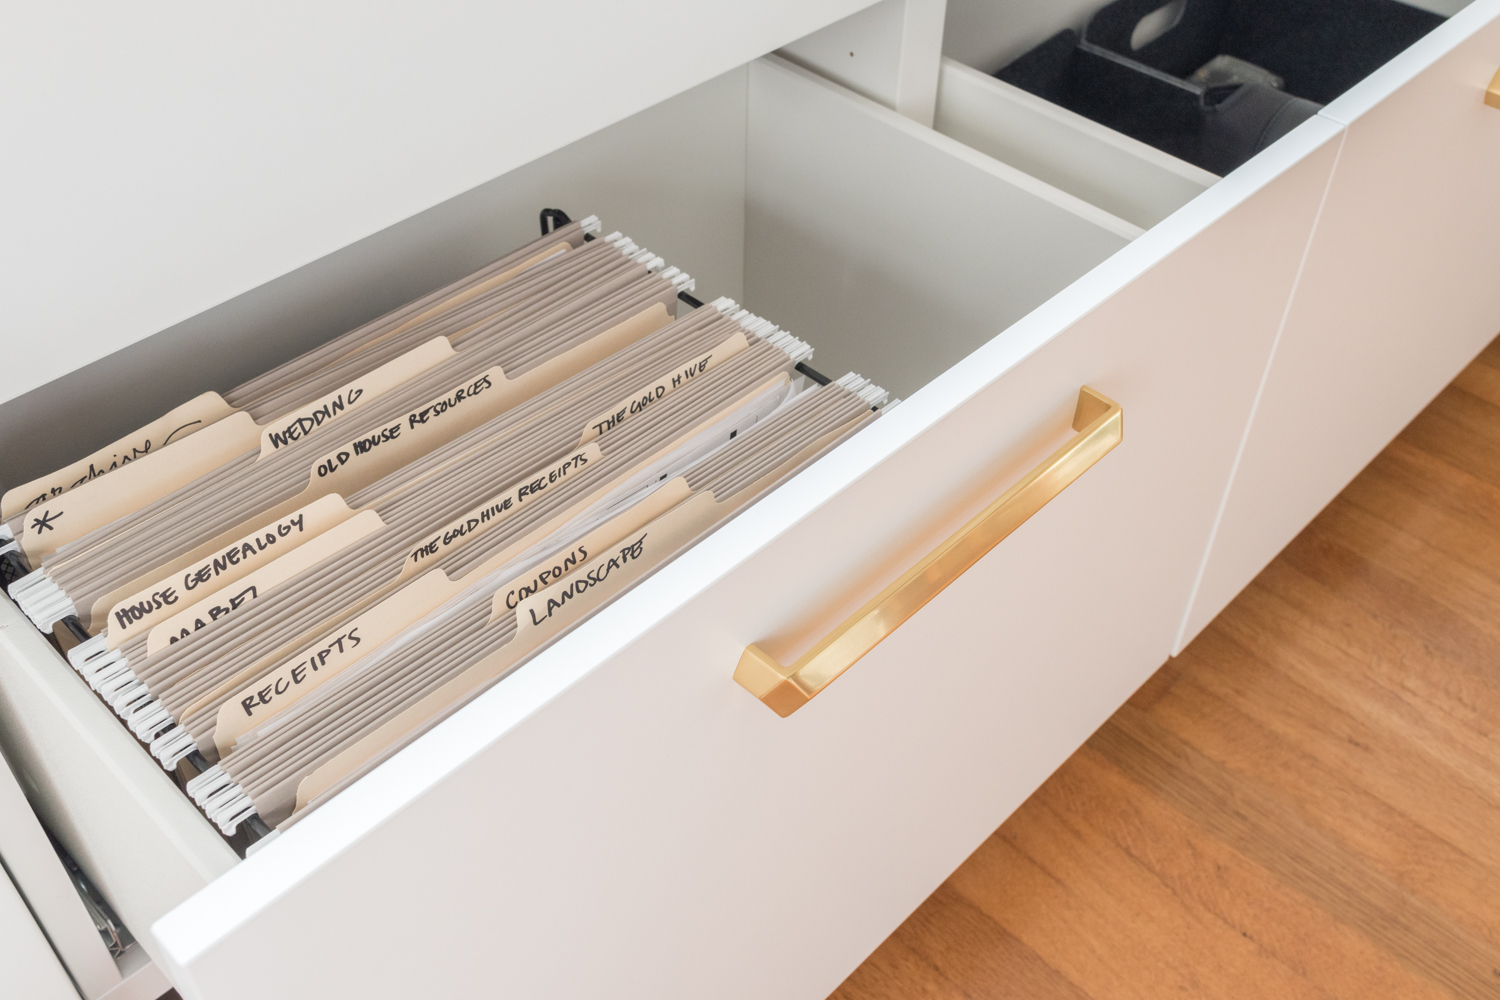
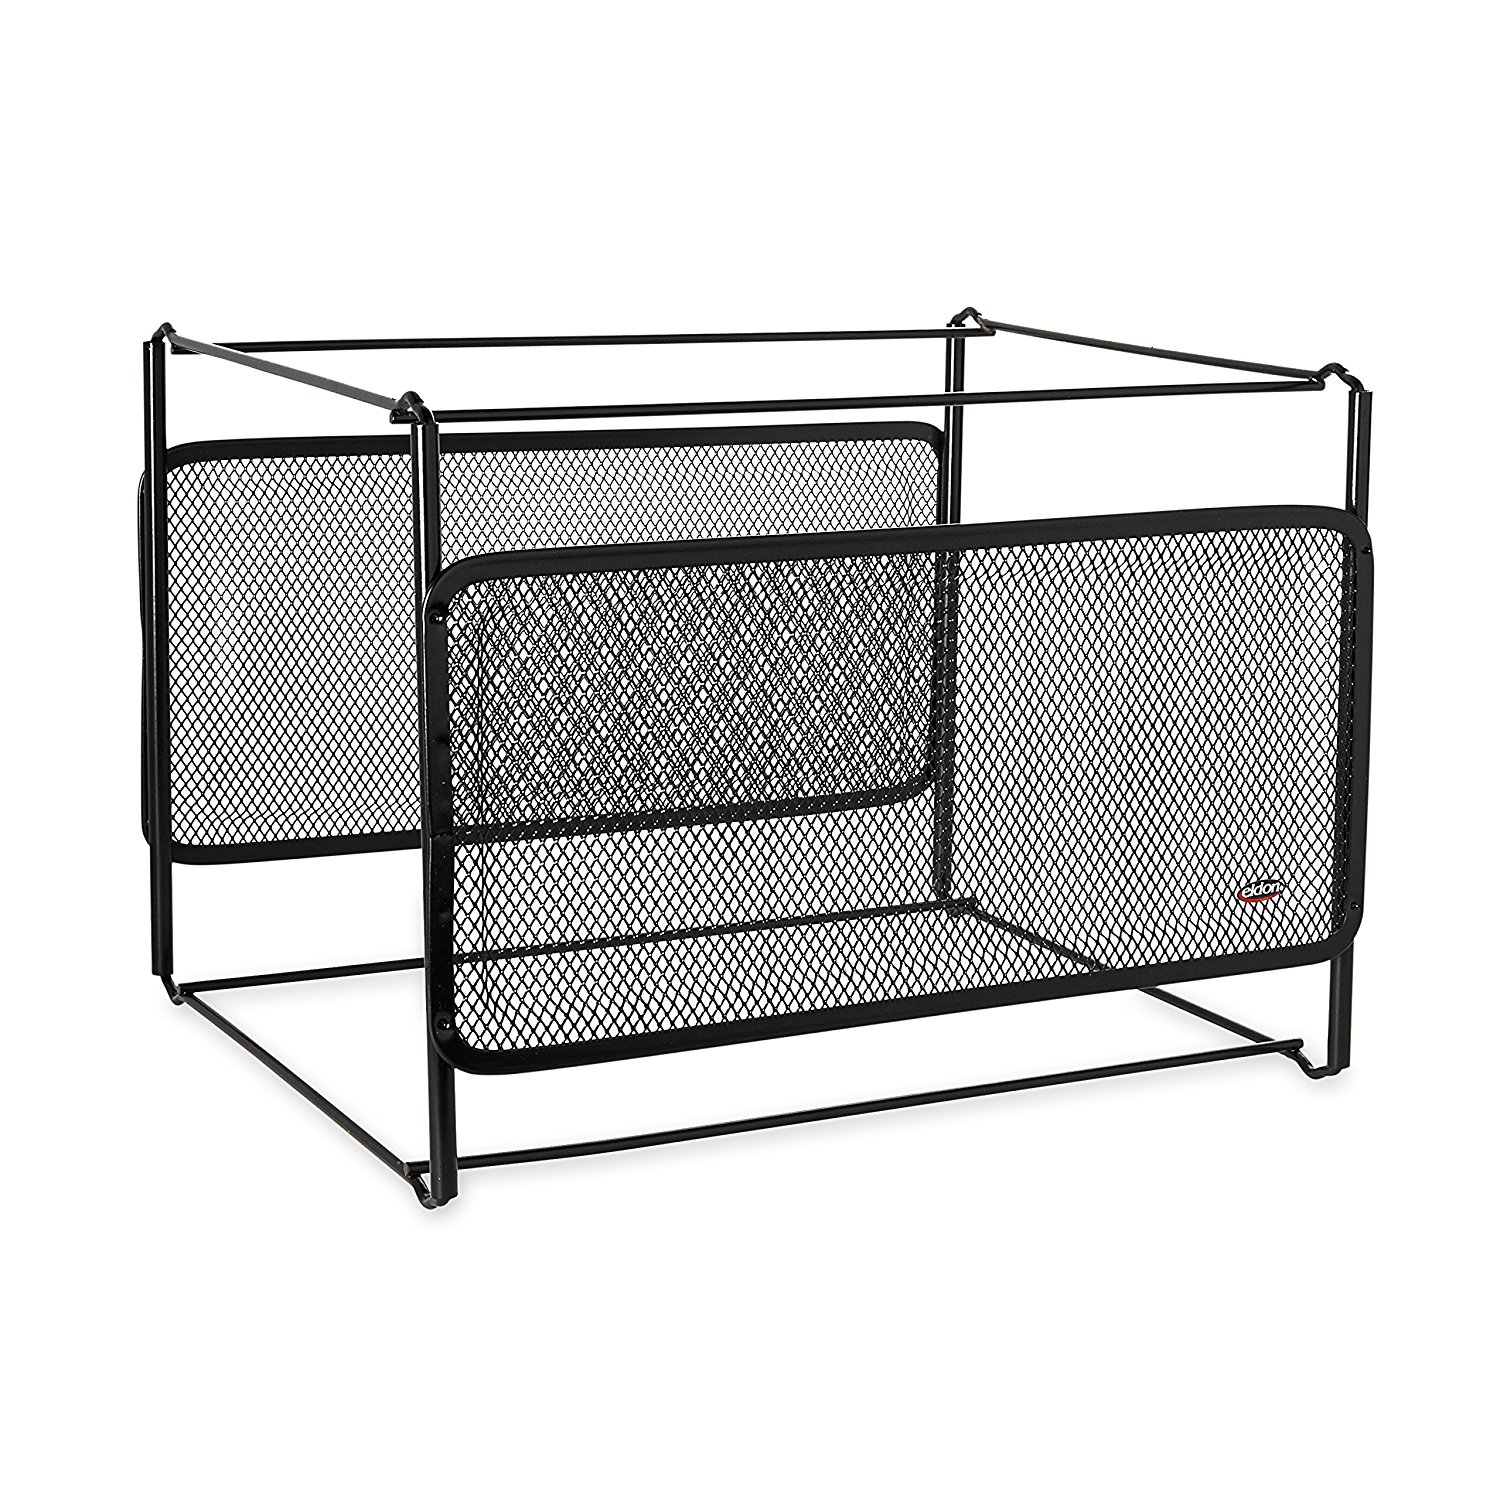
The drawers aren't designed for file storage, but they are just the right size for a standalone hanging file unit which keeps paperwork nicely filed, and also some space for who knows what!

reveal storage unit-0214.jpg

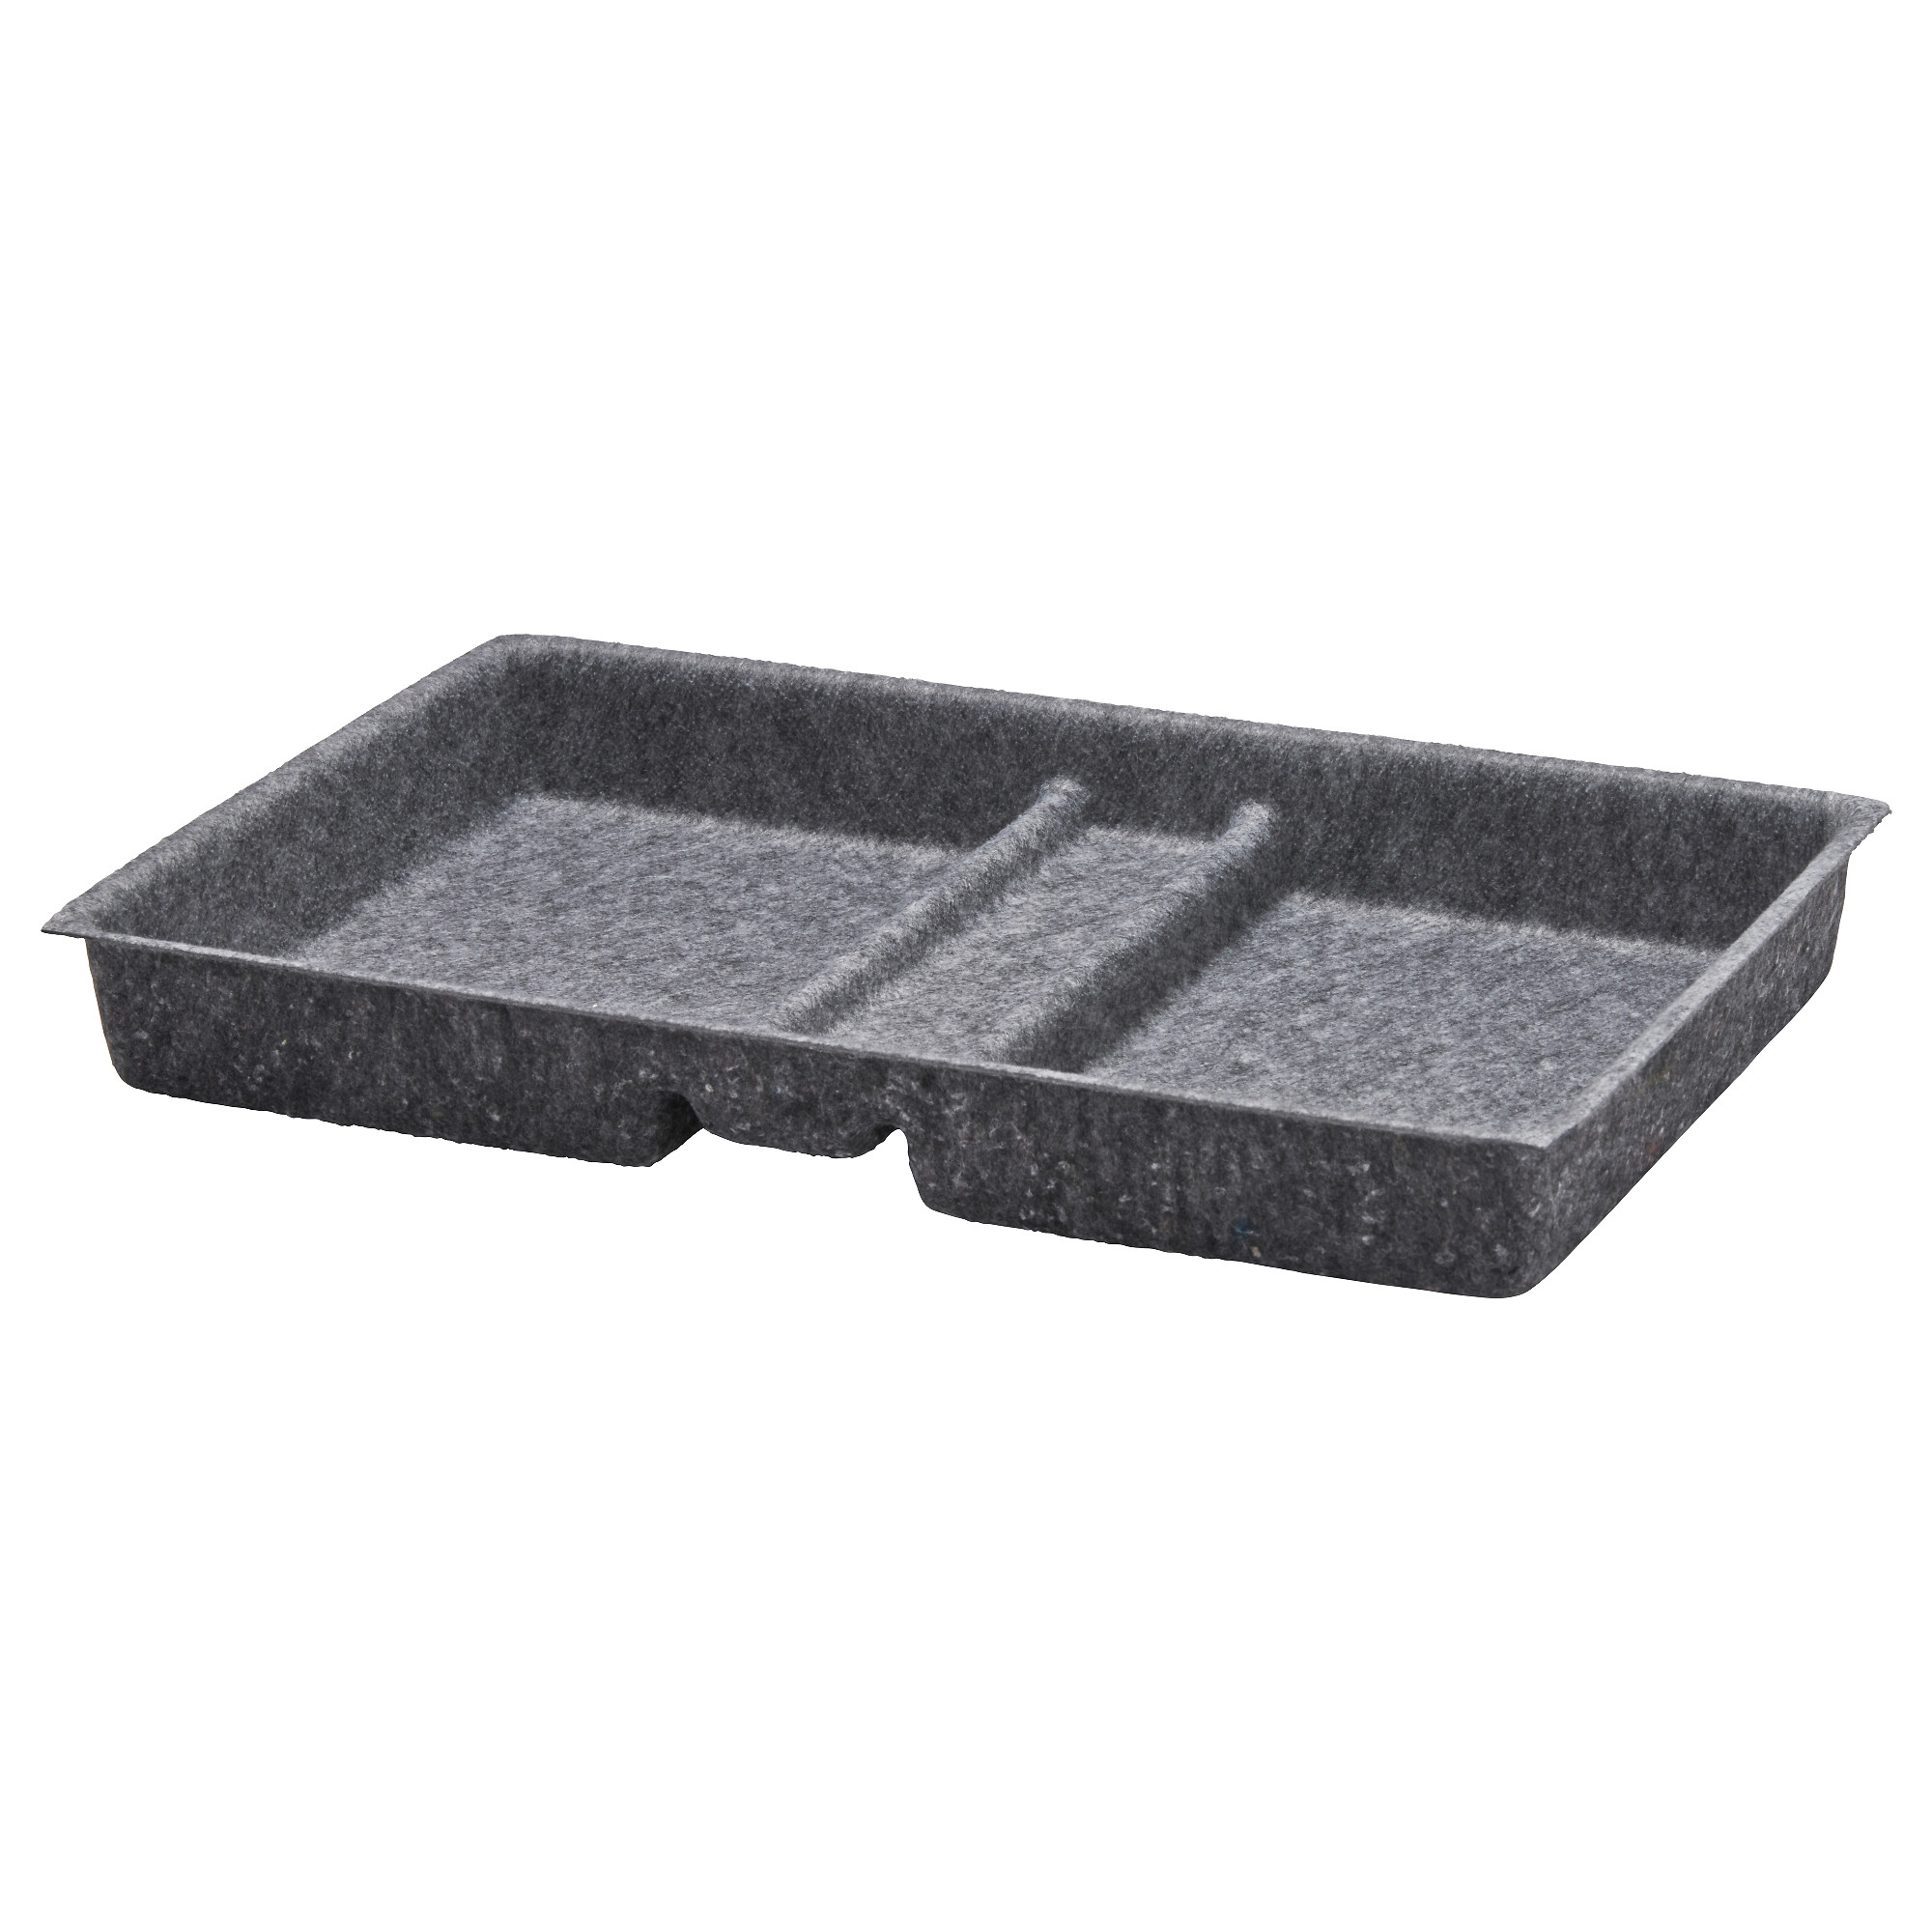
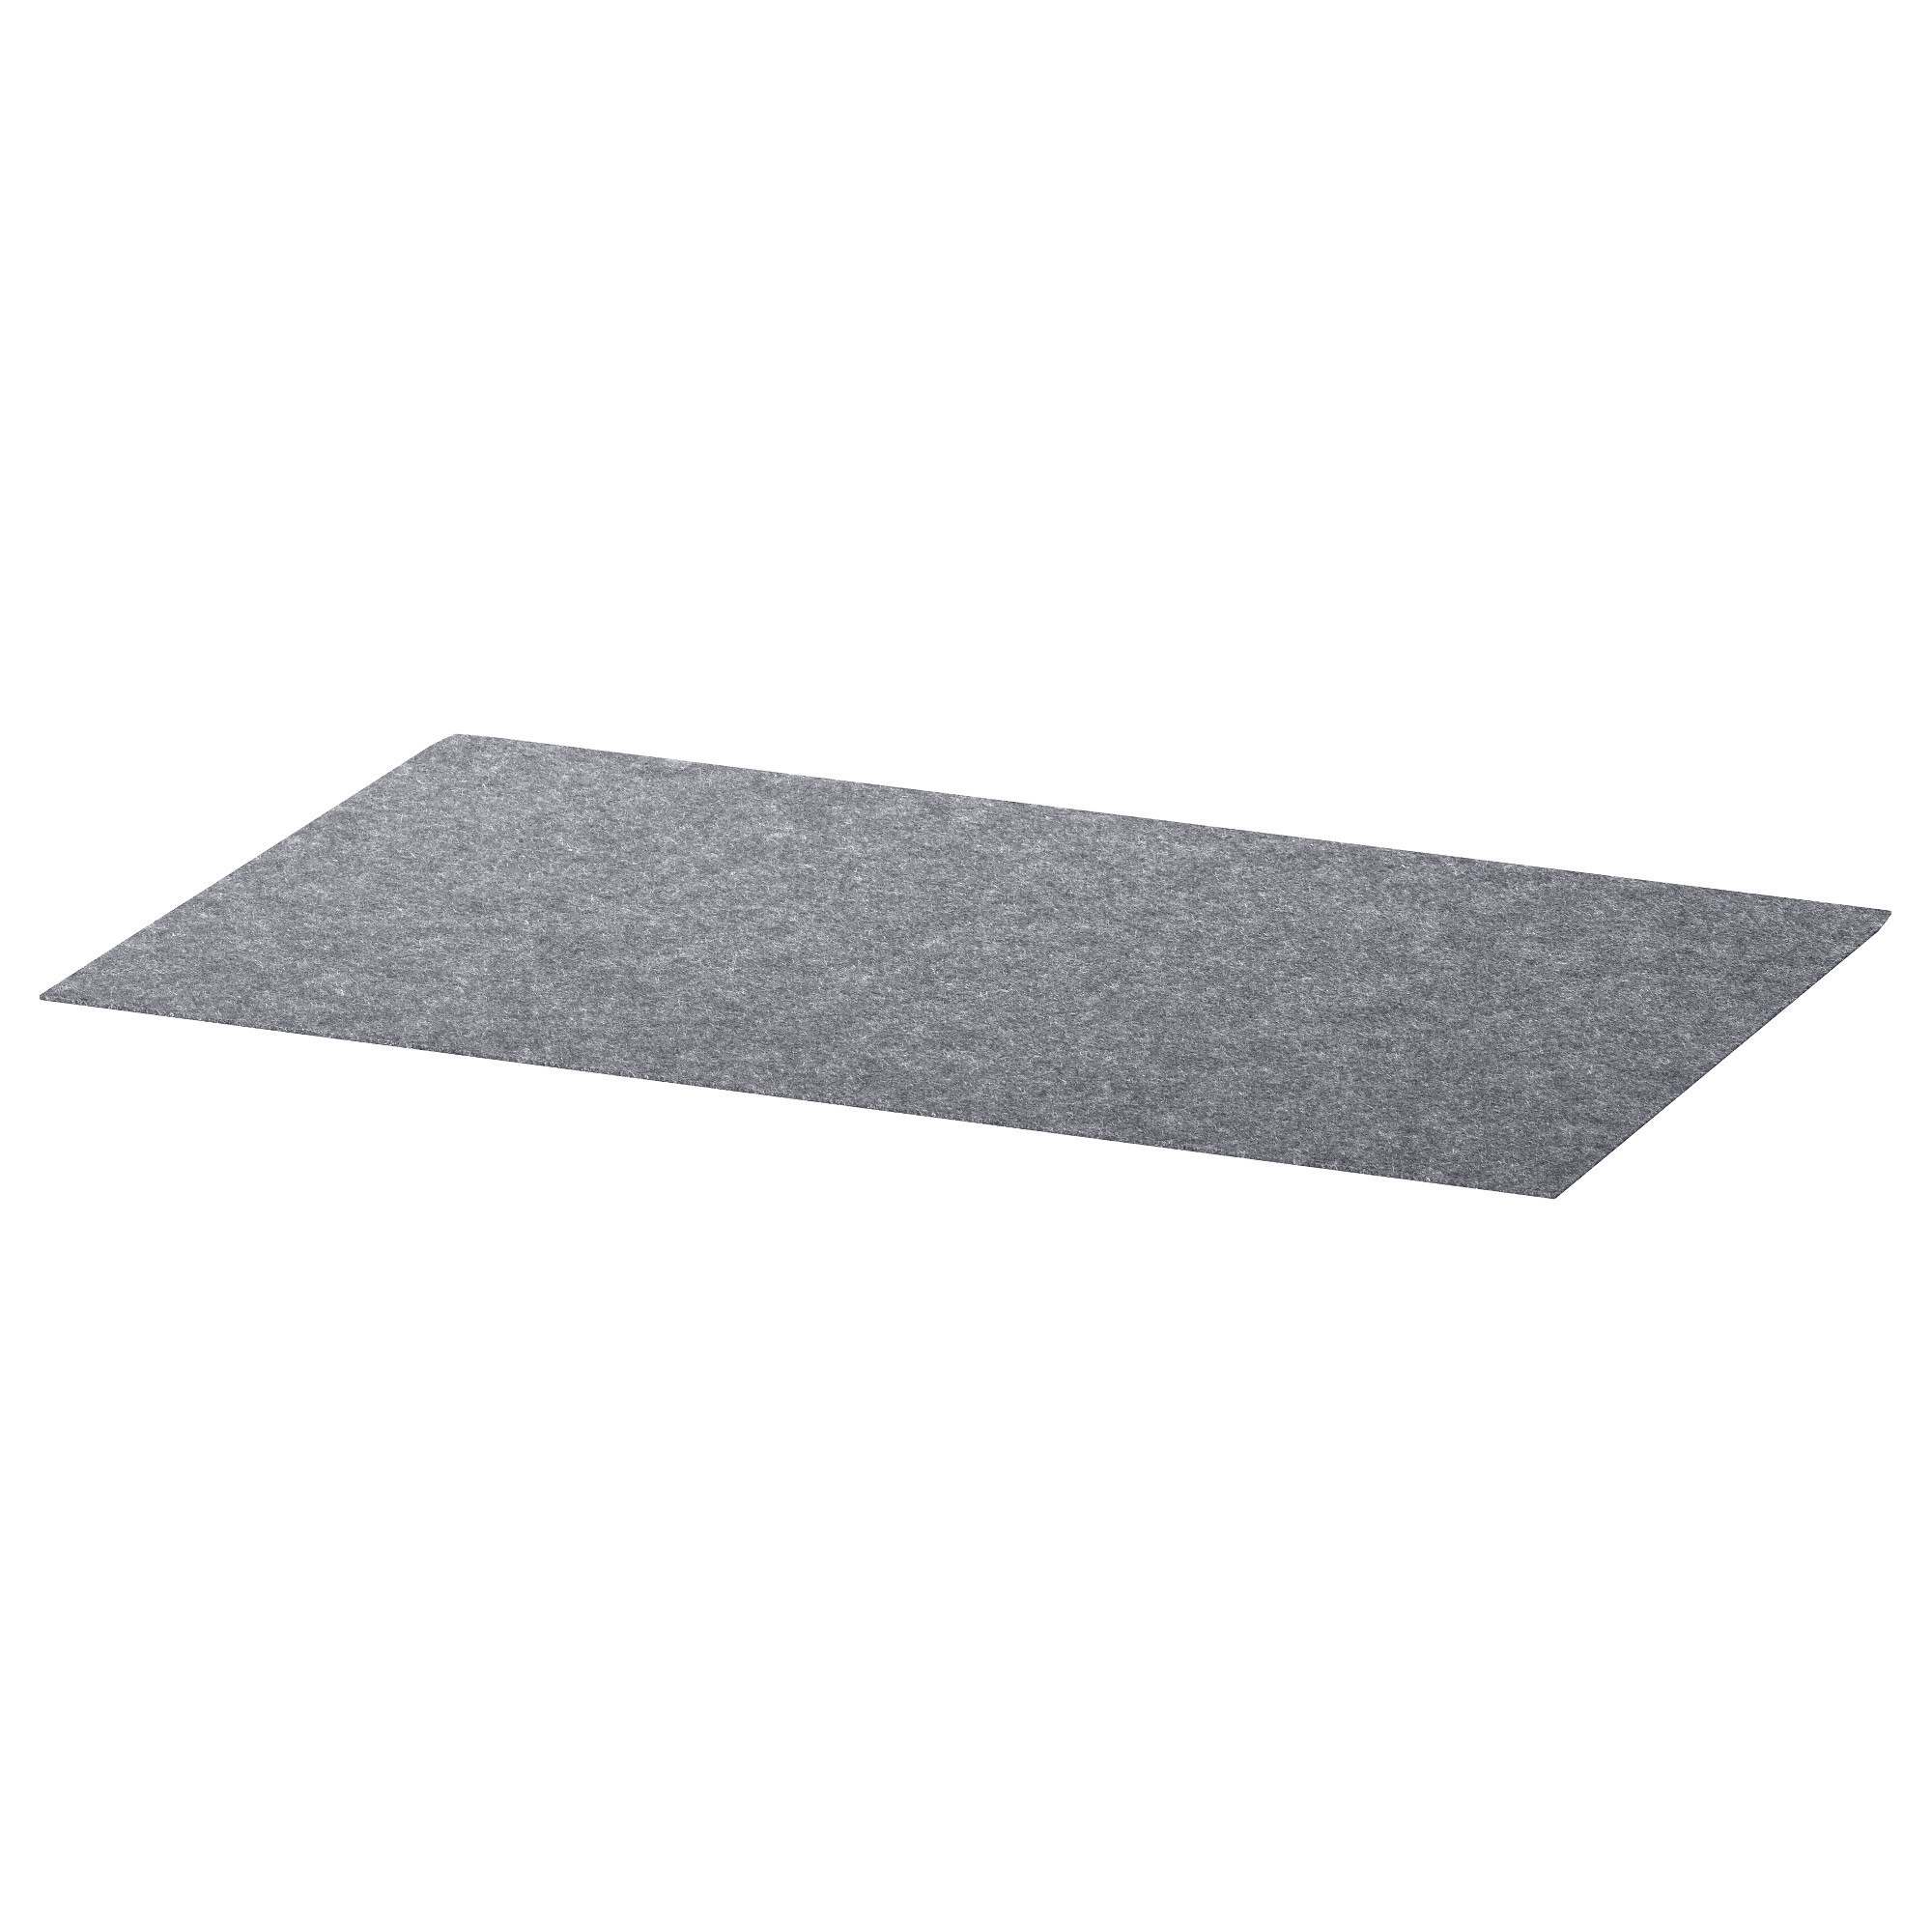
We recently cleaned out our electronics junk and narrowed it down to a few keepers. The IKEA drawer divider seems like it was perfectly designed for our Doxie scanner. The felt liner is so handy because it prevents everything from sliding around when we open and close drawers.

reveal storage unit-0219.jpg

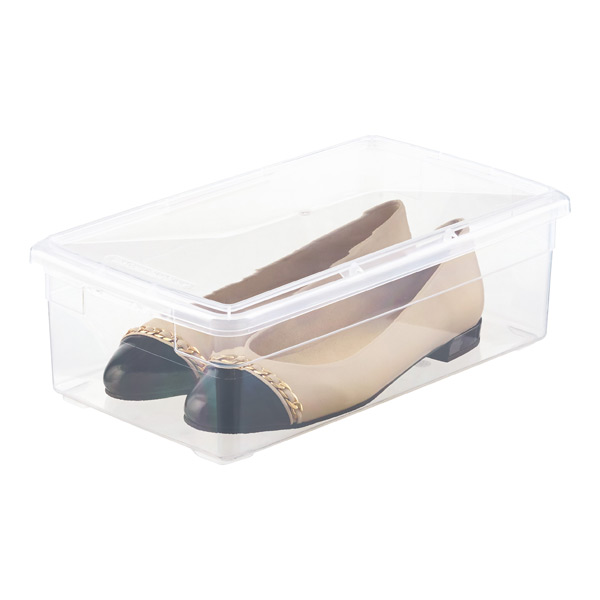
While six out of the eight cubbies are drawers, two of the cabinets have doors with shelves. This way, I can hide things that actually do better on a shelf - like the printer. One of those bins (which is actually a shoe box) stores art supplies so I can pull it out and take the whole lot to a table. The other easy-to-move around bin is filled with greeting cards so I can catch up on my correspondence.

cut cabinet-0386.jpg

Retrofitting the cabinet for the printer was as easy as cutting a hole in the back for the power supply. The back panels are a thick cardboard, so a sharp exacto is all that's needed to run cables through.

If you wanna get the scoop on how I hide all of my electronics and cables throughout the house, click here!

reveal storage unit-0208.jpg

Two of the drawers are empty! I'm sure I'll find a use for them soon, but for now, it feels so refreshing to have empty space.

reveal storage unit-0250.jpg
reveal storage unit-0266.jpg

Can we take a moment to admire the original painting by Mary Sinner? Swoon.

reveal storage unit-0152.jpg

Mabel appreciates the storage unit being the perfect height to survey her queendom.

Be sure to check out my blog post all about organizing cables, wires, and electronics throughout the entire house here!

If you're tuning in via the One Room Challenge and want to stay up to date on all of my home's transformations, subscribe to get future posts in your email! Also, follow along on Instagram for daily updates.

Get The Look


UPDATE

I’m getting a lot of questions about the exact configuration of this storage unit. I’m not an IKEA expert so I can’t give you any insight into the current IKEA offerings, so I do recommend you chat with an employee to help you. Based on comments I get the impression that they changed some products. However, keep in mind that I customized the Besta unit by mixing and matching doors and drawers. This isn’t an off the shelf item! Since folks are still asking for more guidance and I’m happy to provide, I’ve included the shopping list I have on file. Click the button below to take a look. You can see my doodles to give you an idea of what I picked up. Remember that things have likely changed in the past few years, so please don’t use my document as an exact model for you!


Be sure to check out the featured designers here and guest participants here, too!