One Room Challenge Week 6 - IKEA Hack for Custom Office Storage
/It's week six of the One Room Challenge! Today would be the day that you'd see the full reveal. However! You have to wait another seven days since the design challenge has been extended by another week.
If you're jumping in now, I'm Ashley and I'm transforming my home office of our 1915 craftsman bungalow in San Diego. Take a look at the plans which include a new layout, storage, lighting, furniture, and most importantly, a dramatic mural! Catch up on the last five weeks of progress here.
I'm still actively working on the mural, but this week I'm sharing how we customized storage for our home office needs.
If you recall, the only storage we had in our previous office was a hutch.
It was a mid-century beauty but it wasn't designed for keeping files, electronics, or office necessities. So, I added a filing cabinet to the mix, but still had nowhere for camera gear or odds and ends. Everything we didn't use was on display and everything necessary for the office didn't have a home and was just strewn about on top of the desk or throughout the house.
Have you ever tried looking for attractive filing cabinets with combined storage and drawers? It's nearly impossible. I first started looking at office furniture but the options are pretty limited to exclusively filing cabinets without any other storage for odds and ends. So then I looked at credenzas and media cabinets. They were the best option, but if they had doors, I wanted drawers, and if they had drawers, I'd wish they were deep enough to fit hanging files. Gah!
Additionally, I wanted a low cabinet that wouldn't obstruct the view out the window, and something long enough to fill most of the wall. It just simply doesn't exist out there! Then, I came across this beauty that can be customized to the depth, height, and length as well as drawer and cabinet features. It was exactly what I wanted. I was in love. BUT because it was custom made, it wouldn't have arrived in time for the One Room Challenge.
So I went back to square one and searched high and low for something premade that fit the bill. Then, decided an IKEA hack was the way to go.
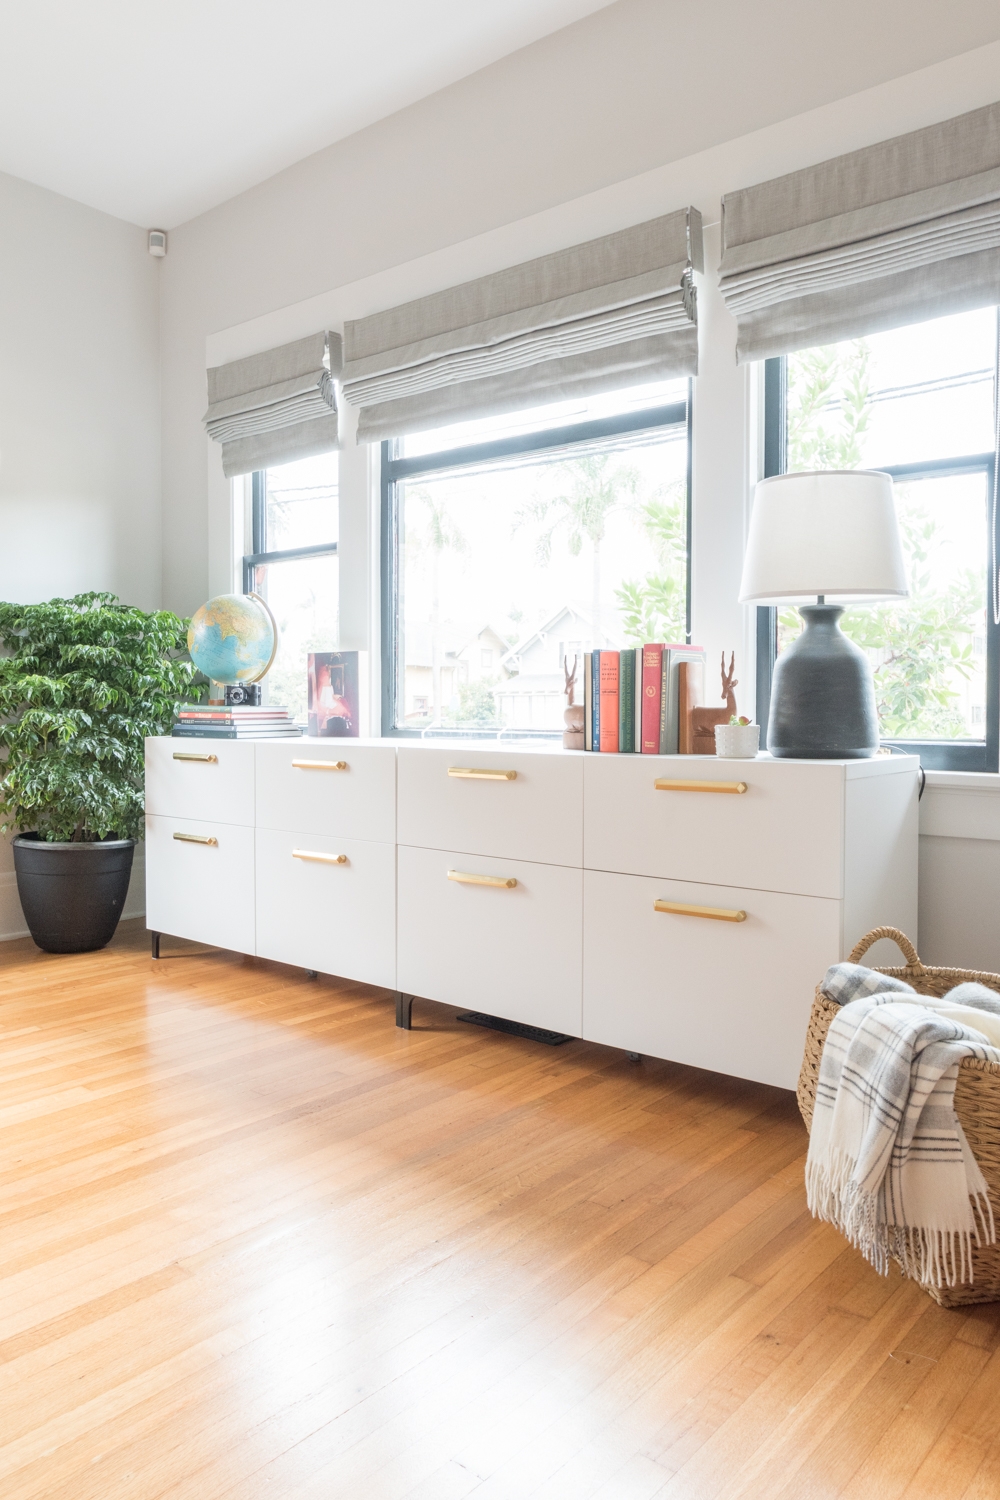
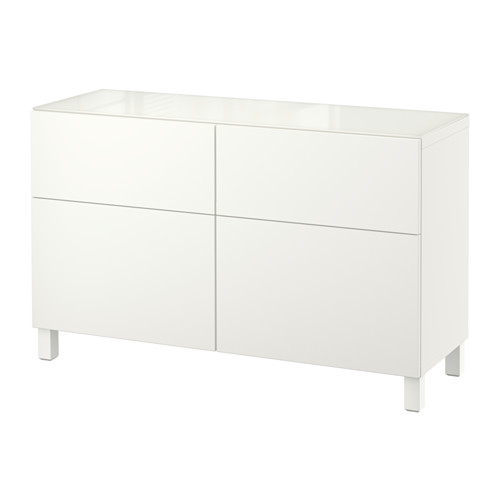
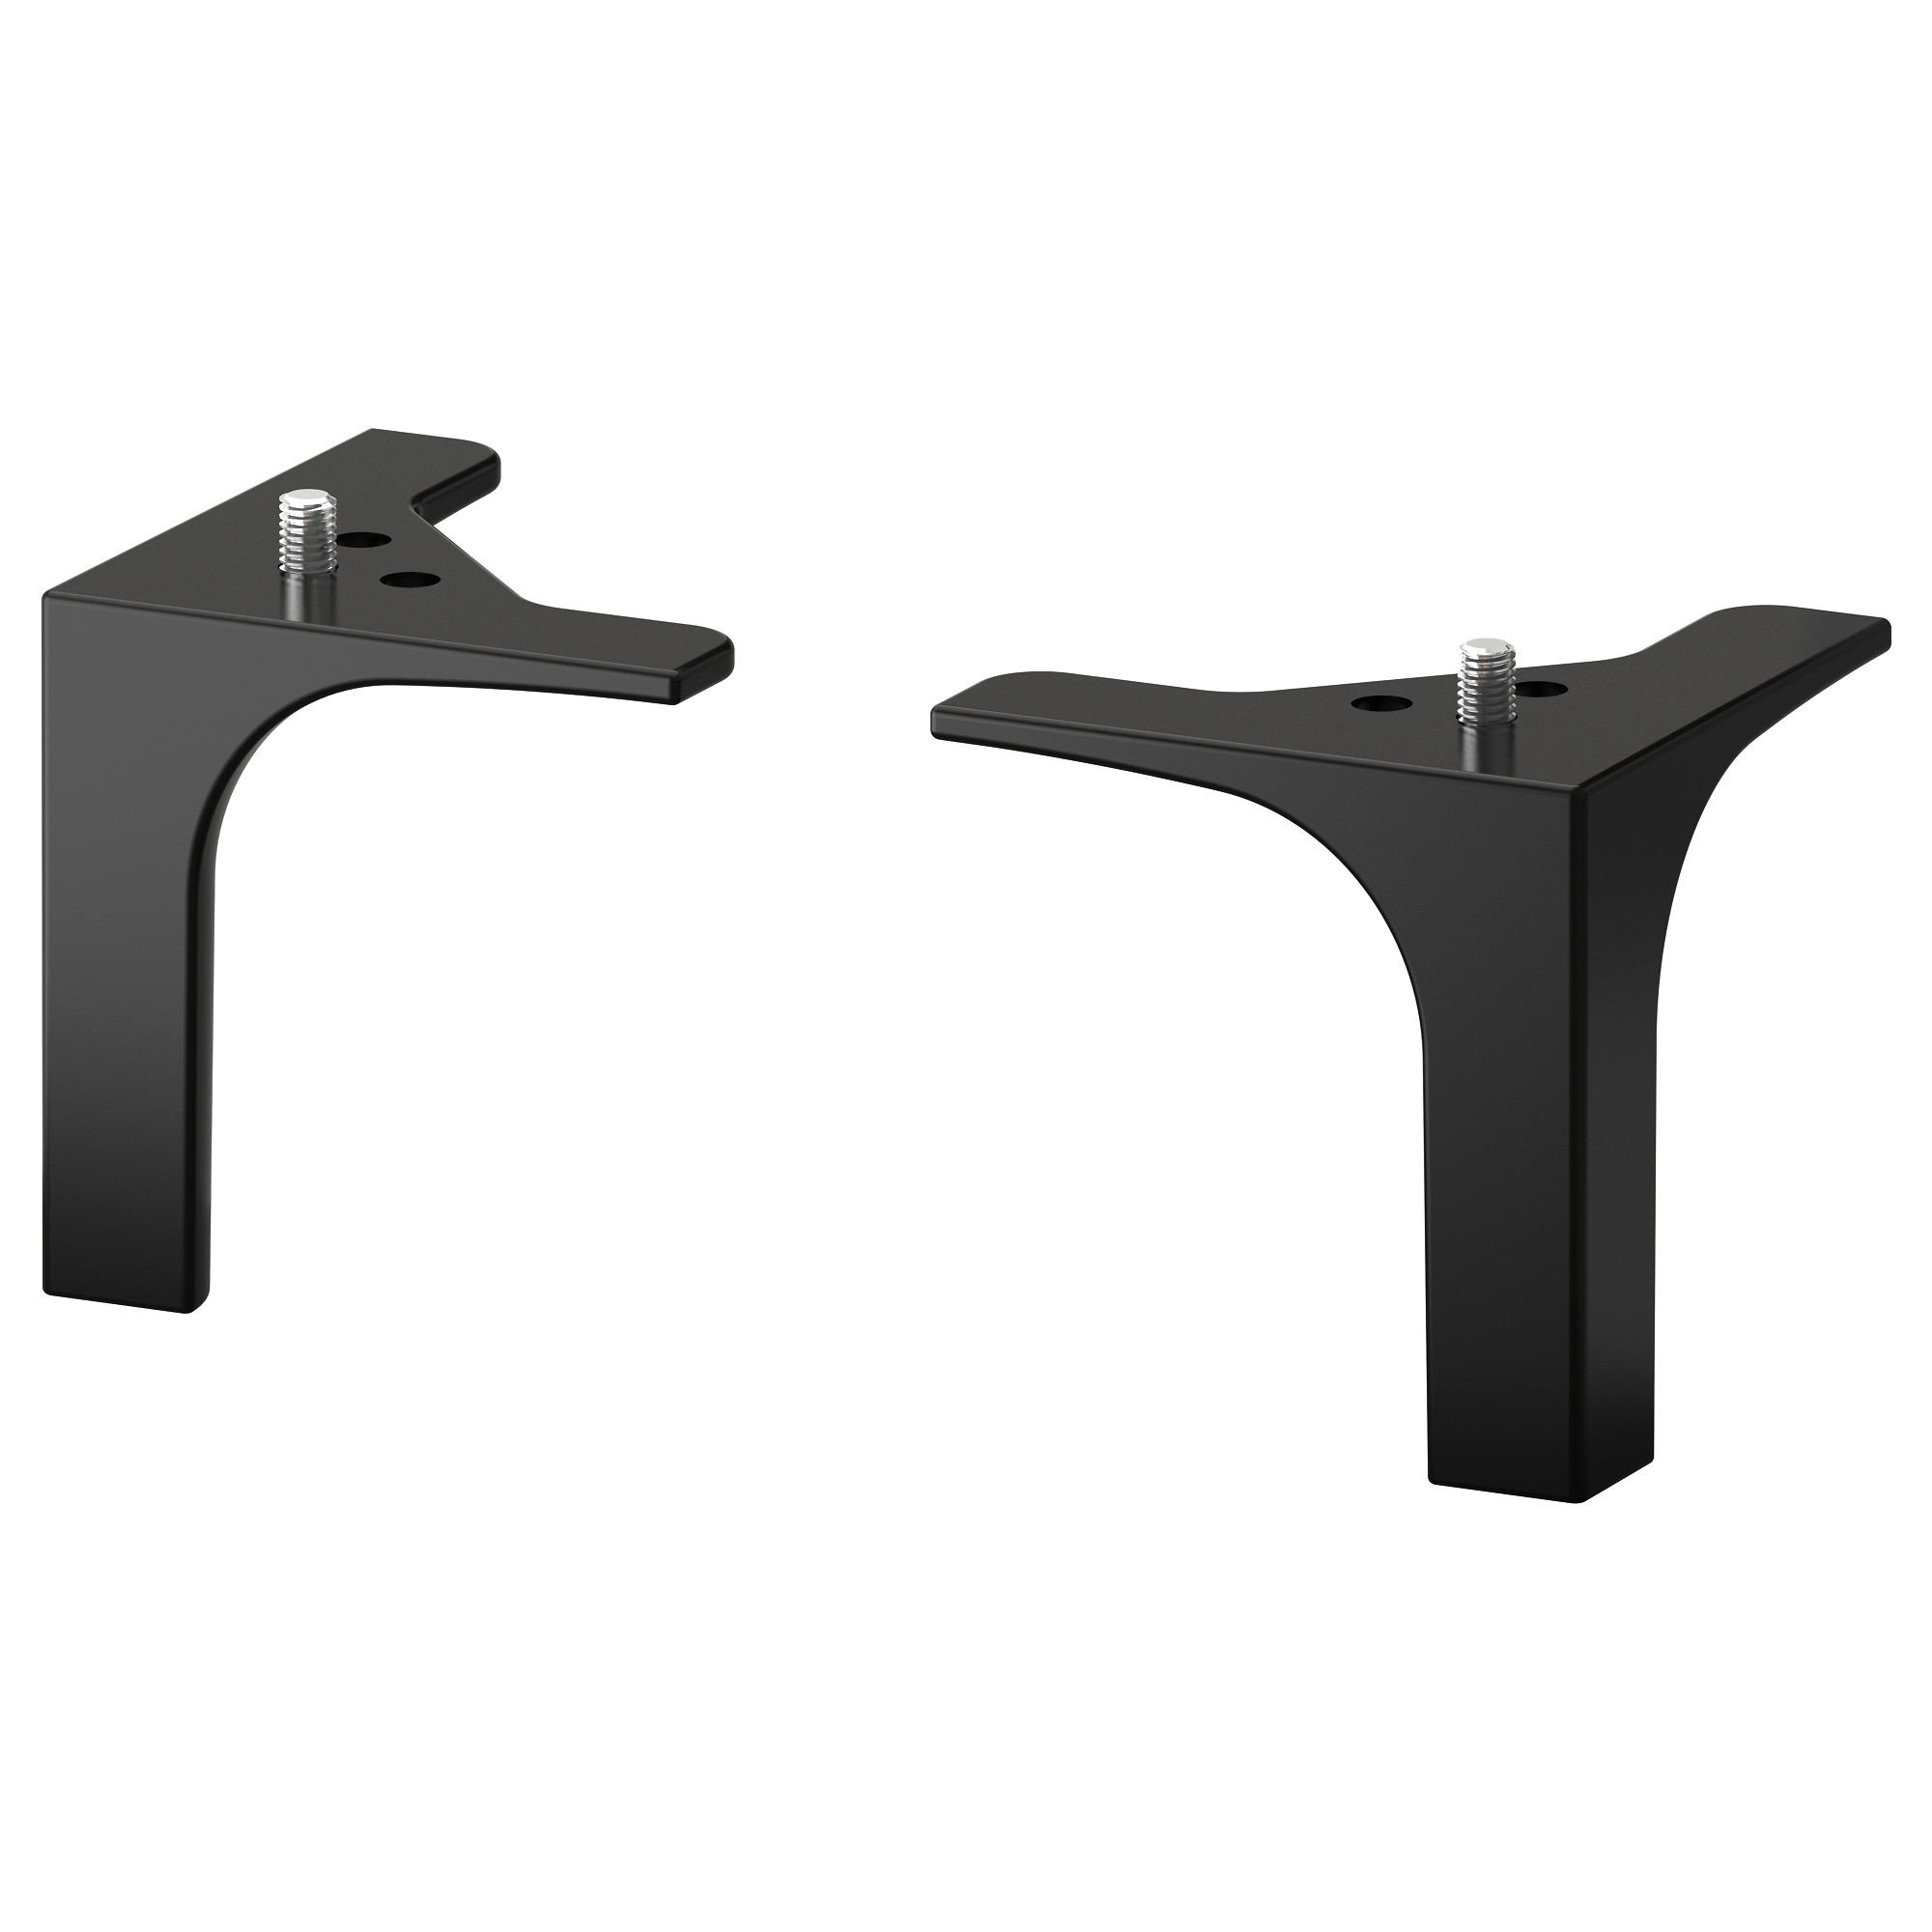
I started off with one of the BESTA units in the 47x15x29" size with four drawers. Then, got another of the same size, but with three drawers and one cabinet with doors. We also added a few legs and shelves to the mix along with some of the BESTA storage options. A full shopping list is at the bottom of this post.
IKEA has a bad rap, but I genuinely enjoy assembling their furniture. Call me up the next time you don't want to assemble your cabinet. I'll bring my "helpful" assistant along with me to support.
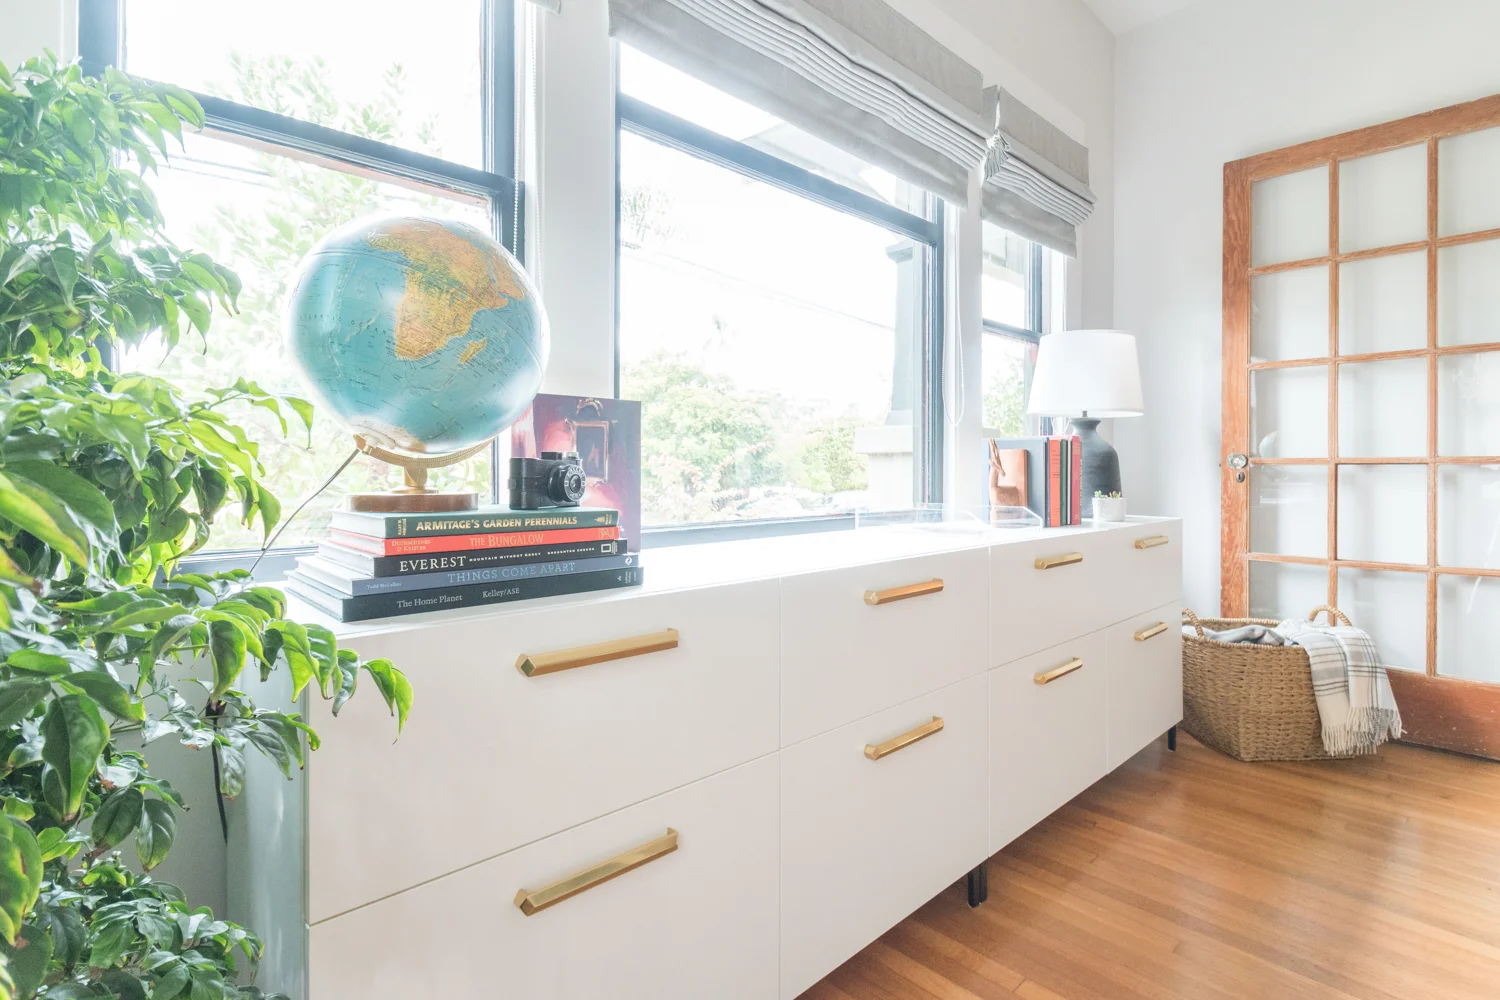
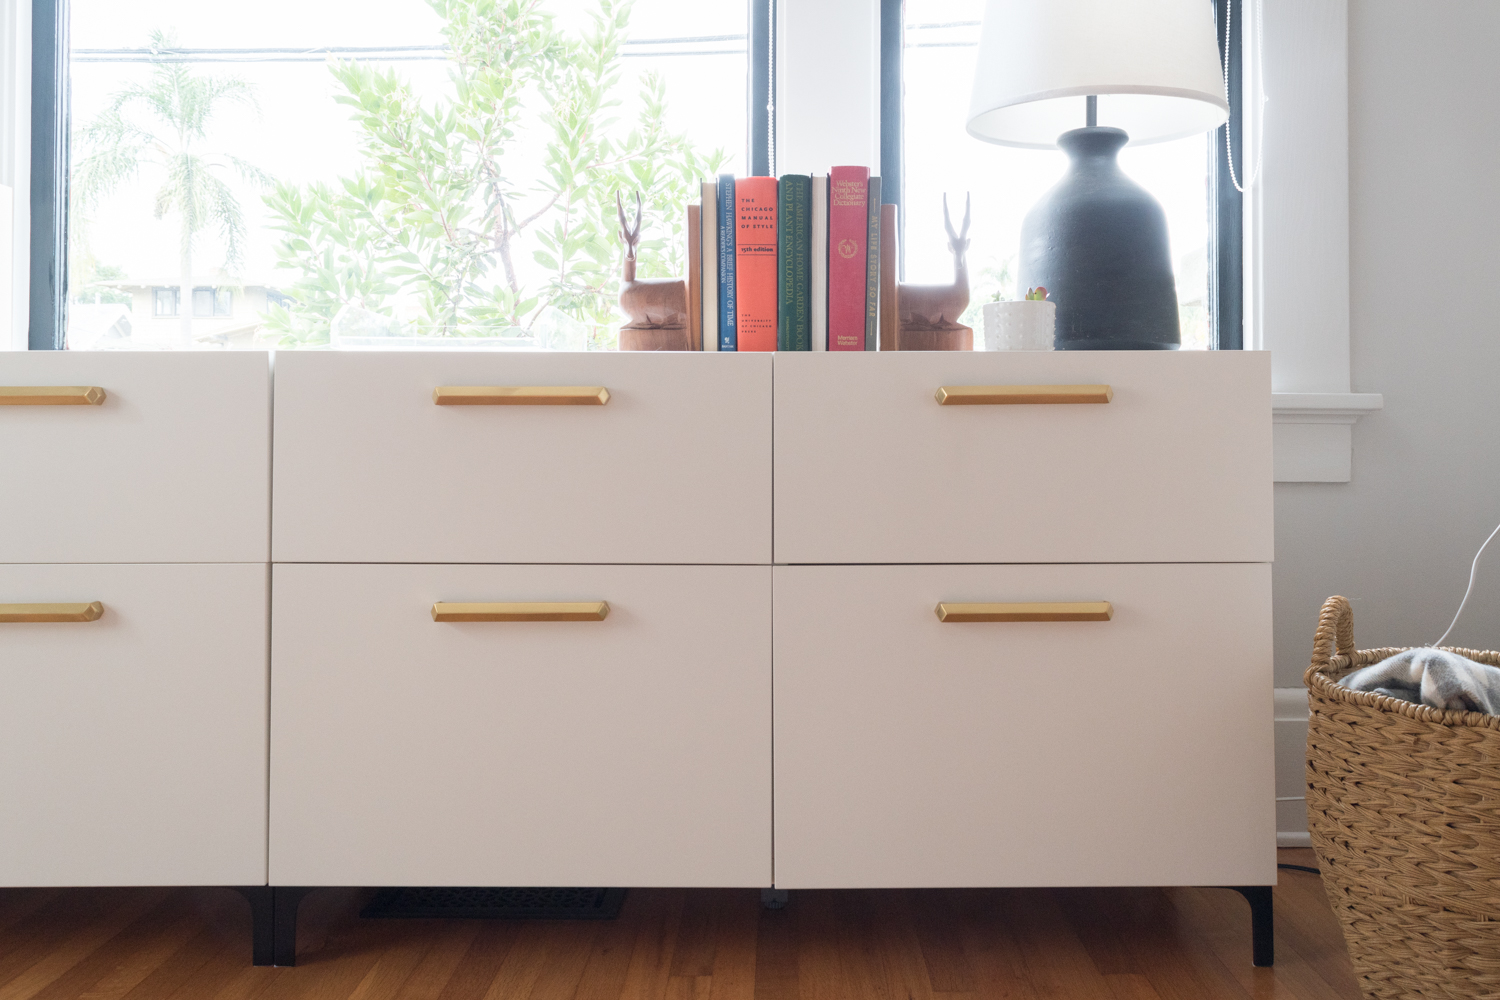
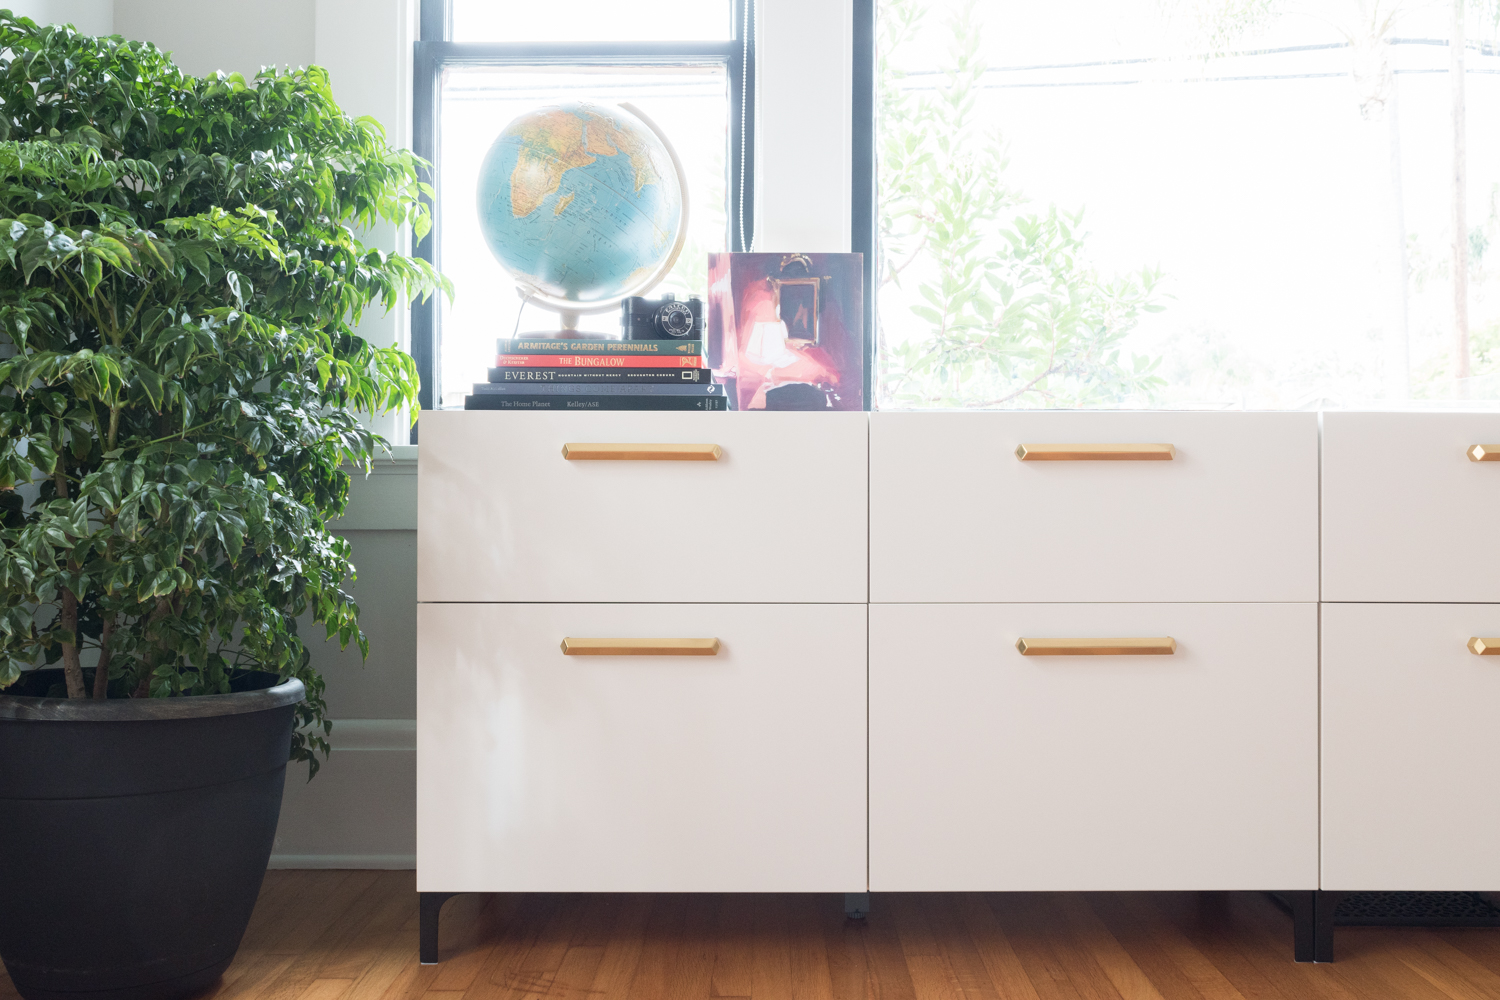
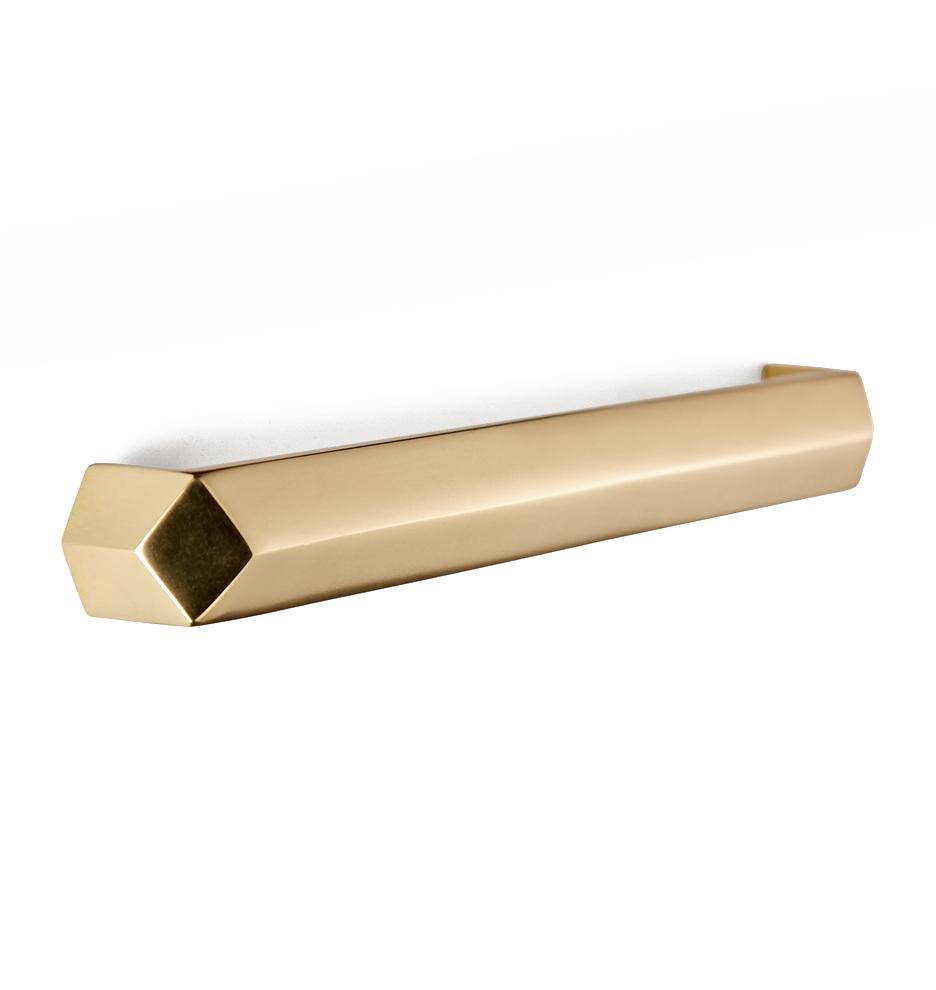
We dressed up the plain white cabinets with the most beautiful handles.
It's no surprise that I went with a pretty brass finish. These are the 8" Blake Drawer Pulls from Rejuvenation and me oh my are they dreamy!
What's great about the IKEA drawer fronts is that you can install any kind of hardware in any spot on the cabinet because it doesn't have any pre-drilled holes. I could have done knobs, narrower handles, or installed them at any height. The unlimited design options are great, yet I was plagued with indecision when it came to placing the handles.
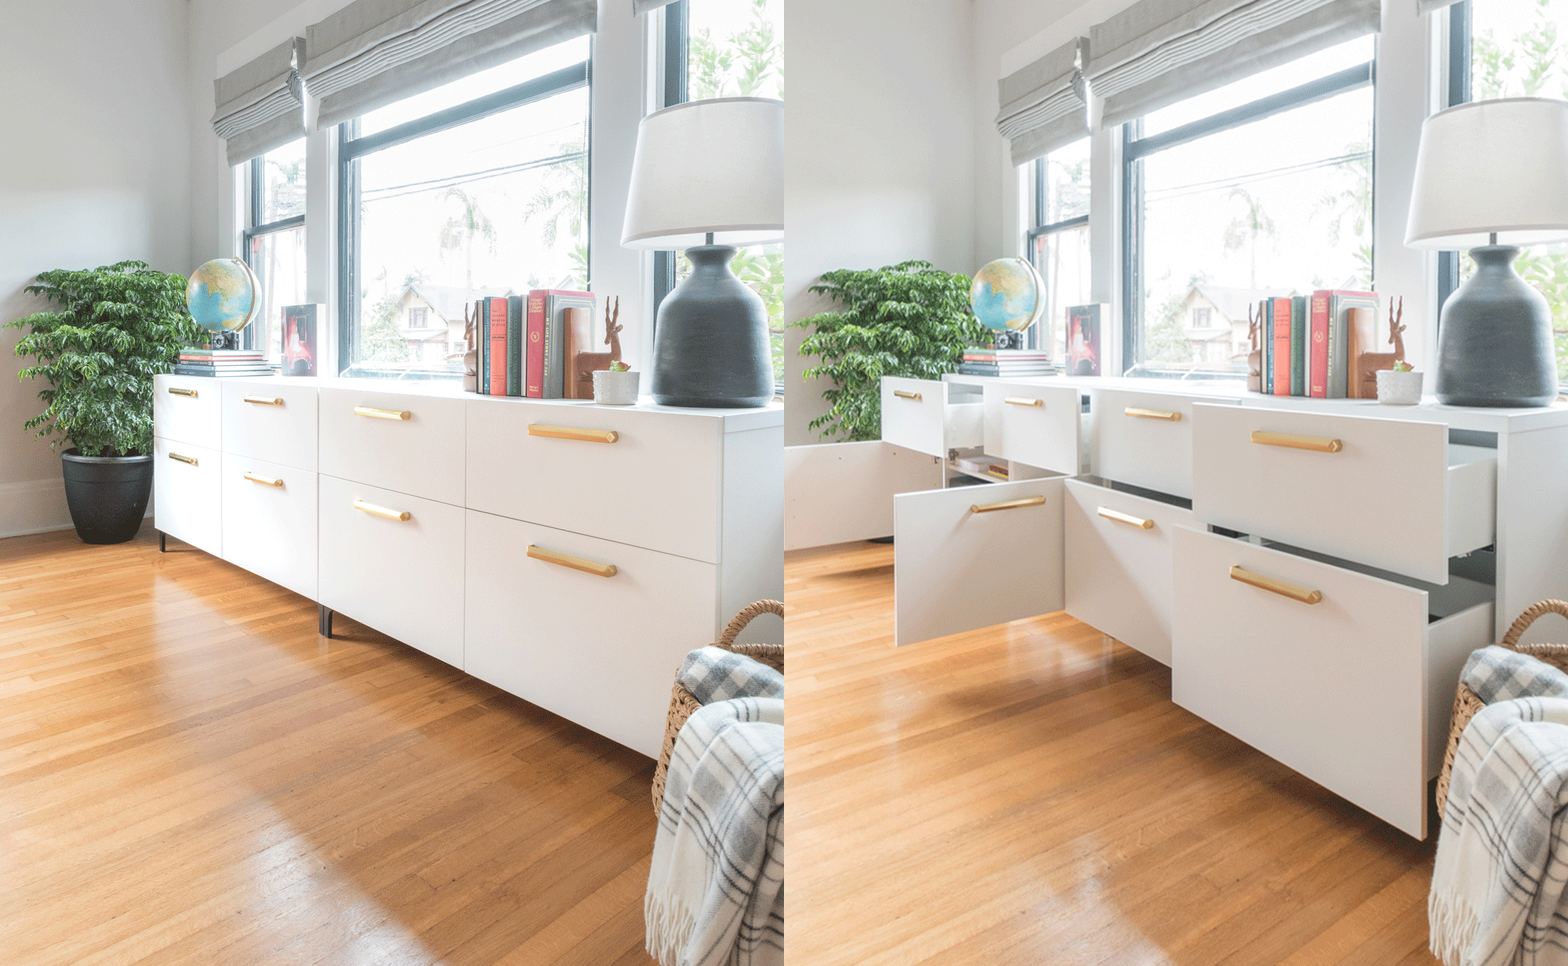
The beauty of the customization is how it holds all my things. Shall we take a look at what's inside?
The most officey drawer is the one with the everyday office gear. It also houses everyday home improvement tools so I don't need to run to the garage whenever I need to hammer something. This collection of tools is veeeery minimal at the moment. I'm sure this will become a junk drawer in no time, but I'm going to try to resist putting the reciprocating saw in here.
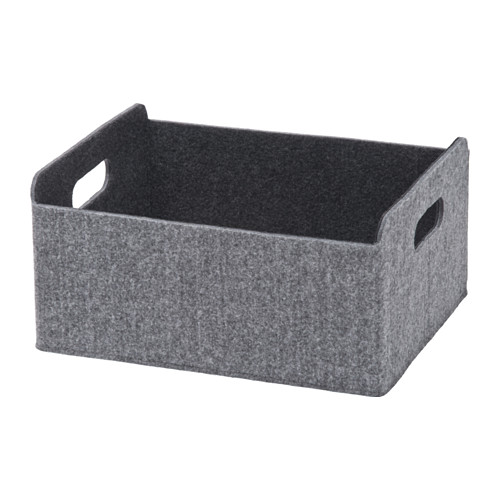
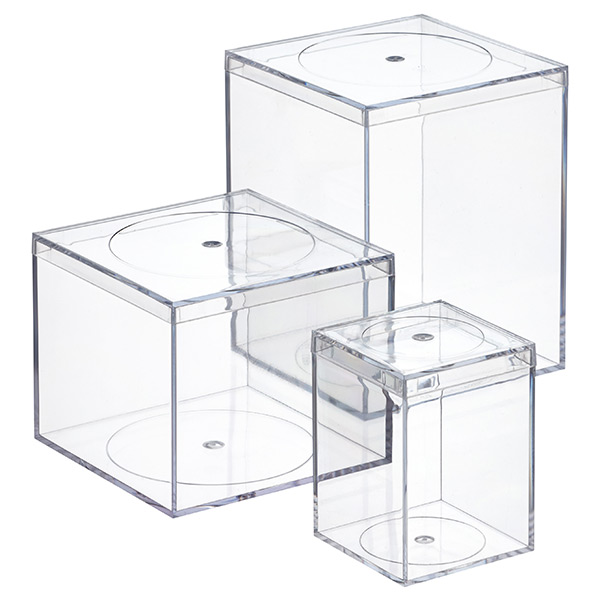
To corral everything, I used the BESTA box and these Amac boxes from the Container Store.
I'm prone to losing my shutter release remote for the camera, so I am sure glad to have a spot to keep the camera gear. Obviously not pictured is the camera and the tripod, both of which fit in the drawer.
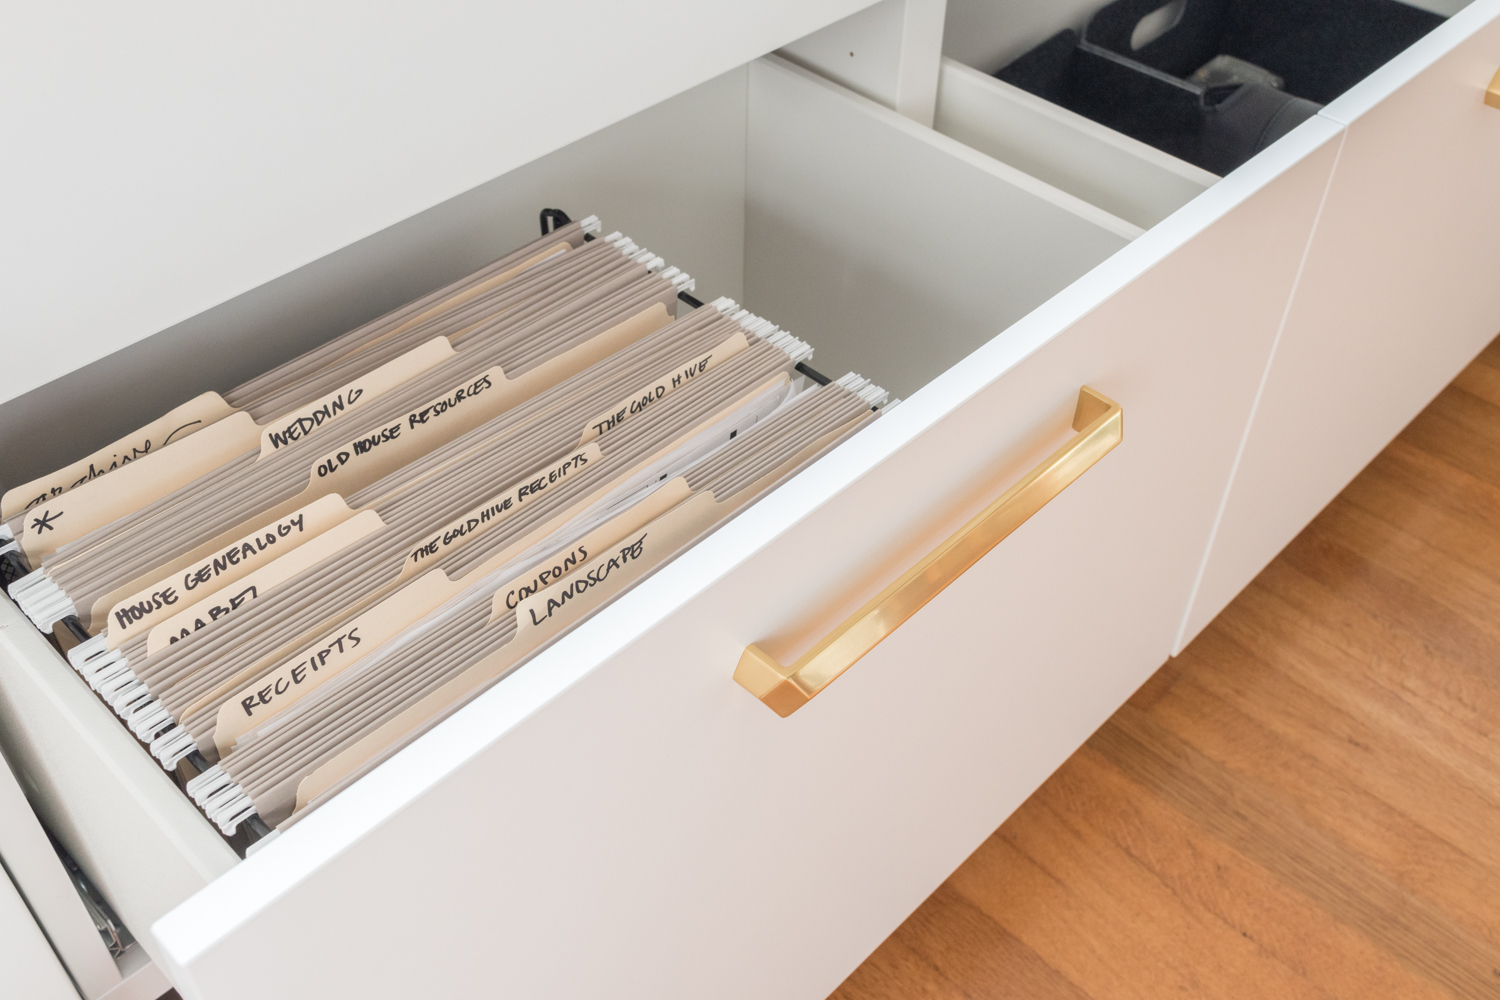
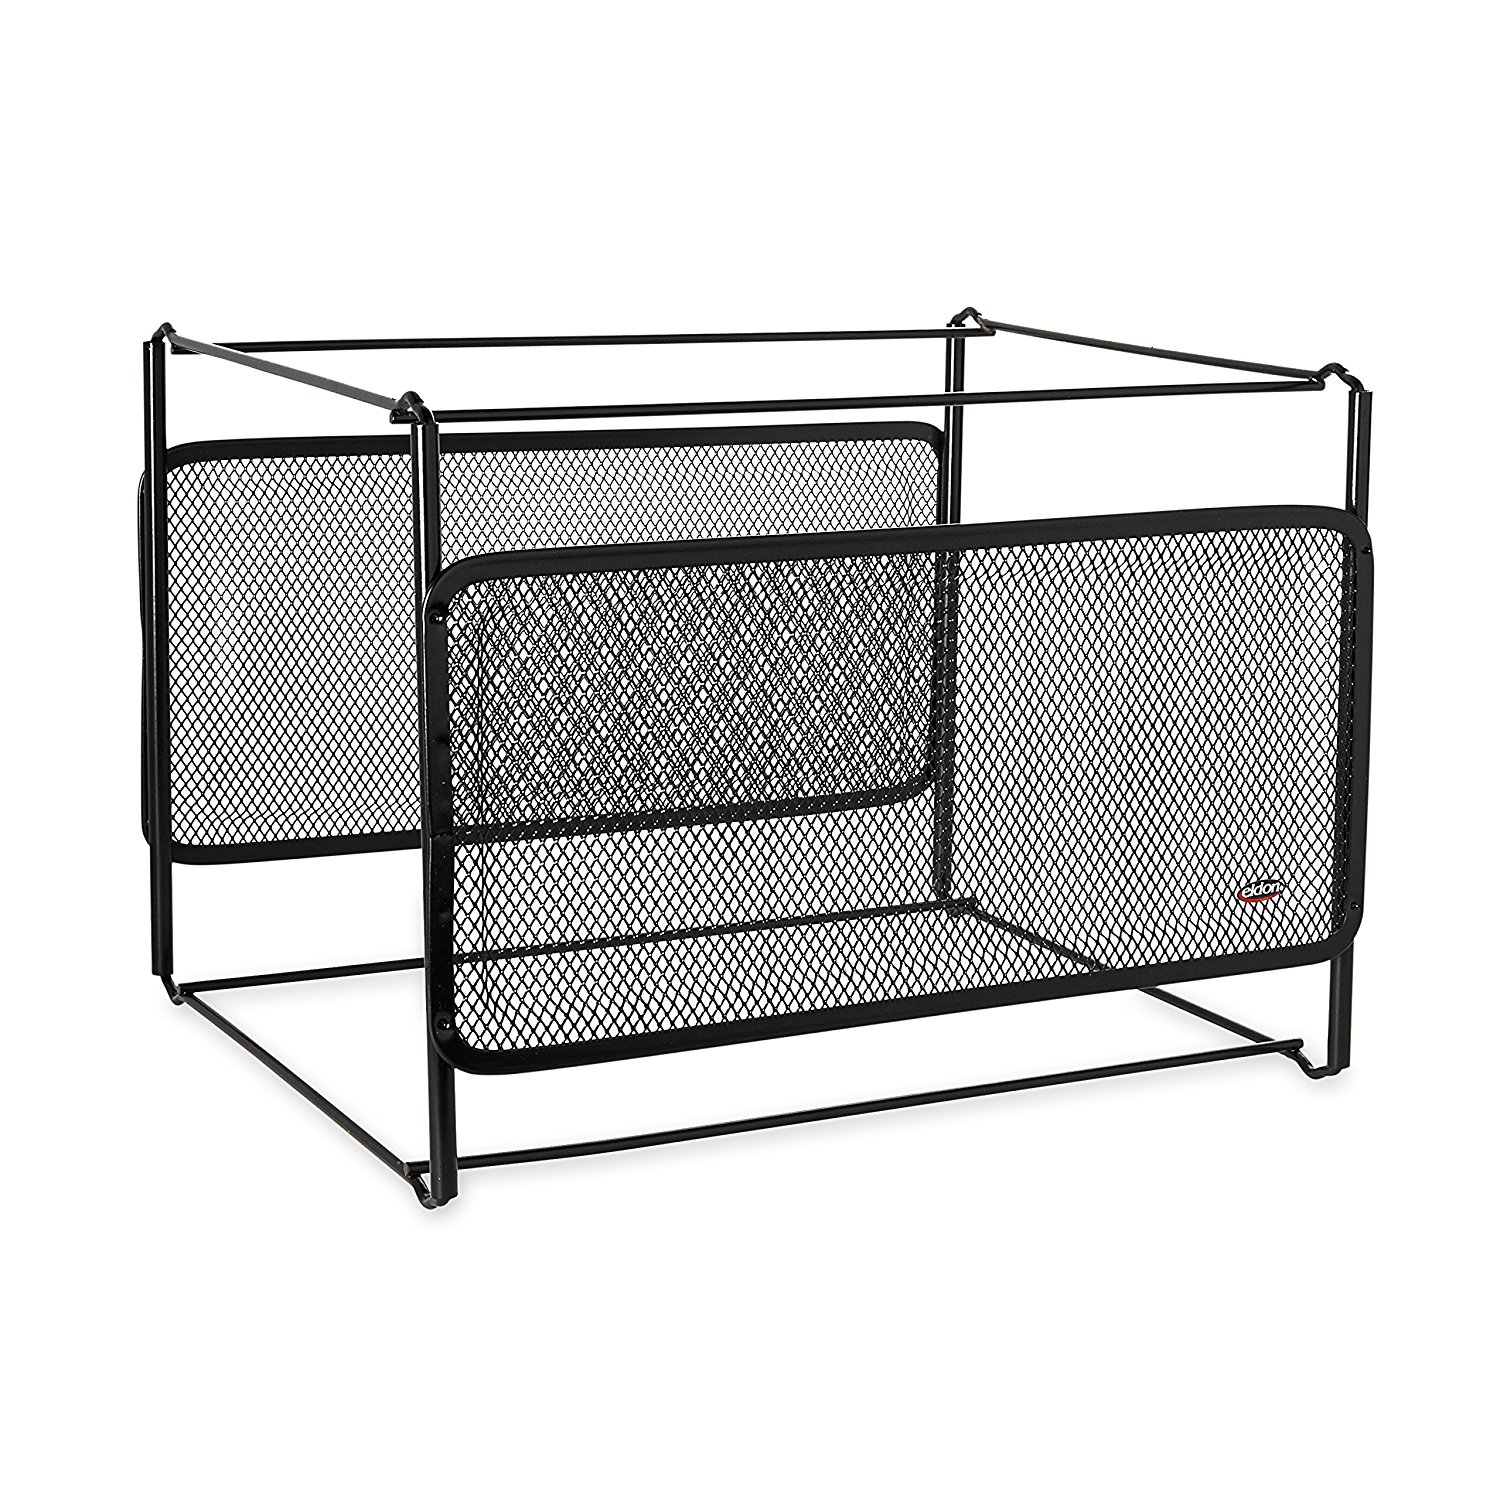
The drawers aren't designed for file storage, but they are just the right size for a standalone hanging file unit which keeps paperwork nicely filed, and also some space for who knows what!
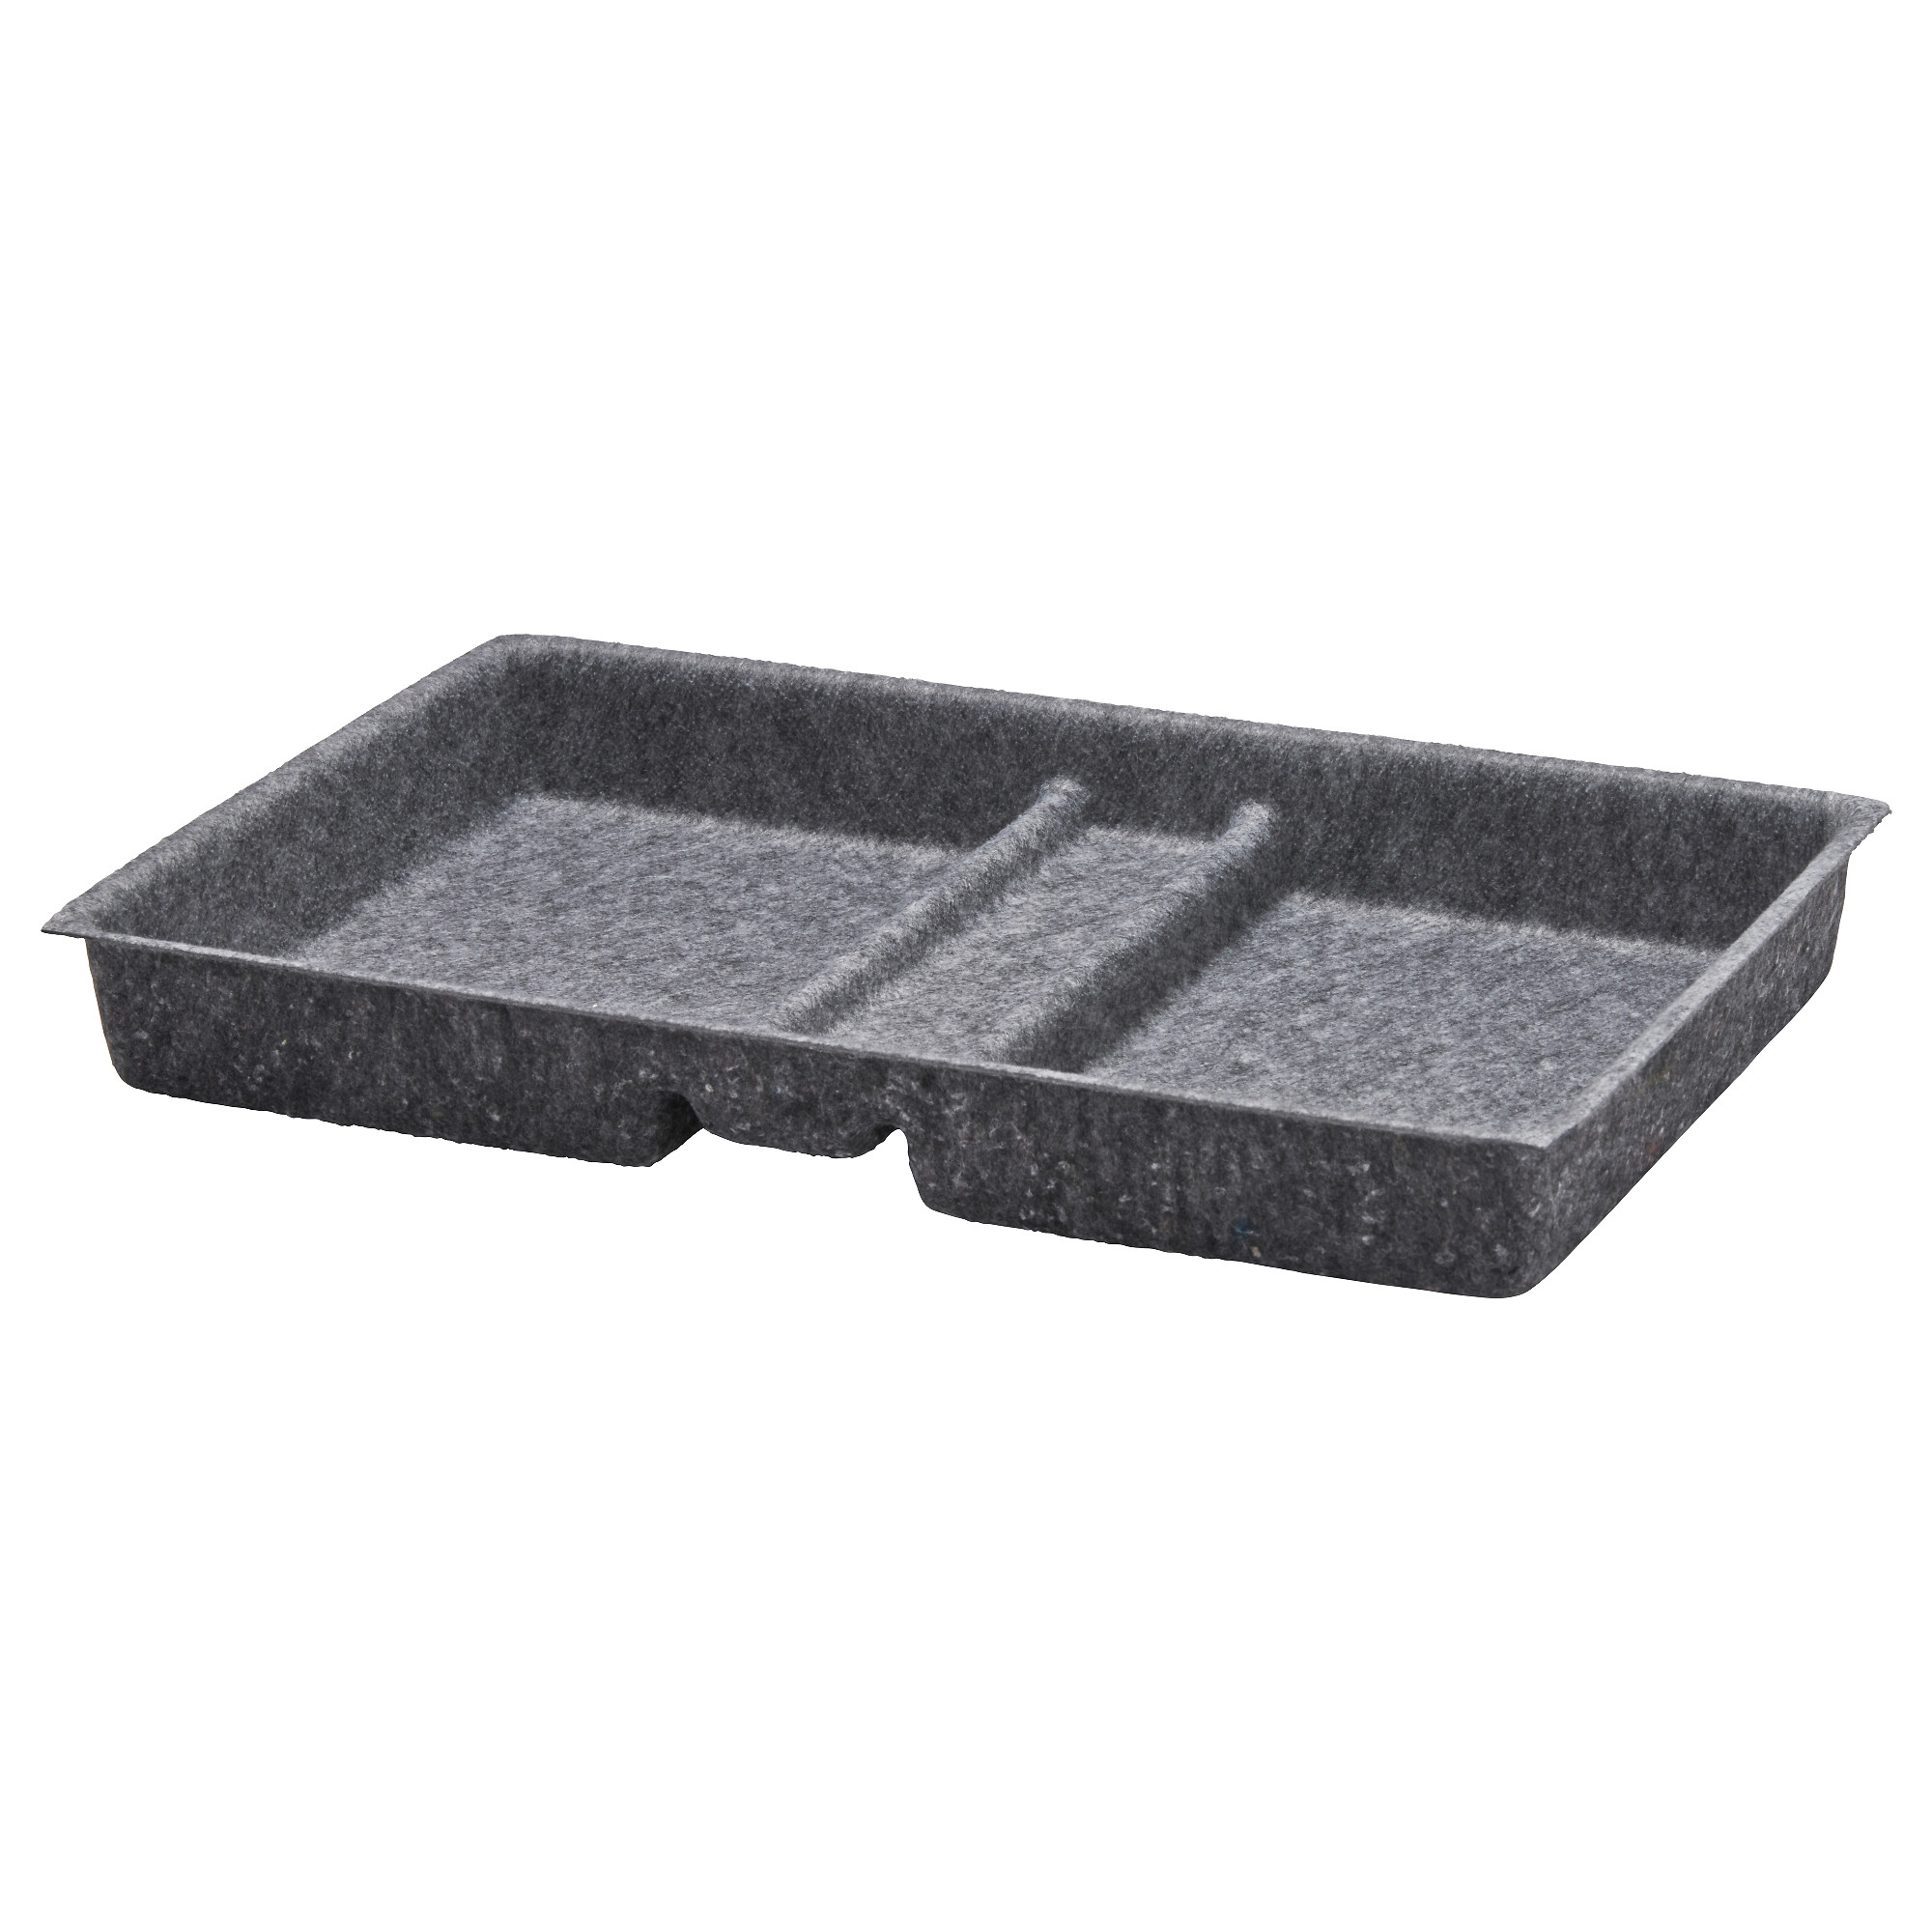
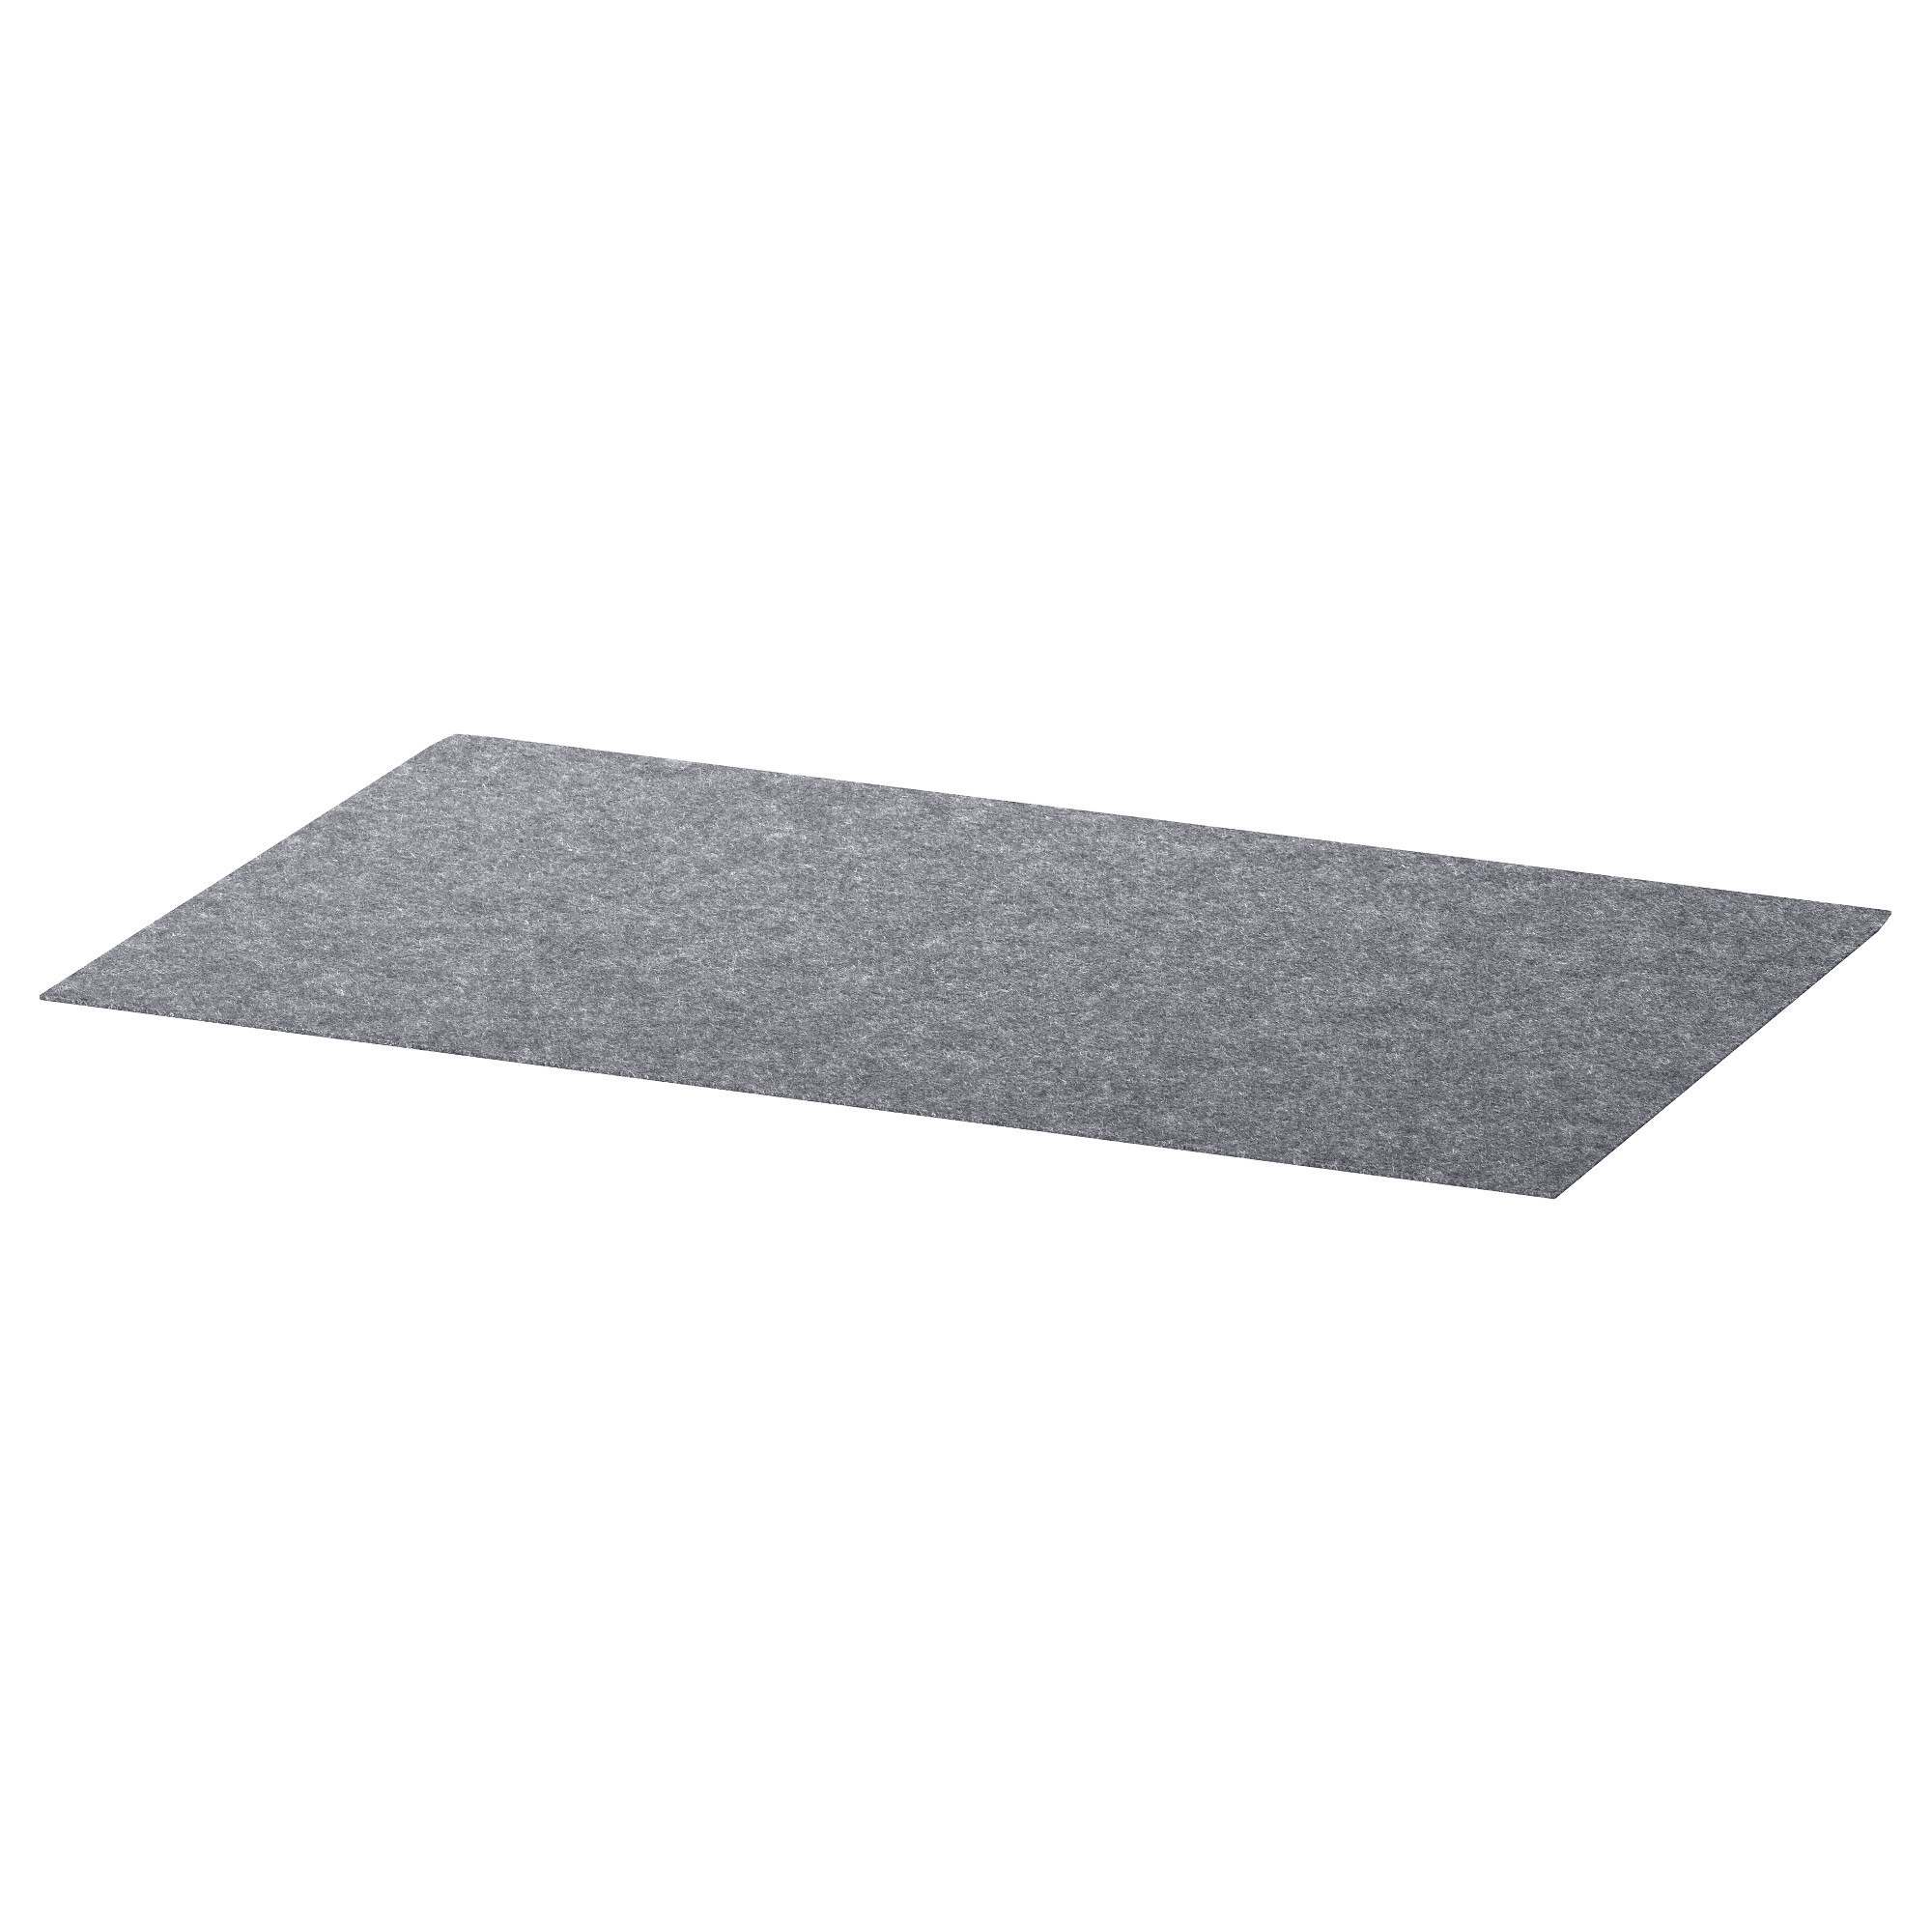
We recently cleaned out our electronics junk and narrowed it down to a few keepers. The IKEA drawer divider seems like it was perfectly designed for our Doxie scanner. The felt liner is so handy because it prevents everything from sliding around when we open and close drawers.
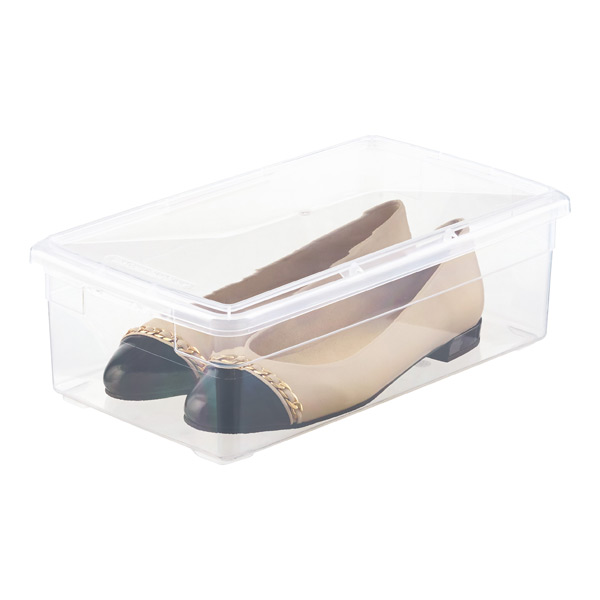
While six out of the eight cubbies are drawers, two of the cabinets have doors with shelves. This way, I can hide things that actually do better on a shelf - like the printer. One of those bins (which is actually a shoe box) stores art supplies so I can pull it out and take the whole lot to a table. The other easy-to-move around bin is filled with greeting cards so I can catch up on my correspondence.
Retrofitting the cabinet for the printer was as easy as cutting a hole in the back for the power supply. The back panels are a thick cardboard, so a sharp exacto is all that's needed to run cables through.
If you wanna get the scoop on how I hide all of my electronics and cables throughout the house, click here!
Two of the drawers are empty! I'm sure I'll find a use for them soon, but for now, it feels so refreshing to have empty space.
Can we take a moment to admire the original painting by Mary Sinner? Swoon.
Mabel appreciates the storage unit being the perfect height to survey her queendom.
Be sure to check out my blog post all about organizing cables, wires, and electronics throughout the entire house here!
If you're tuning in via the One Room Challenge and want to stay up to date on all of my home's transformations, subscribe to get future posts in your email! Also, follow along on Instagram for daily updates.
Get The Look
UPDATE
I’m getting a lot of questions about the exact configuration of this storage unit. I’m not an IKEA expert so I can’t give you any insight into the current IKEA offerings, so I do recommend you chat with an employee to help you. Based on comments I get the impression that they changed some products. However, keep in mind that I customized the Besta unit by mixing and matching doors and drawers. This isn’t an off the shelf item! Since folks are still asking for more guidance and I’m happy to provide, I’ve included the shopping list I have on file. Click the button below to take a look. You can see my doodles to give you an idea of what I picked up. Remember that things have likely changed in the past few years, so please don’t use my document as an exact model for you!
Fall One Room Challenge progress:
Week 1 - the before, the inspiration, and the plan
Week 2 - preparing for a bold wall mural
Week 3 - tricks for creating a perfect wall mural
Week 4 - painting the mural
Week 5 - walls, windows, and shades
Week 6 - IKEA storage hack
Week 7 - the reveal!
Look back at the Spring One Room Challenge:
Week 1 - the before, the inspiration, and the plan
Week 2 - paint, paint, paint
Week 3 - how to install picture rail molding
Week 4 - sourcing the artwork
Week 5 - refreshing a chair
Week 6 - the reveal!

