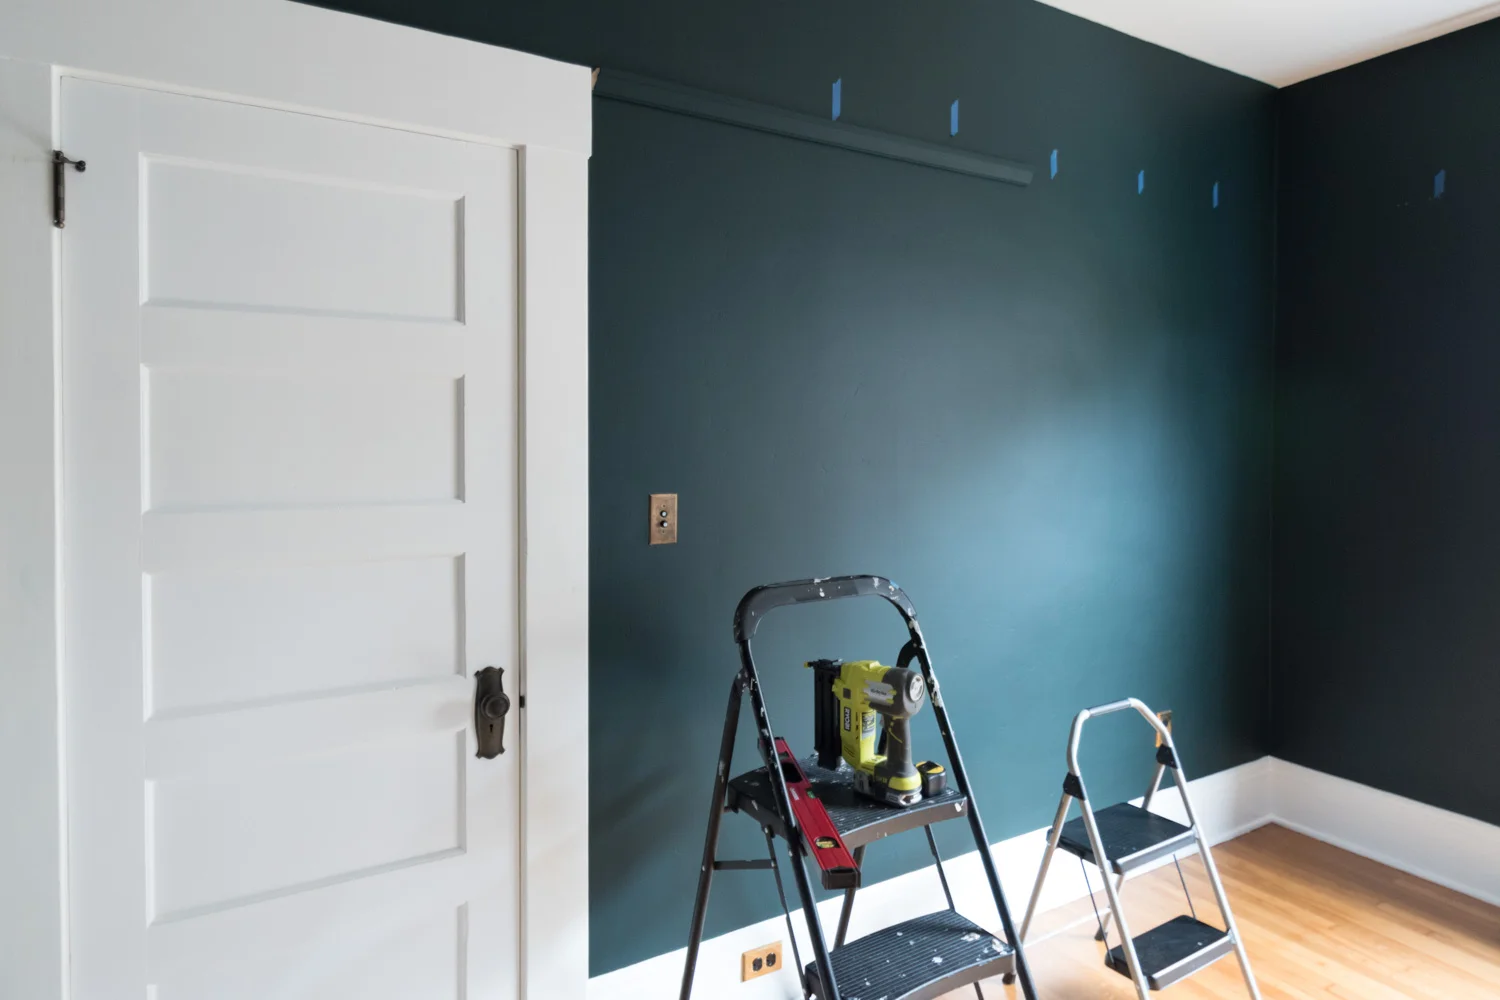
I'm back for week three of the One Room Challenge! If you're just tuning in, I'm mid-way through transforming an unloved spare bedroom into a cozy, moody space. Last week, the room underwent a metamorphosis with radically different paint in a deep green. This past week, we tackled installing the picture rail molding.
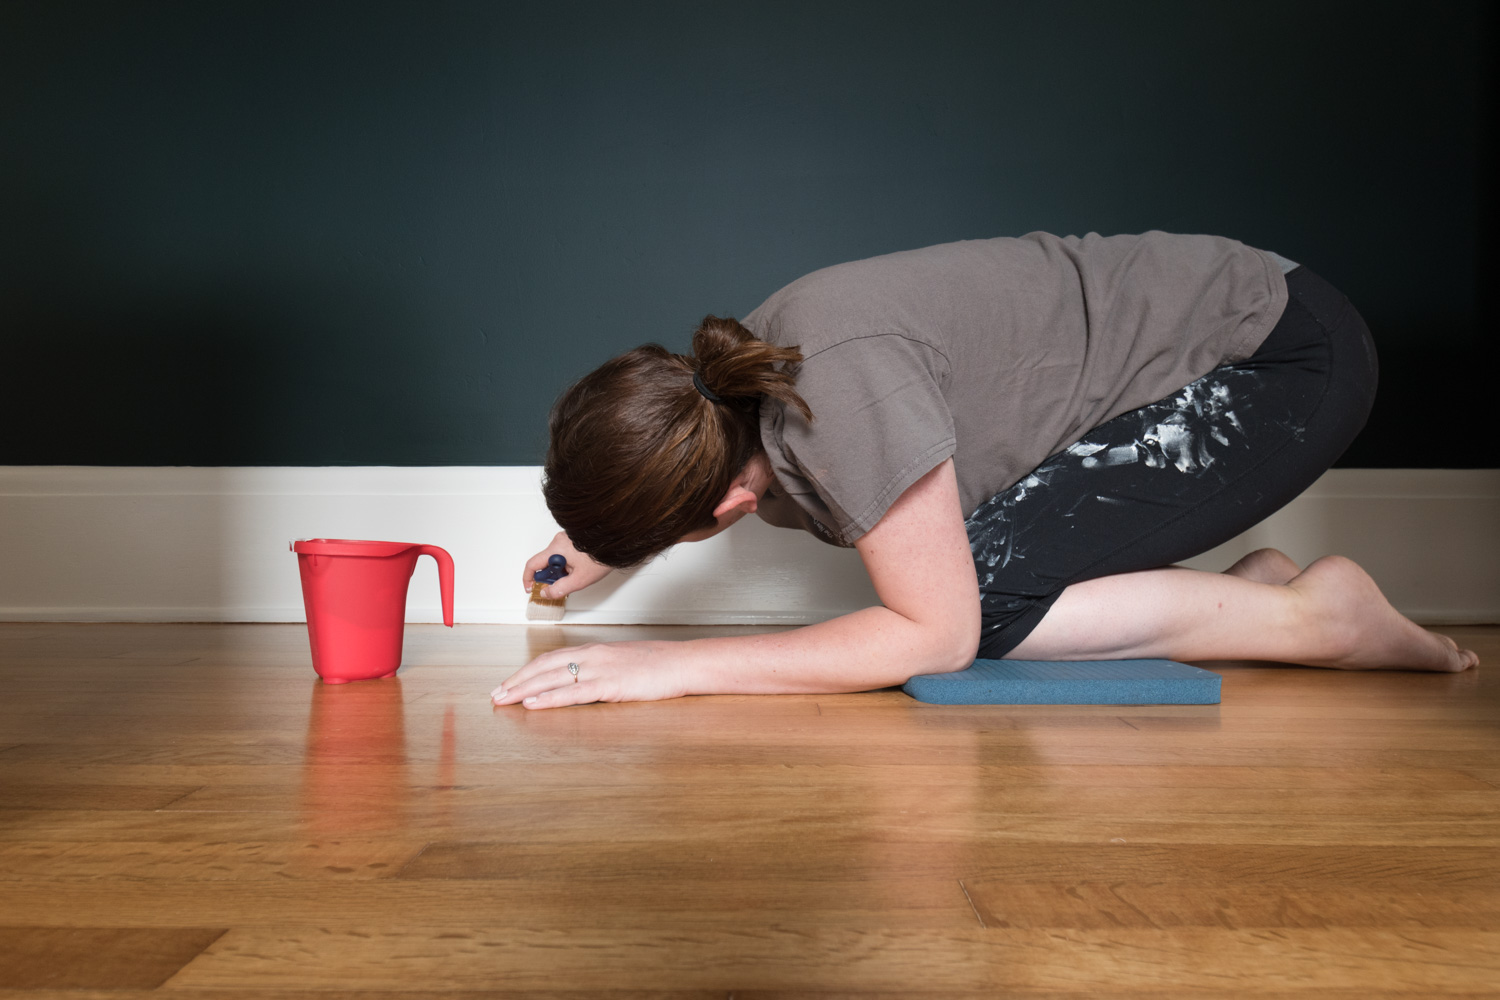
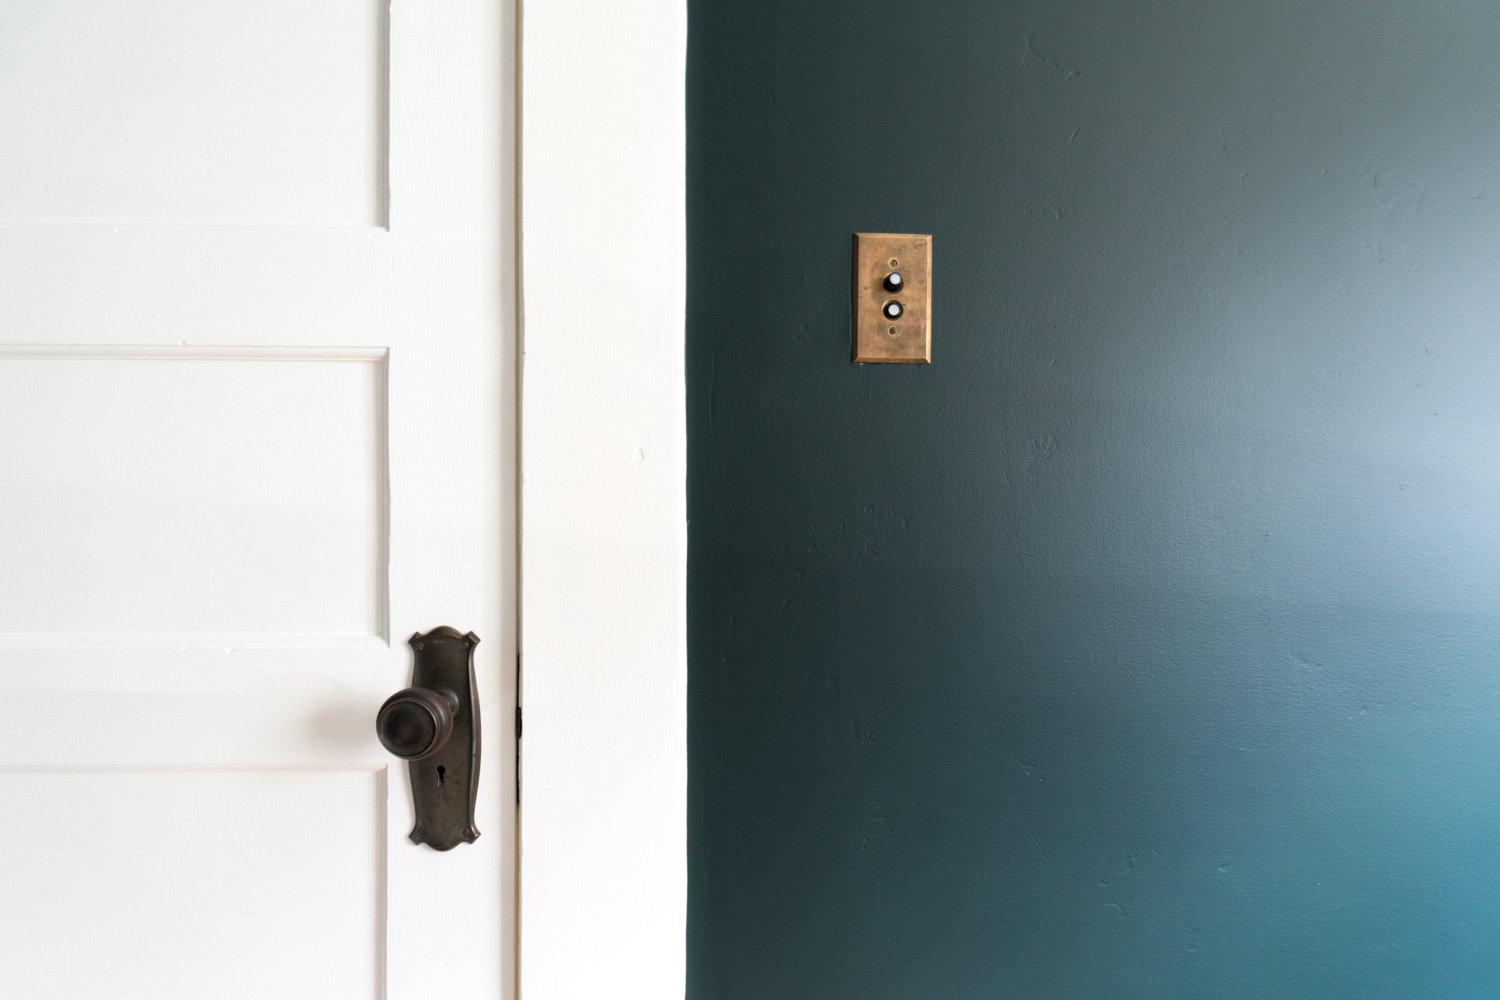
If you're unfamiliar with one of my all-time favorite old house features, picture rail molding is a narrow piece of trim that runs the perimeter of the room near the top of the walls. My house's picture rail molding sits atop the door and window frames. Some homes have the molding closer to the ceiling where crown molding would go. If you're in an old house with crown molding that doesn't quite touch the ceiling, then you may just have a picture rail! This lil' piece of wood trim has a notch at the top that allows you to put a small hook over it from which you can hang a frame from a wire. This is oh-so-handy because you never have to put holes in the wall to hang artwork. It saves me from patching holes whenever I want to change pieces - which is a big deal for someone that has major art indecision. It's also great for an old house because you don't risk damaging the plaster (that we all know I'm a fan of) by pounding a nail into the wall. (Side note, hammering plaster walls can really damage them so I always use screws rather than hammering a nail if I ever put anything into the wall). The living and dining room still have their original picture rail molding, but the rest of the house was stripped of their decorative trim at some point over the years. It's my job to put it back!
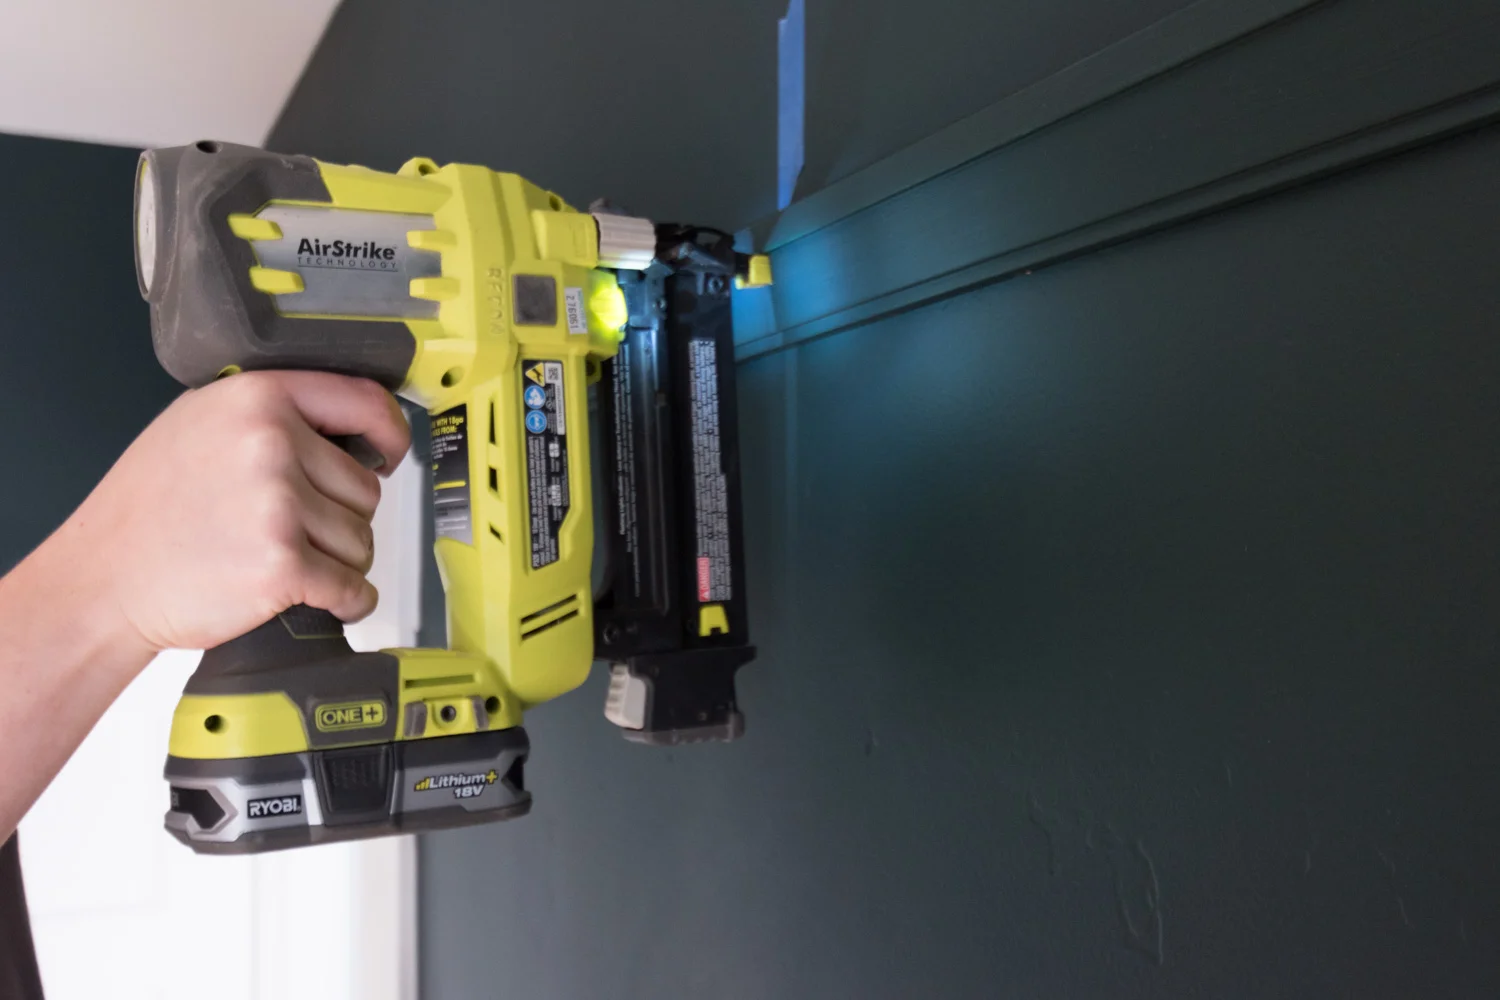
Enough about why I love this molding, let's get into how to install it.
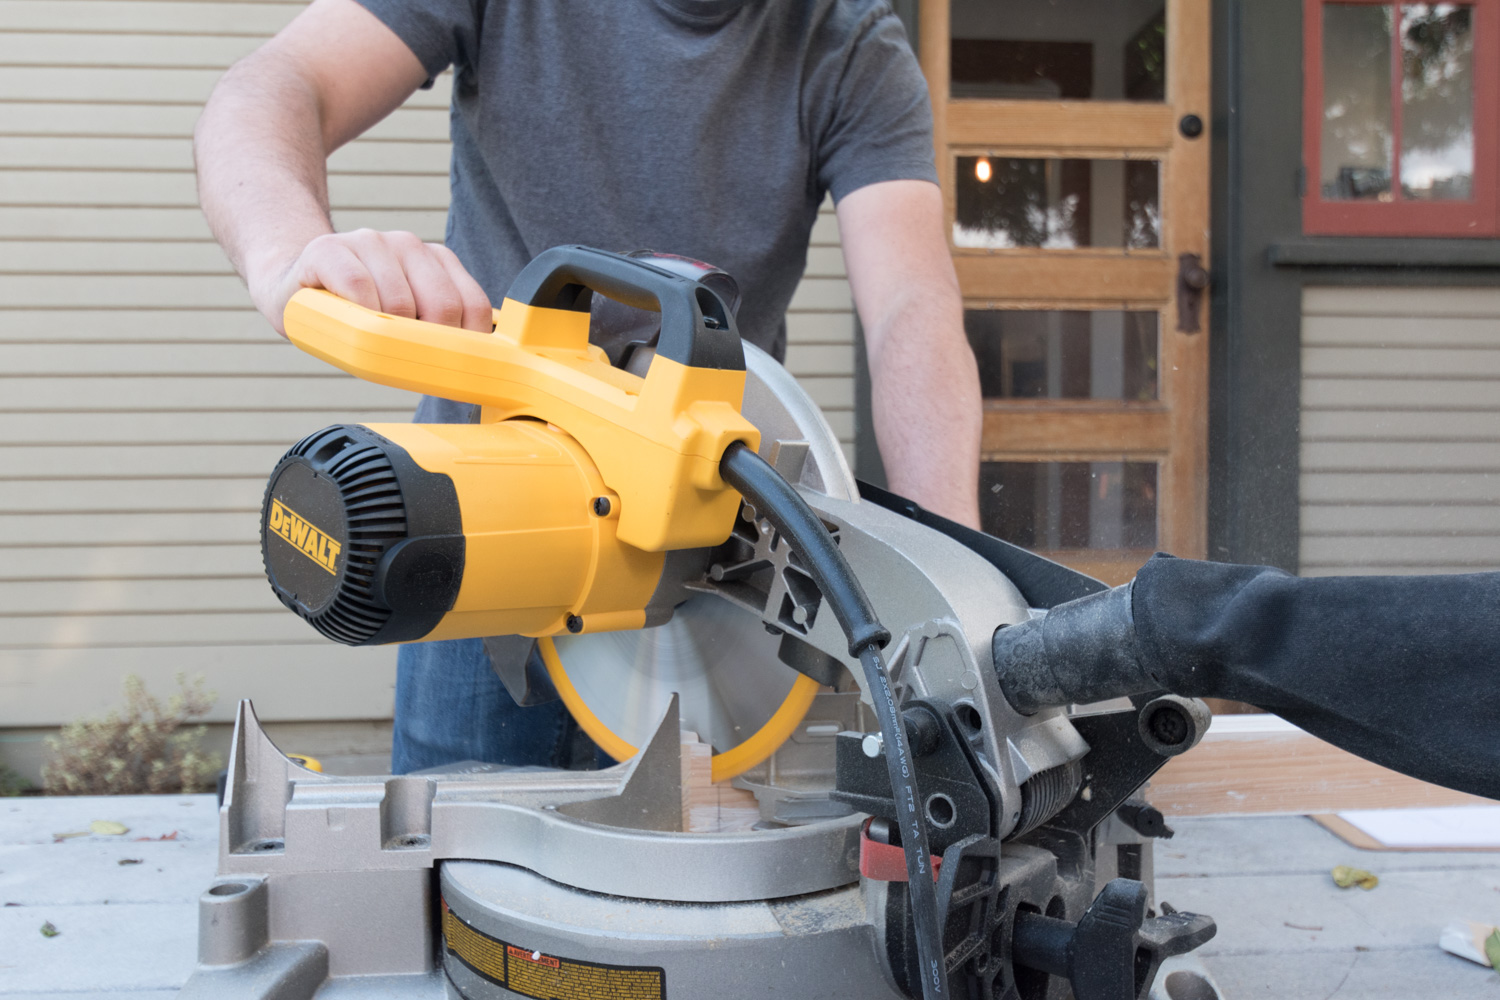
Supplies:
The first step is to find molding that fits with your home. The profile we bought was the closest we could find to the existing molding that is still intact in select rooms. If your home never had the molding originally, or you don't know what it looked like, you can research profiles for colonials, victorians, etc. to find what would have likely been in your home. If you have a unique profile and can’t find it at any salvage shops, online retailers, or specialty wood retailers, you can have a blade custom made so wood can be milled to match your existing profile. Finding someone local that does millwork can help you to either make a custom blade to cut your profile or even see if they have one already made.


Margot is getting an upgraded room to make space for baby sister in the nursery.
With an additional family member, we want to shuffle the rooms of our 3-bedroom house around. The one off the living room was being used as my home office, so now it’s time to convert it into an actual bedroom. The initial thought was to give this room to baby sister and keep Margot in her room. But we ultimately decided to put the baby in the room designed to be a nursery, then convert the home office into a space designed for a bigger kid. Plus, the office has more windows, and is right off the living room (Margot’s playroom) so it’s better suited for all the daytime play, whereas the single-window nursery is cozier for lots of daytime naps.