There are many more options than your local donation drop-off center to take your unwanted items. In fact - did you know many of the items dropped off at Goodwill just end up in the landfill?? I'm listing my favorite places that put things to the best use - since there’s always a better solution than the landfill and so many go to such a good cause. Please share your favorite alternatives in the comments!
Linens/Towels
I give our unwanted sheets, blankets, and dingy towels to animal rescue centers. They use them to pad the beds for our critter friends during recovery or while they wait for forever homes. In San Diego, I donate to Project Wildlife or the Humane Society.
House Parts and Tools
Habitat for Humanity is my go-to for anything house related. Items from furniture to doors and paint to light fixtures are sold at their ReStore centers and the proceeds support affordable housing projects. Psst! It's also a great place to shop for house parts.
Toiletries/Makeup
San Diego has the largest K-12 school for kids experiencing homelessness. They have an extensive wishlist including school supplies and kids' clothes. Since I don't have either of those at home to give away, I donate toiletries and unwanted makeup. Women’s shelters are also a great option for these items.
Cleaning Products
I’m obsessed with giving things away on my local Buy Nothing Project Facebook group where neighbors can post things to give away. I posted a collection of cleaning supplies that I no longer needed and someone that runs a local nonprofit picked them up to clean her community center. Consider joining a similar giveaway group, or think of a favorite nonprofit when cleaning out the cleaning cabinet.
Electronics
When I upgraded computers last year, I donated my old iMac to a favorite local nonprofit, Include Autism, but many community centers, nonprofits, or schools would be more than happy to receive old computers, iPads, and electronic toys. If your electronics are broken, they need to go to e-waste recycling. Look up a local recycling event in your neighborhood or check earth911.com.
Books
Local libraries will take your used books, but you can also take subject-specific ones to places that will read them more. Consider kids' books for a local YMCA and coffee table books for a retirement home. Also, your neighborhood may have a Little Free Library where you can drop off a book and pick up another one in exchange.
Magazines
Glossy pages filled with colorful images are great for collage art projects. Consider taking a stack of catalogs, magazines, maps, and scrapbook paper to a children's museum, art center, after-school program, or school.
Art Supplies & Paint Samples
Schools, art museums, and youth programs can put unwanted paints, brushes, and craft paper to use. Before dropping it off, check to be sure they can use what you want to give - oil paints are toxic and won't be put to good use with young kids, so gift them to older artists.
Furniture
Salvation Army will pick up big furniture items that you'd normally have to pay someone to move, so it's a win-win. Smaller furniture items can go to Habitat for Humanity or your local donation center. If it's too small to have Salvation Army pick up, but too big to fit in the car, I put it on the curb with a free sign, post it on my Buy Nothing Group, and/or post it on Craigslist. It's often gone in an hour.
Light Bulbs
Do you have any of those pesky incandescent bulbs laying around but don’t have a need for them because you switched everything to LED? My local animal wildlife rehabilitation center, Project Wildlife, uses them in incubators for baby animals without their parents because those old bulbs emit heat. Consider finding a similar organization near you!
Office Supplies
If you ended up with too many Sharpies (guilty) or you're changing out your office chair, consider giving to your favorite community organization. You may be used to donating dog food to the animal shelter, but the administrative staff that support the pups could benefit from your extra office accessories.
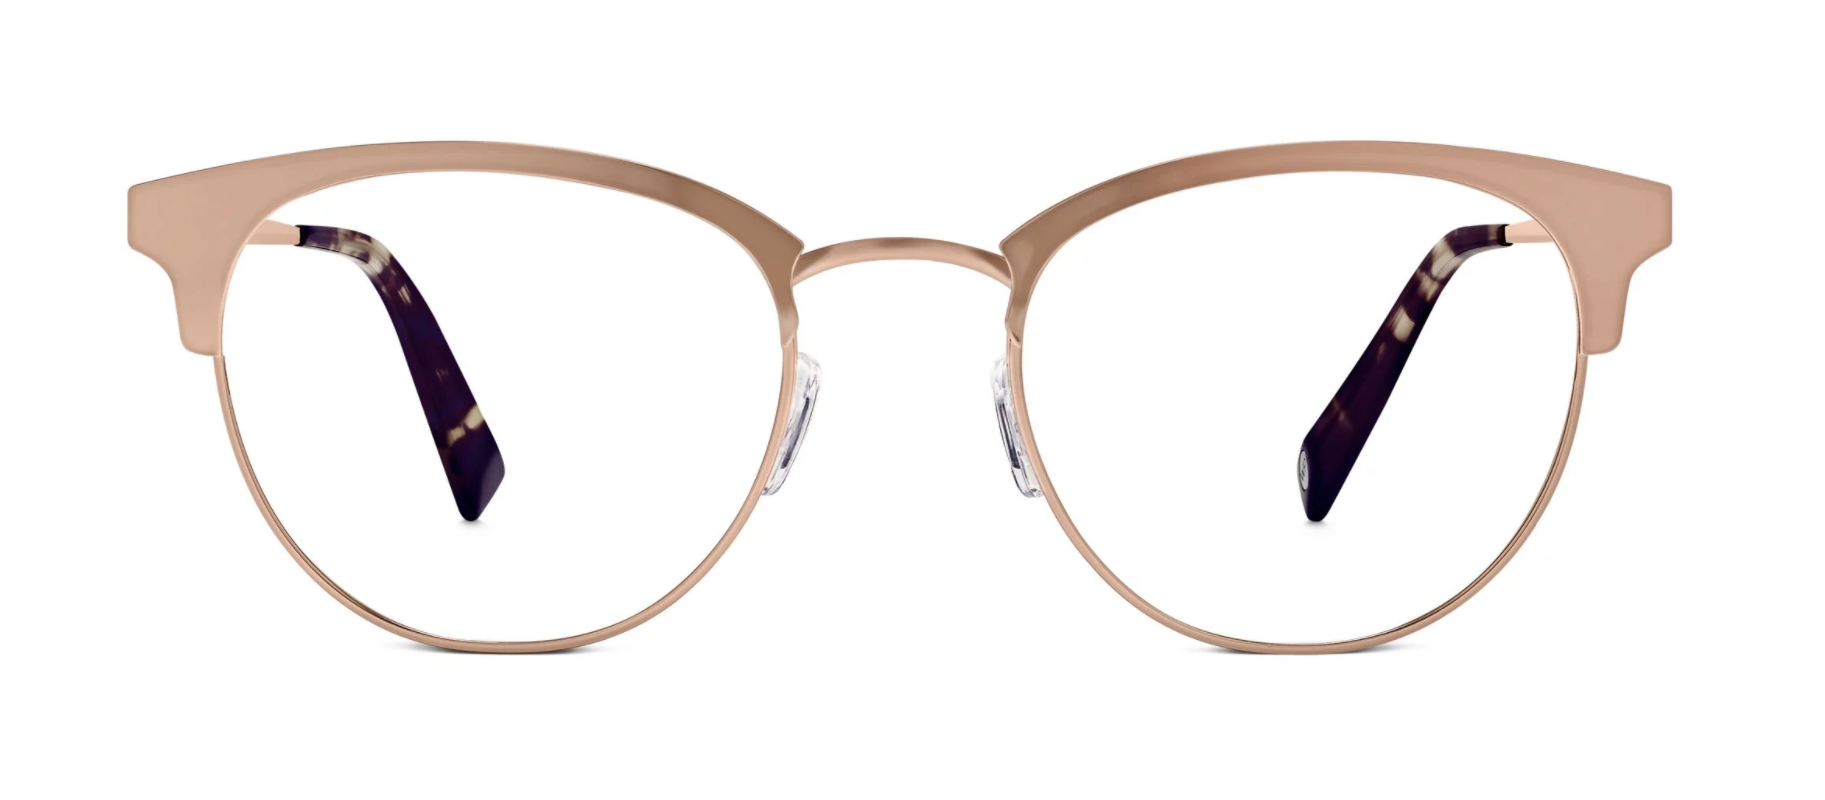
Eyeglasses
There are thousands of people without access to vision care so giving your old glasses can help someone have the ability to read for the first time. When I upgrade to new frames, I mail in my old ones to Lion's Club where they redistribute them.
Food
Feeding America will accept unopened non-perishable food items at their distribution centers. It's a great place to give when you do a major pantry clean out, but when I have a couple of items we don't need, I keep them in my car and pass out to folks on the street that are hungry.
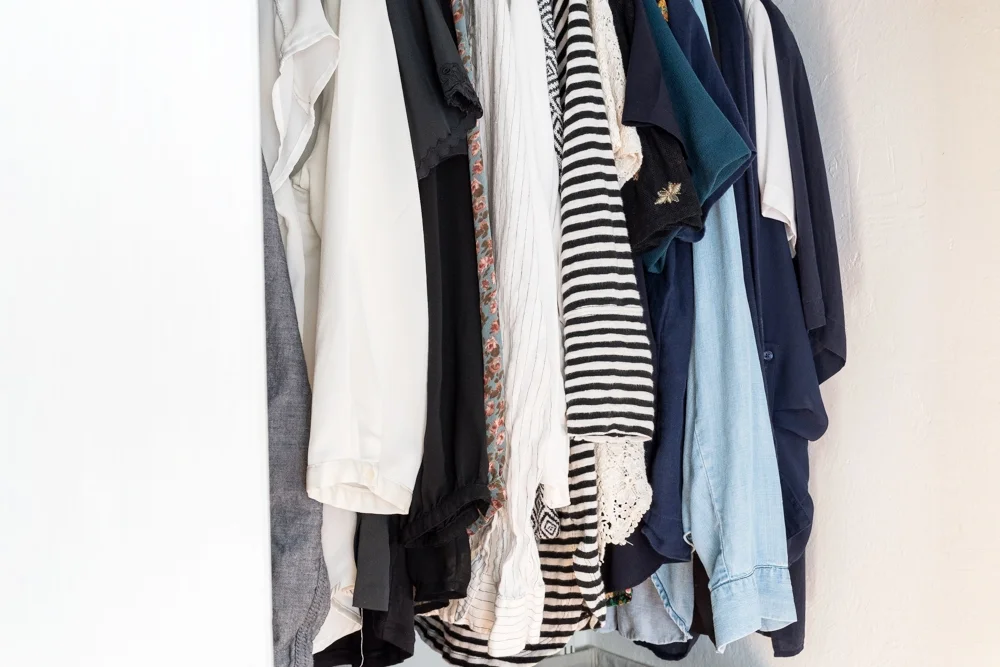
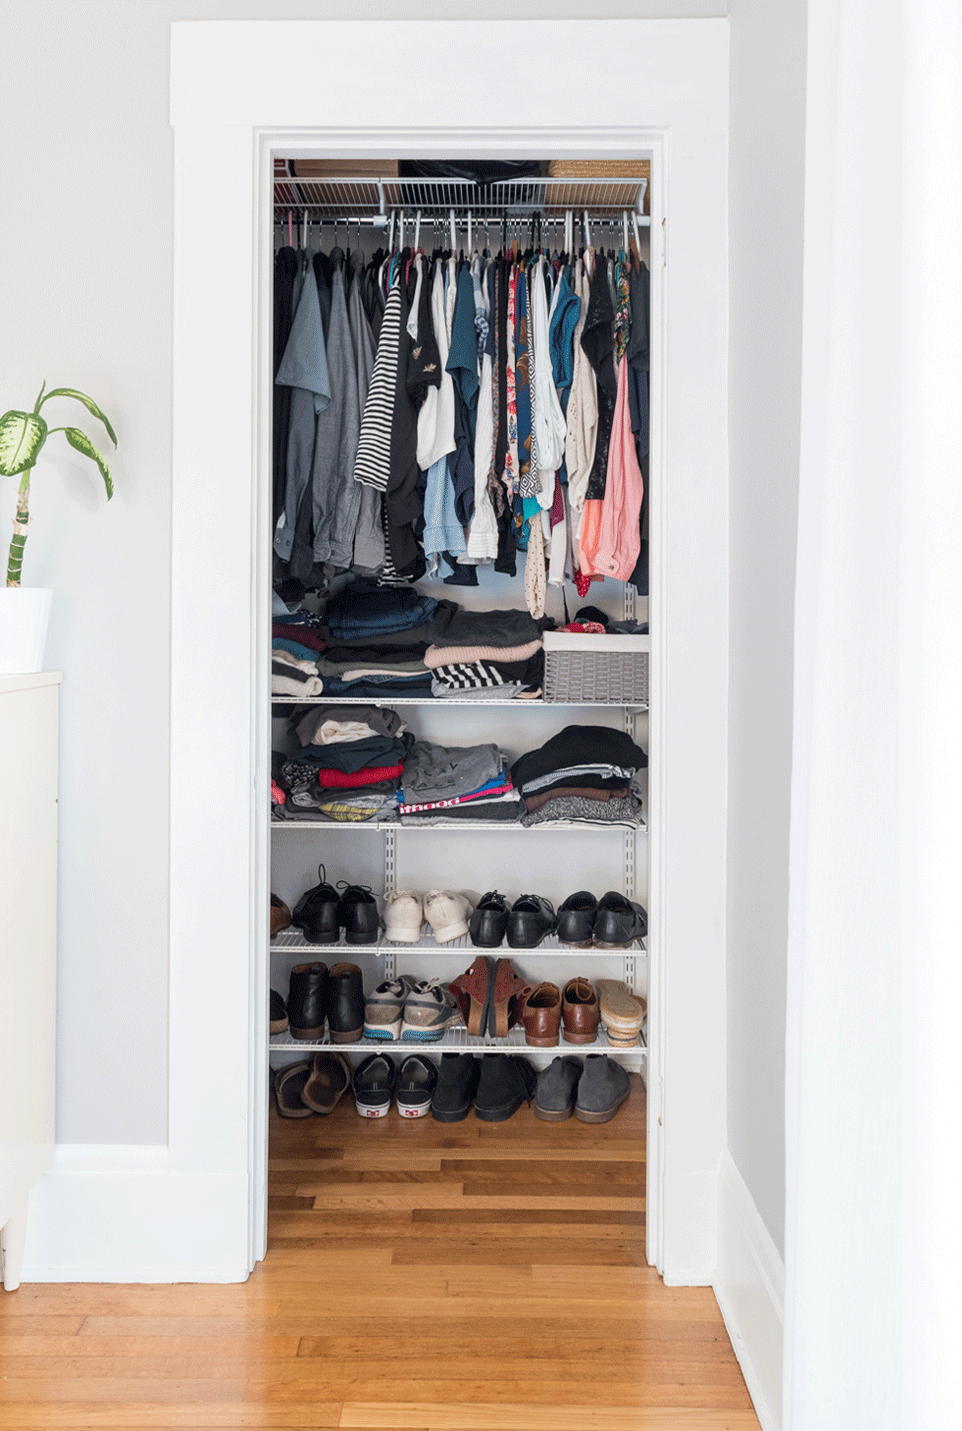
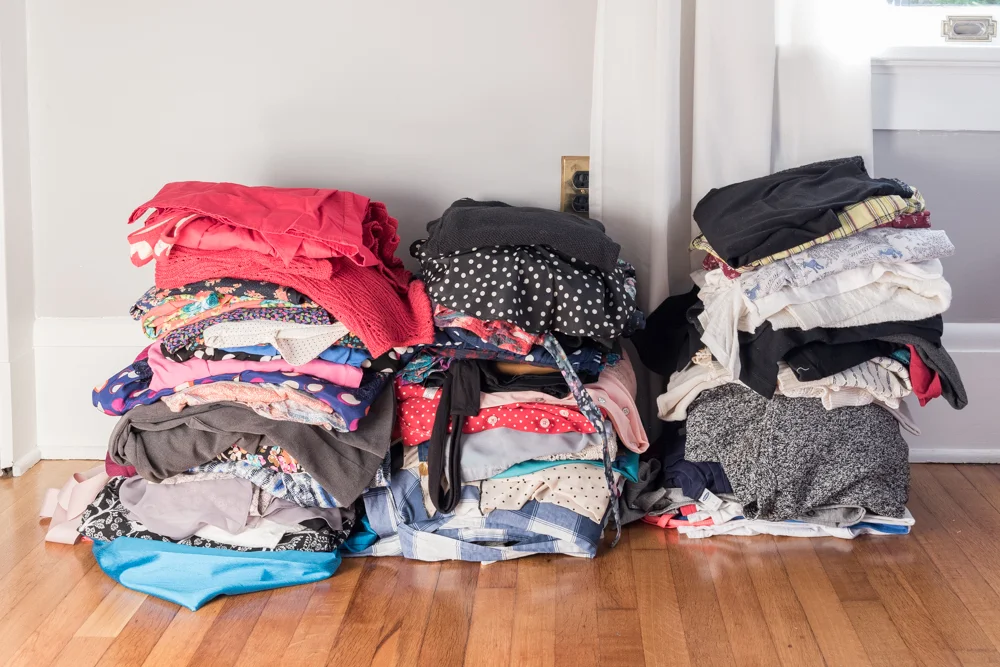
Clothes and Housewares
Donation centers are an easy option for dropping off clothes and housewares, but your community likely has organizations that can give directly to folks in need. Refugee families can benefit from clothes and basic housewares as they settle into a new country. Women's shelters are in need of child and adult clothing in addition to basic home items as they transition housing. Consider donating old suits and business attire to an organization offering job training for underserved individuals. This is a good one for women’s clothes. If your clothes are so worn that they can’t be reused (think a sock with a hole in the toe or very worn undergarments) take them to a textile recycler - H&M happens to be a drop-off center for textile recycling.
Houseplants
I haven't done this one myself, but I'm sure any retirement home would appreciate houseplants that no longer fit your space, or those you need to give up when you move. I’ve also listed nearly dead plants on my Buy Nothing Group and had a few neighbors pick them up to try to revive them.
Kids Toys and Clothes
If you receive kid toys or clothes for your little ones that you don't want, you can donate brand new ones to children's hospitals. Gently used toys and clothes can help kids at a shelter where they may be displaced due to housing, domestic violence, behavioral challenges, and more. Refugee families and women and children’s shelters would also love these items.
Camping Gear
That tent you never use can be put to great use for someone living on the street. You can walk up to someone that is struggling with housing and hand it to them directly or work with a local organization that serves folks that are displaced.
Gift Cards
I've received $5 gift cards to places I don't frequent then they end up in a pile, or clogging my wallet. Many nonprofits will use these to give to their volunteers as gifts. Local children's centers will use them when they go on outings with kids that are living on the center's campus.
Pet Food
When we changed Mabel's diet, we ended up with a bunch of open bags of treats and kibble. I found an organization that takes these snacks to animals in Tijuana. Unopened items can go to your local animal shelter.
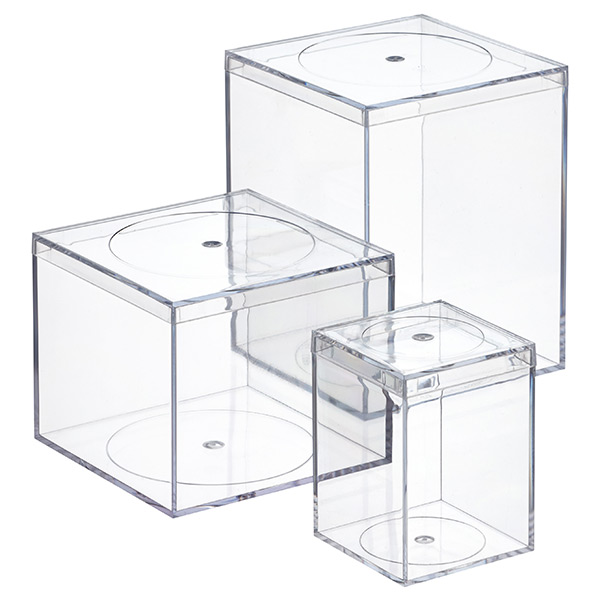
Random Odds and Ends
There’s always that something that you’re sure nobody wants. But I’ll bet you someone will take it. When you take a weird item that doesn’t have a specific purpose or needs explaining to a major donation center, it’s likely to get trashed. For items like this, I turn to my Buy Nothing Group and post it to my neighborhood where they can get a description as to what it is. I have given away twist ties, canvas photos of me as a child (not kidding), nearly dead plants, coupons, an open container of milk, and so so much more.
Save the Wishlists of Your Community Organizations
Many nonprofits share wishlists on their website. Some are like Monarch School's list of needs and others are shop-able Amazon wishlists like the Humane Society where you can purchase items online to be mailed directly to the center. The wishlists can often inspire cleaning you didn't even think of (I now know to take the wrong-sized batteries I accidentally bought to the Humane Society). I also like to keep my local non-profits in mind when I see BOGO deals at the store. I can buy a tube of toothpaste for myself, and drop off the free one at Monarch School. Also, many organizations will take your recycling off your hands, too - our local children's museum is always looking for toilet paper tubes.
The list above is just what I do in my city with links to San Diego organizations, but here is a list of national organizations to support. Please share the ways you clean out your house for a good cause!
If you’re in the giving spirit and want to make monetary donations, here’s a list of my favorite non-profits to support.


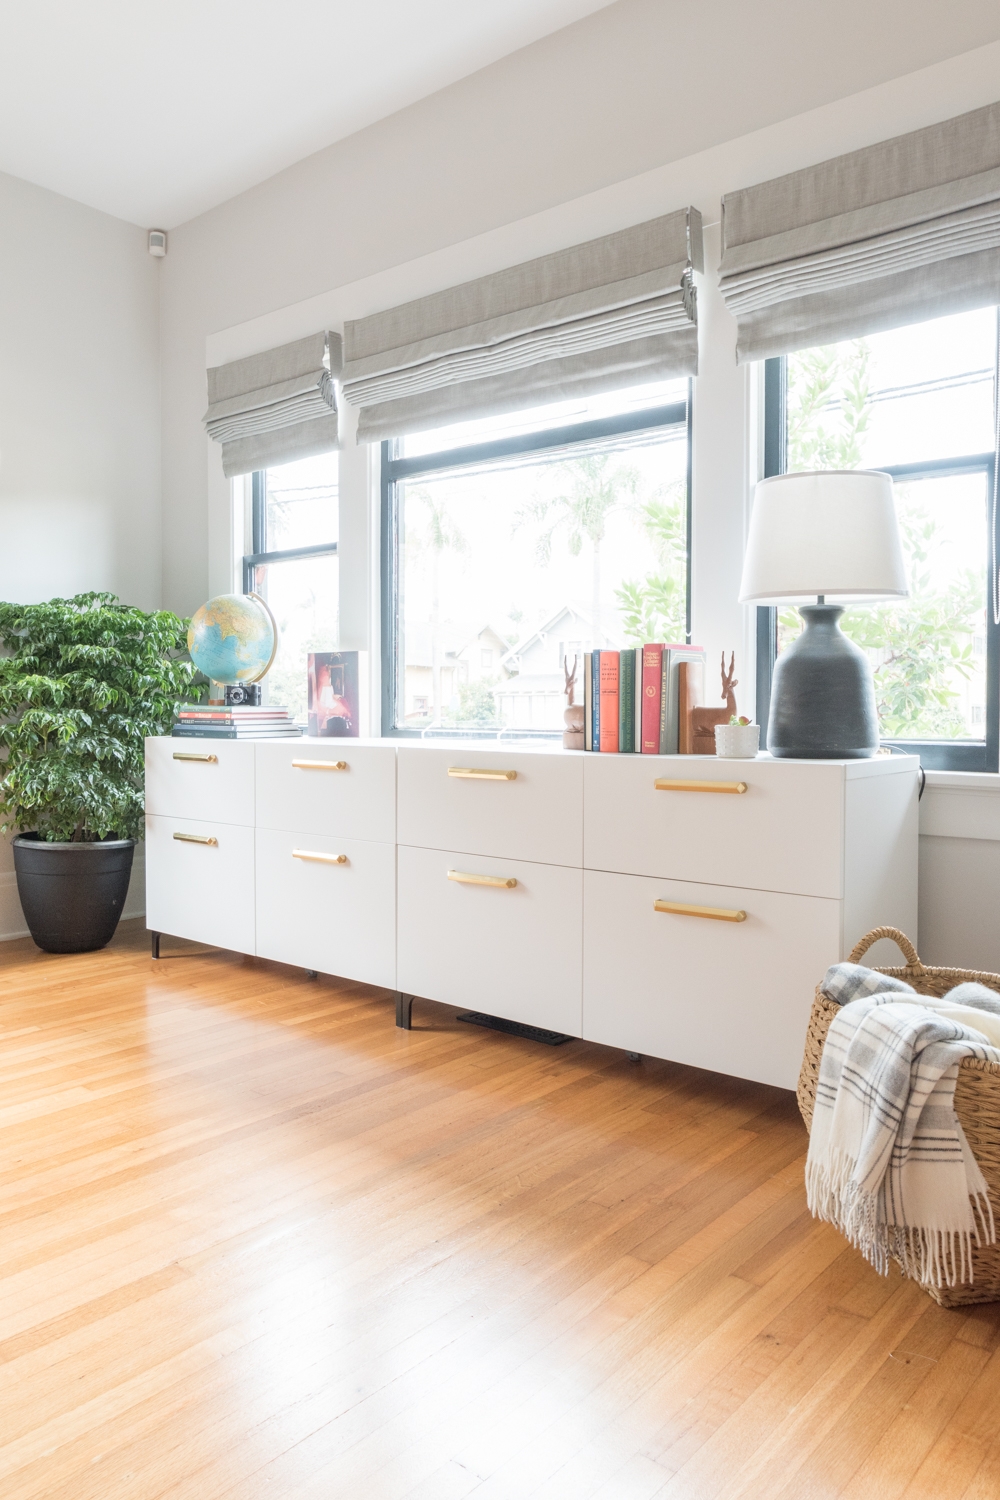

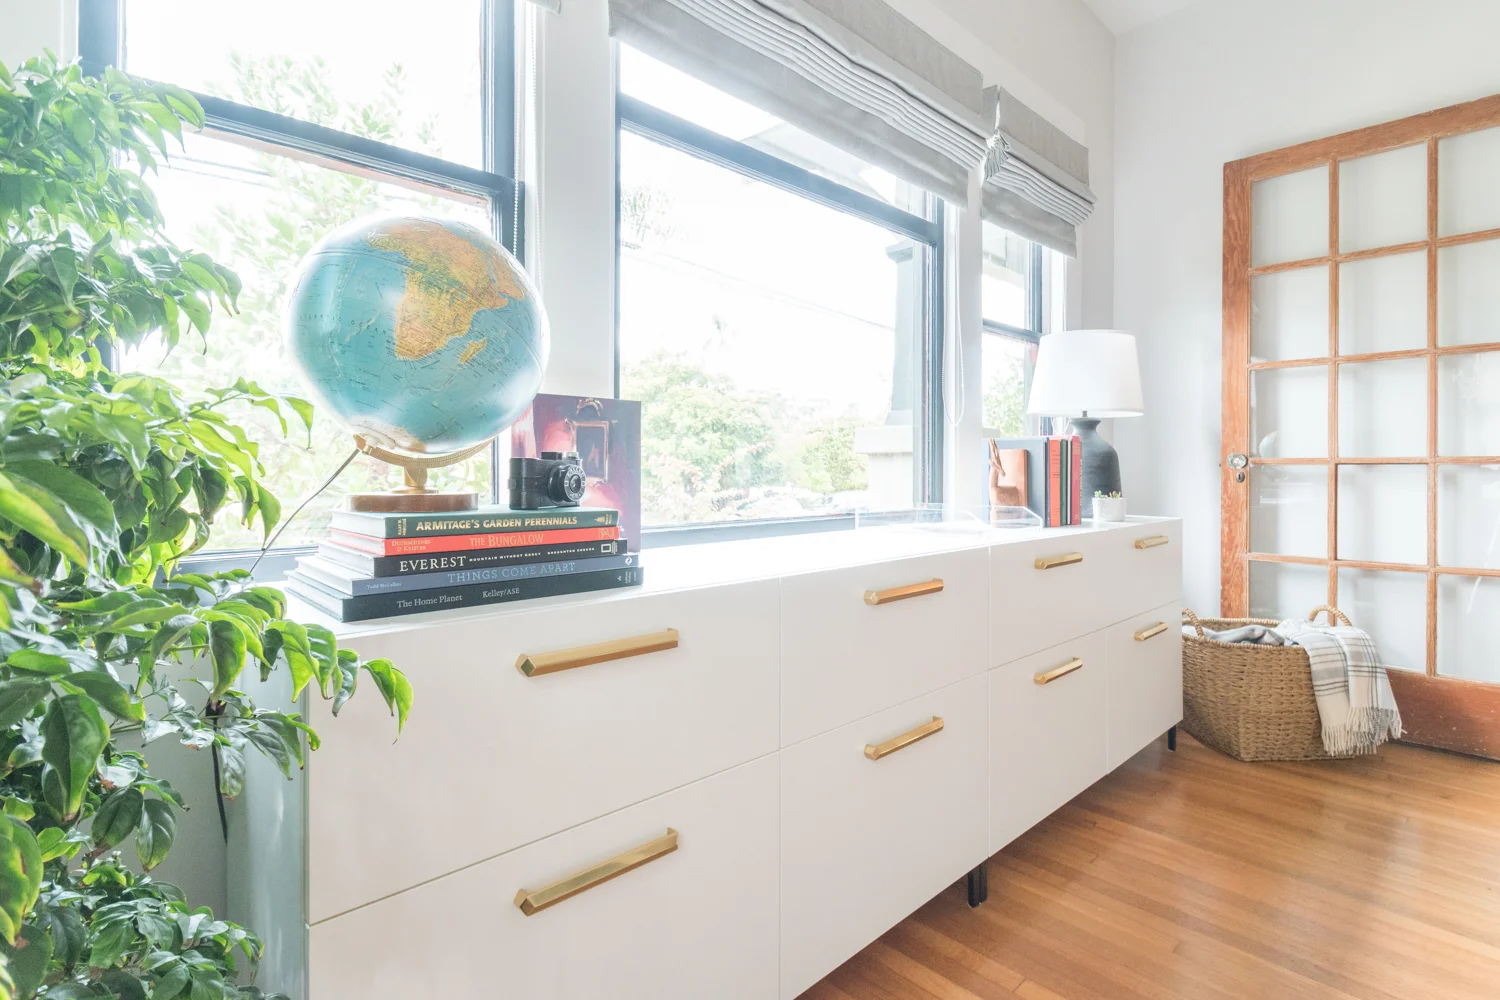


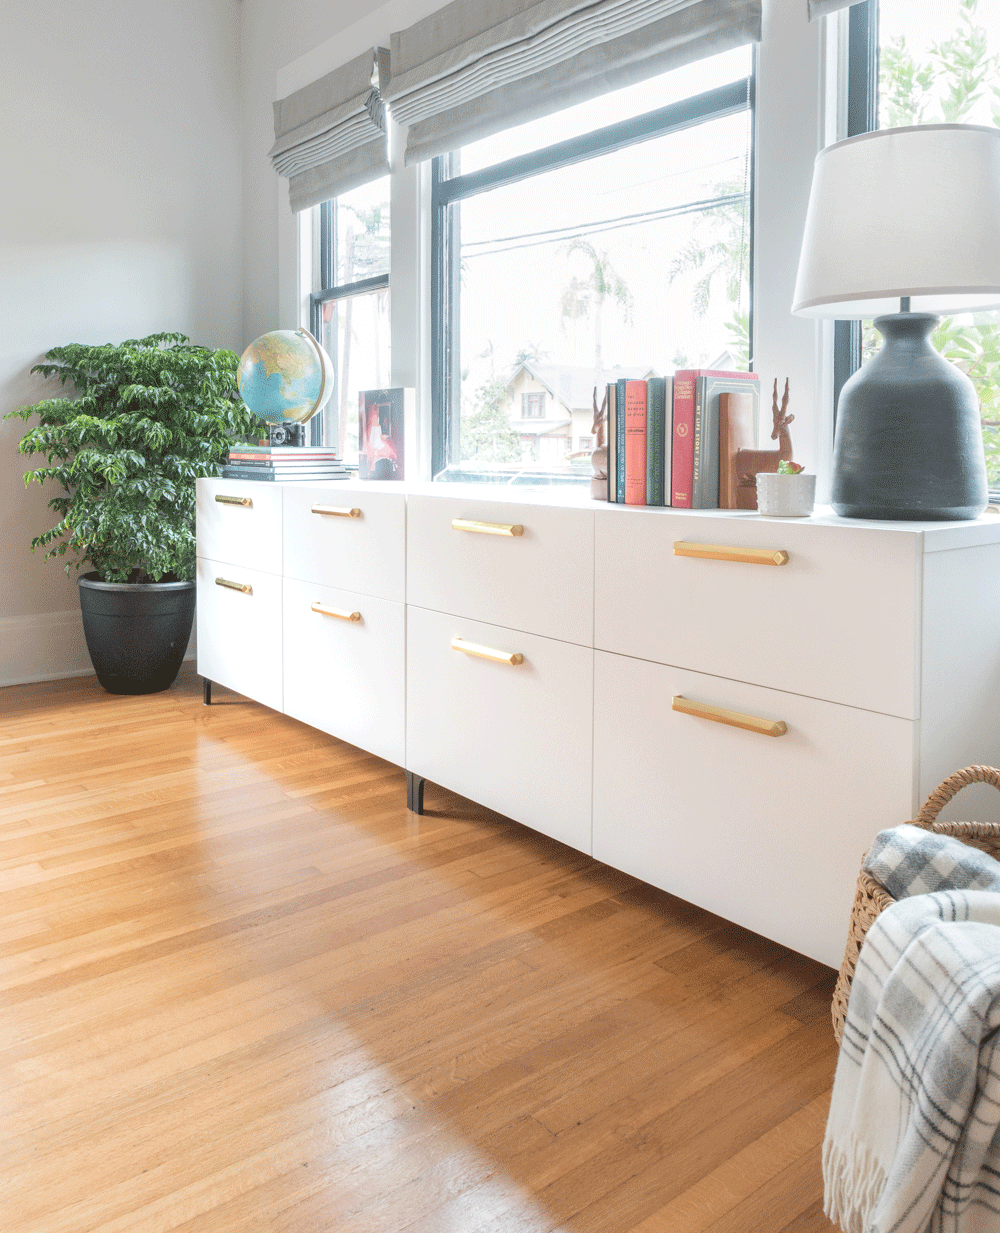


Margot is getting an upgraded room to make space for baby sister in the nursery.
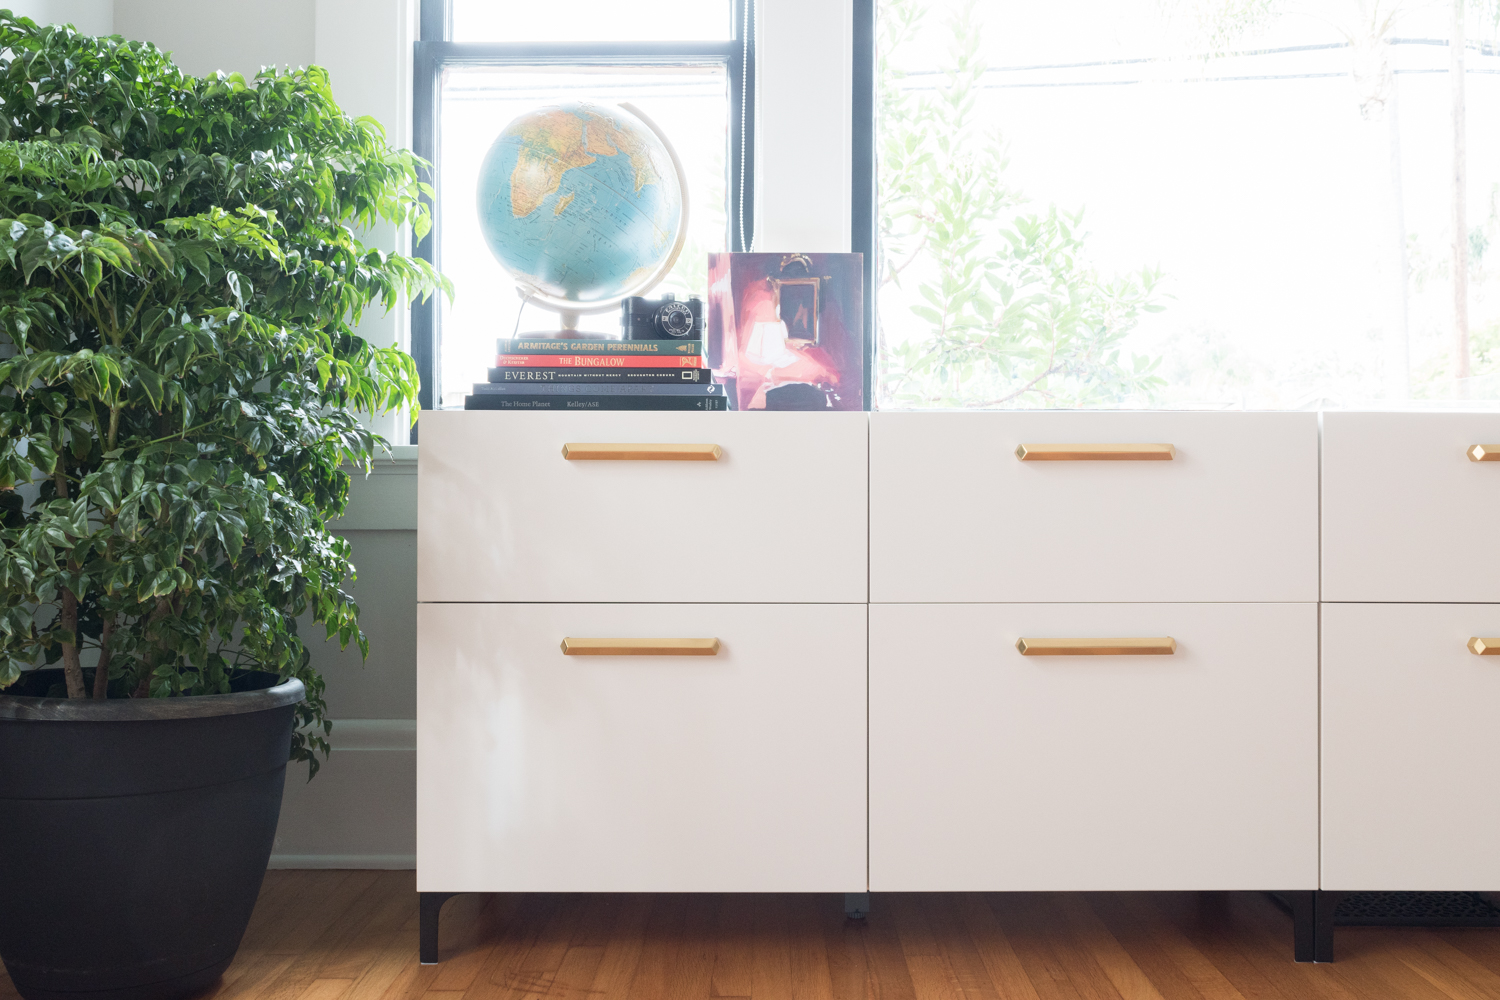
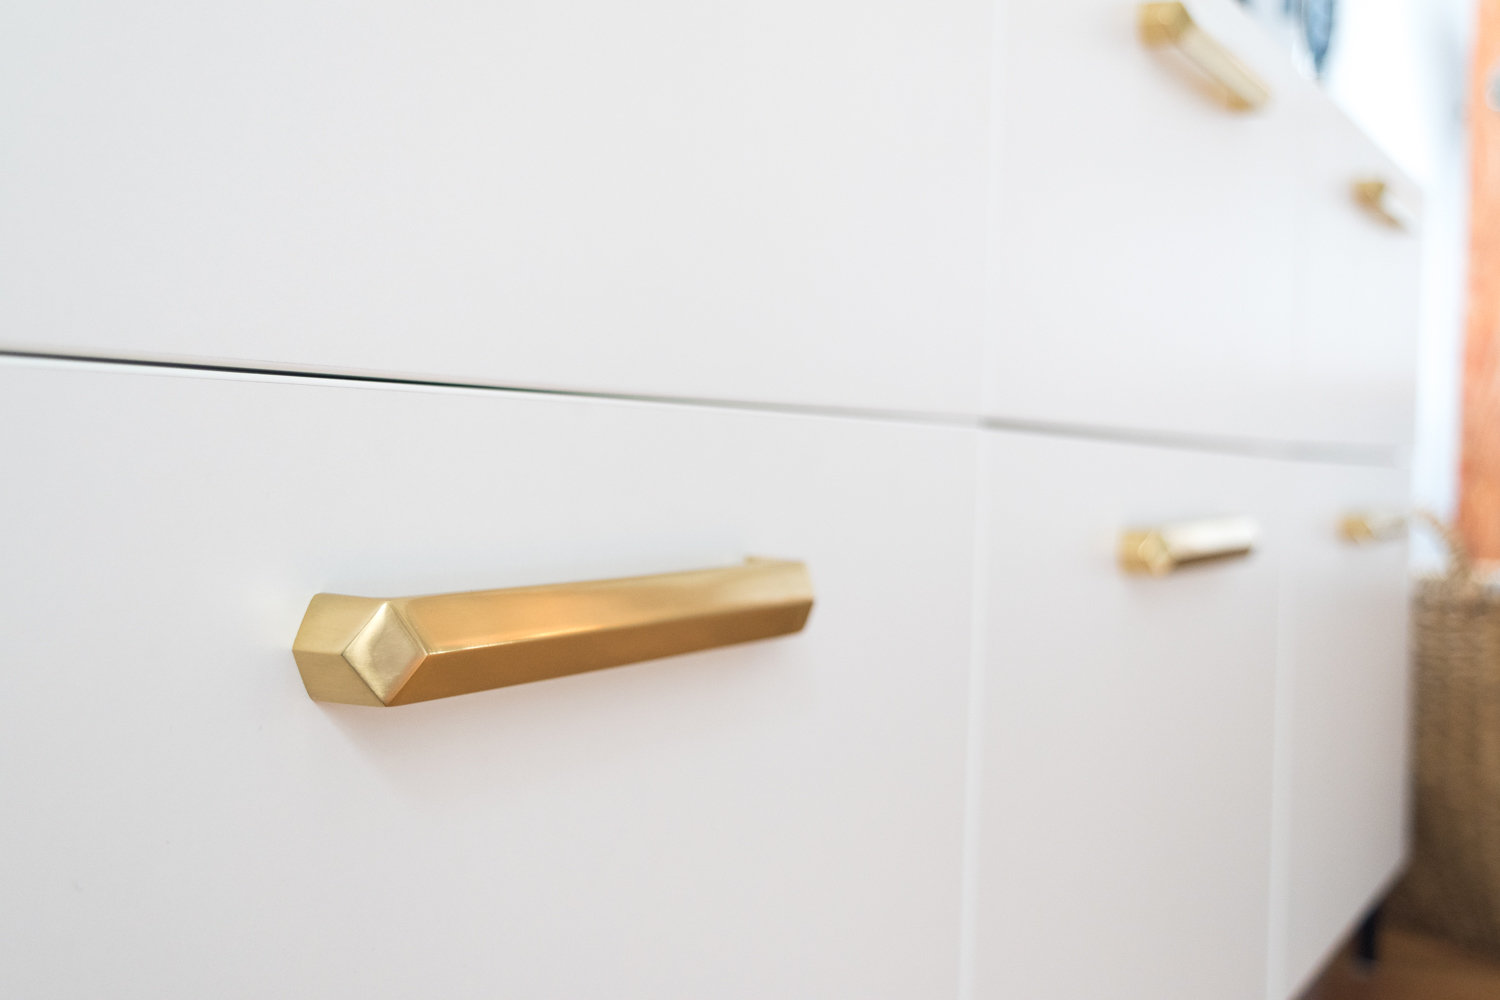
With an additional family member, we want to shuffle the rooms of our 3-bedroom house around. The one off the living room was being used as my home office, so now it’s time to convert it into an actual bedroom. The initial thought was to give this room to baby sister and keep Margot in her room. But we ultimately decided to put the baby in the room designed to be a nursery, then convert the home office into a space designed for a bigger kid. Plus, the office has more windows, and is right off the living room (Margot’s playroom) so it’s better suited for all the daytime play, whereas the single-window nursery is cozier for lots of daytime naps.