
A Video Tour of Our Home's Future Layout + Sneak Peek at The Kitchen Renovation
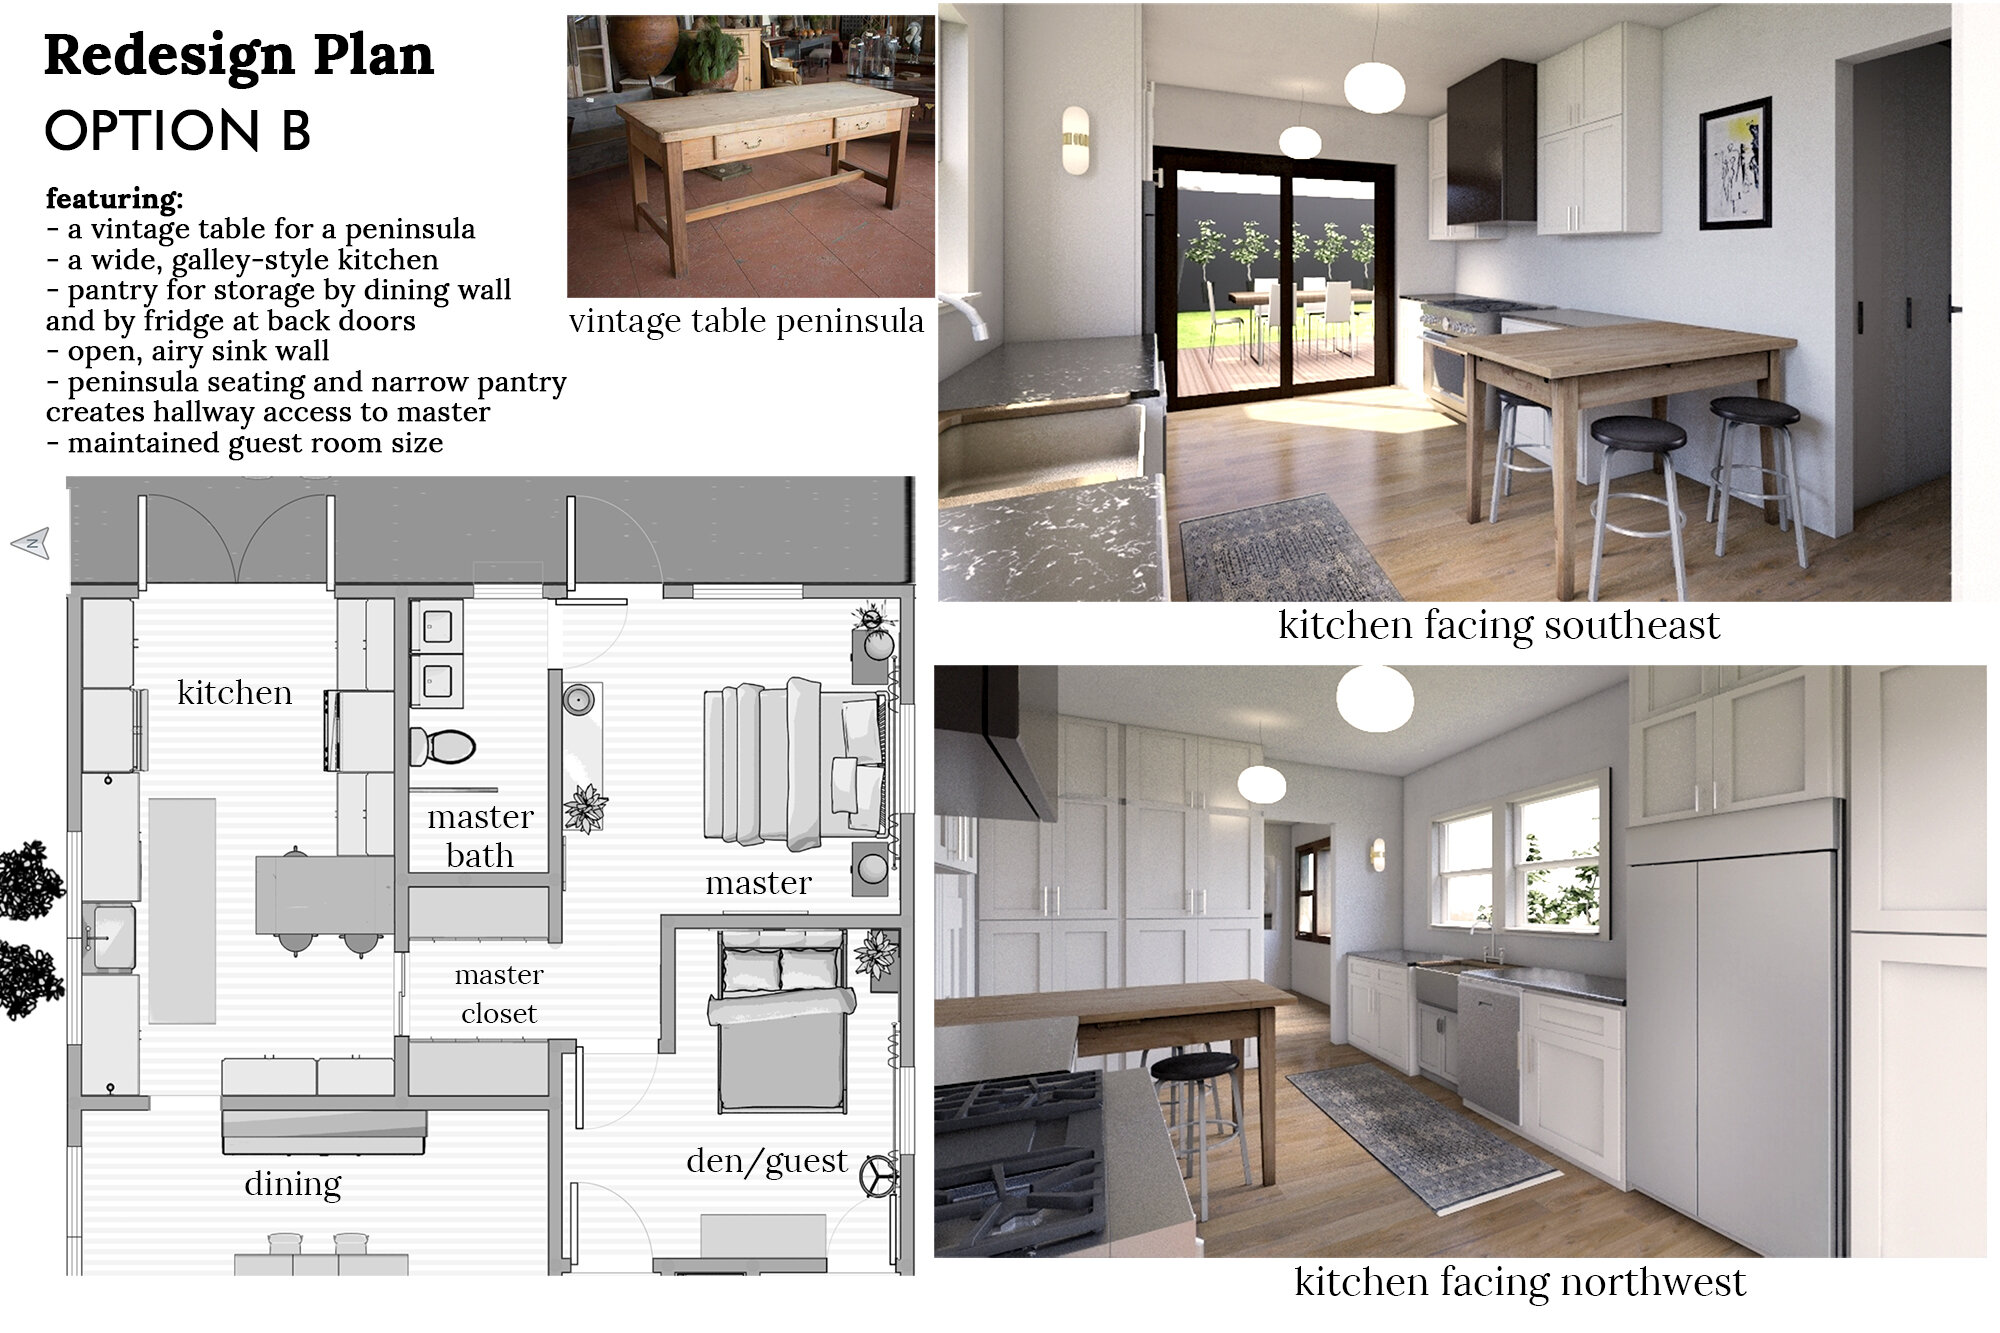
/ AshleyI’ve been talking on the blog a lot about our home’s new layout as we approach the remodel of the kitchen. I’ve brought it up because first I wanted your opinion, then because you gave great advice, and then because I needed your help deciding, and then I teased my favorite layout, then I elaborated, and now I’m here to fully explain the new layout - in video form!

The flow and layout of our house has been a critical part of the kitchen design because I feel strongly that no matter how pretty the wall color is or how shiny the tile is, no space is ever going to look good if it doesn’t function well. The way we live in our spaces down to how we get from one room to another or how we open the dishwasher can make a big impact on general family time and efficiency in work space. So, I’ve thought about it for years and years and years and now I finally have a layout that we’ve decided on and sent to get stamps of approval on at the permit office.
I’ve shared some renderings and layouts, but I still get questions about the whole scope of the project. So, instead of inviting each of you over into my house, I’ve put together a video where I show you exactly how the space is transforming. I walk you through the house in its current state, point wildly at blank walls, make arm gestures pretending to be a refrigerator and a wall, include some floor plan reference points, trip over my words and trip over the foster dog. I promise it’s informative!
Watch the Video:
If you liked that, please subscribe to my YouTube channel! If the video didn’t load, click here to watch.
Here’s a visual outside of video format for ya:
Was that helpful? Even mildly? If it wasn’t, then you’ll have to stay tuned to see how it unfolds during the remodel. Subscribe to get the blog in your email and subscribe to my YouTube channel so you don’t miss out!
Check Out The Latest Kitchen Renovation Posts

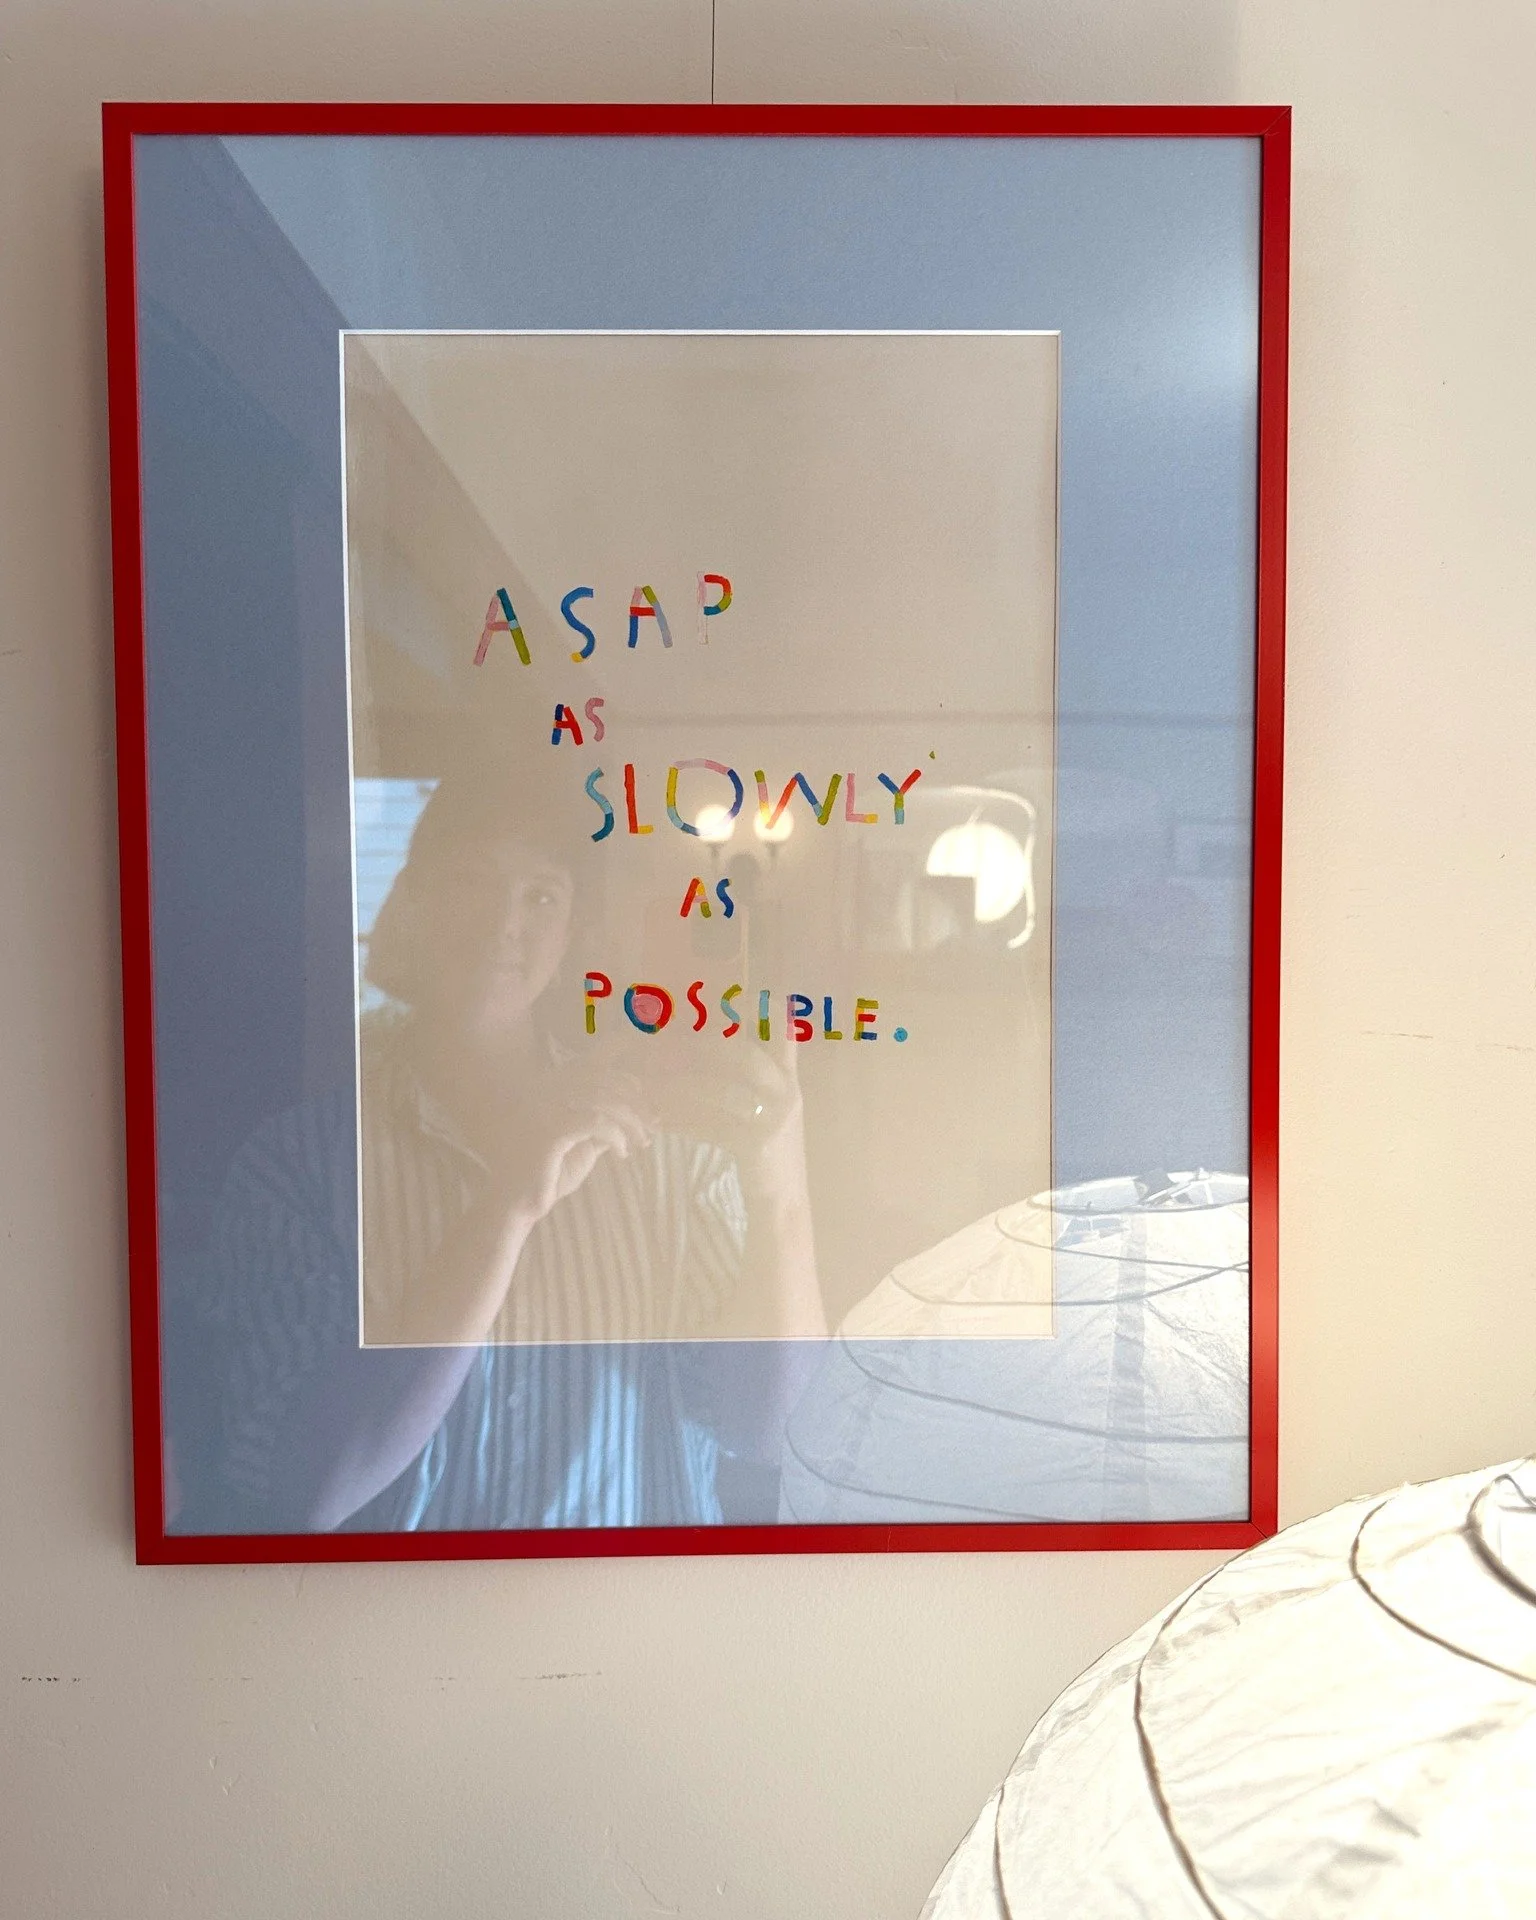
The perfect piece of art didn’t exist, so I made it. Now the kitchen walls are adorned with a beautiful (yet odd) photo with a lil’ cameo by Margot!

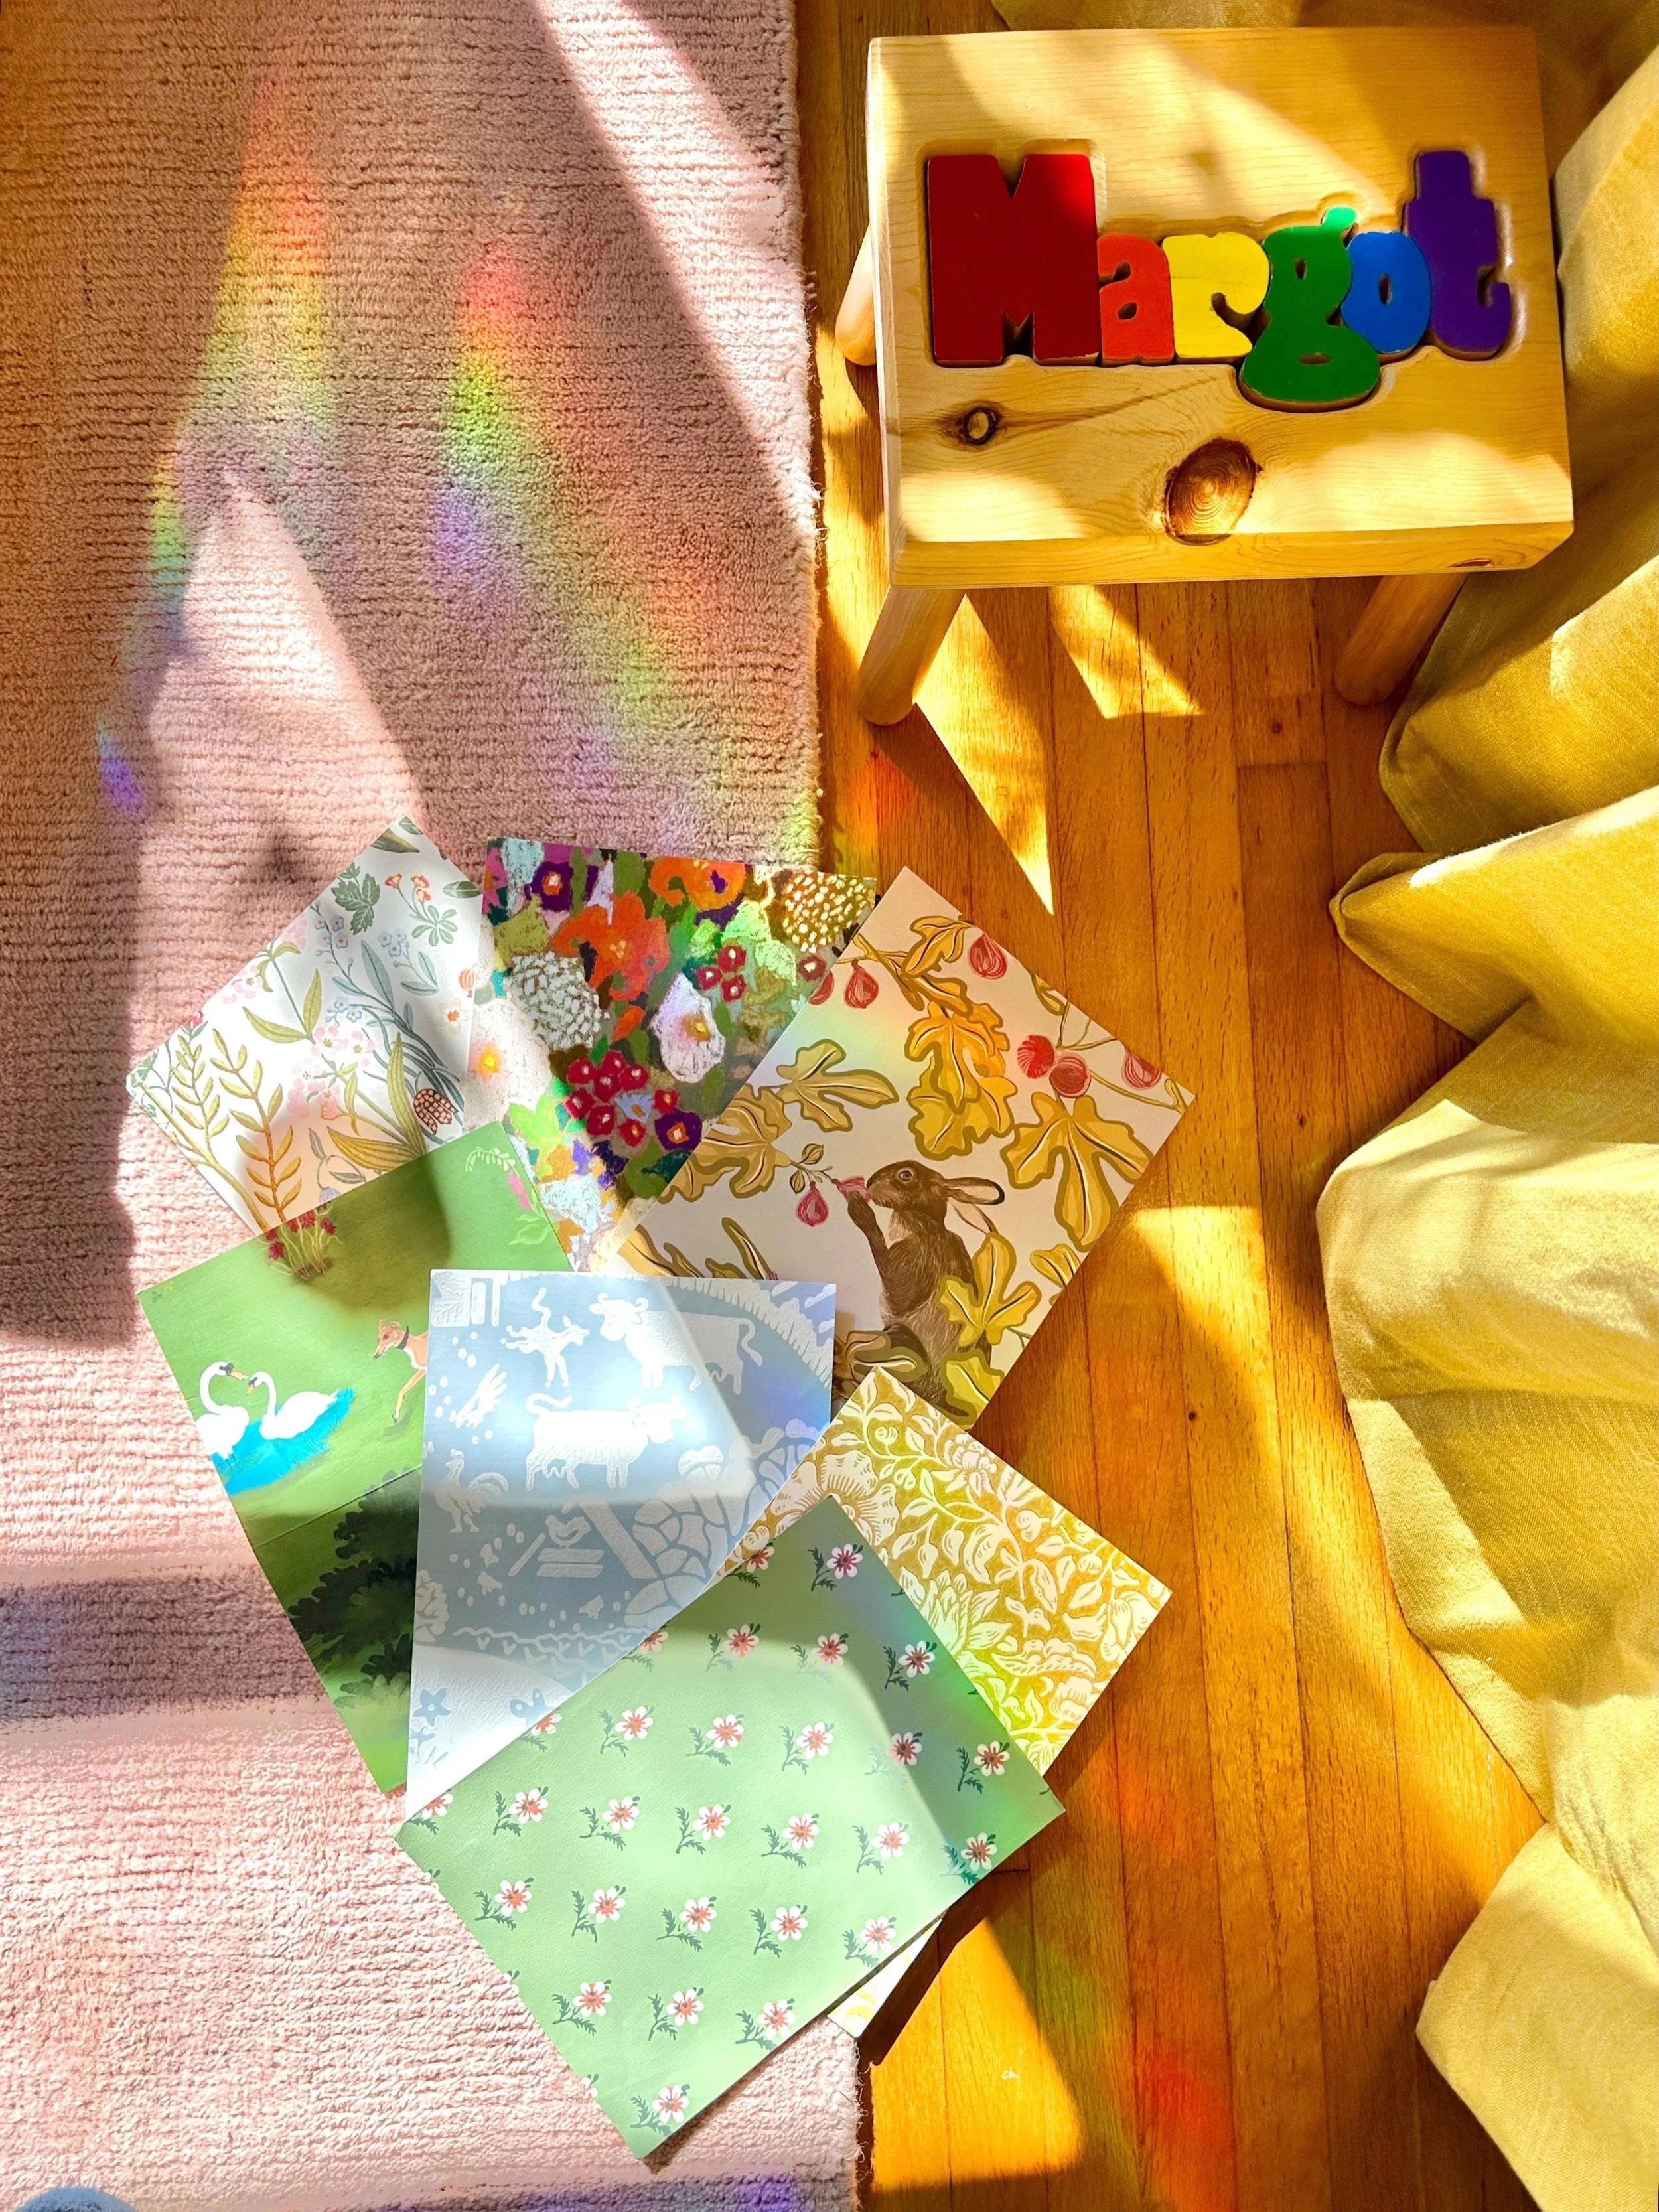
I debated over a hundred wallpaper pattern options for the kitchen. And I mean hundreds. I started with a giant stack, then narrowed it down to about 20 that sat on the walls for months.


Built-in cabinets and coordinating islands are lovely, but I wanted a standalone furniture piece in our new kitchen. So, I designed the layout to include a vintage wooden table instead of a peninsula of cabinetry. After lots of vintage hunting and some modifications, we have the perfect work surface, dining table, and all-around great addition to the kitchen.

I’m a sucker for a good café curtain. They’re the perfect mix of charm and practicality - two of my favorite things.

I’ve been working hard on the peeeerfect design for our open storage plate rack in the kitchen. I’ve been picky about how I wanted it, and it isn’t quite done yet, but I love where we’re at with it.

I DIY sealed our marble countertops and you can, too! Sealing protects the stone from staining which really helps me not worry about spilling coffee on my bright white counters. I did a bunch of research on the best products so I’m sharing how and why I chose the one I did, plus detailing the steps to seal that gorgeous marble.

Marble counters are in the kitchen and looking so so good! There’s a process to designing the layout, coordinating with a fabricator, measuring, installing, and sealing. So without further ado, let’s get into it.

Countertops are major workhorses and one of the biggest design elements in a kitchen. So, there’s a lot of thought that goes into the material, style, and design of them. But you know me, I have to research even further. In addition to picking a pretty countertop, I factored in the environmental footprint, worker health, land reclamation of the quarry, and the way it fits into a historic home. Ready to get into it? Let’s!
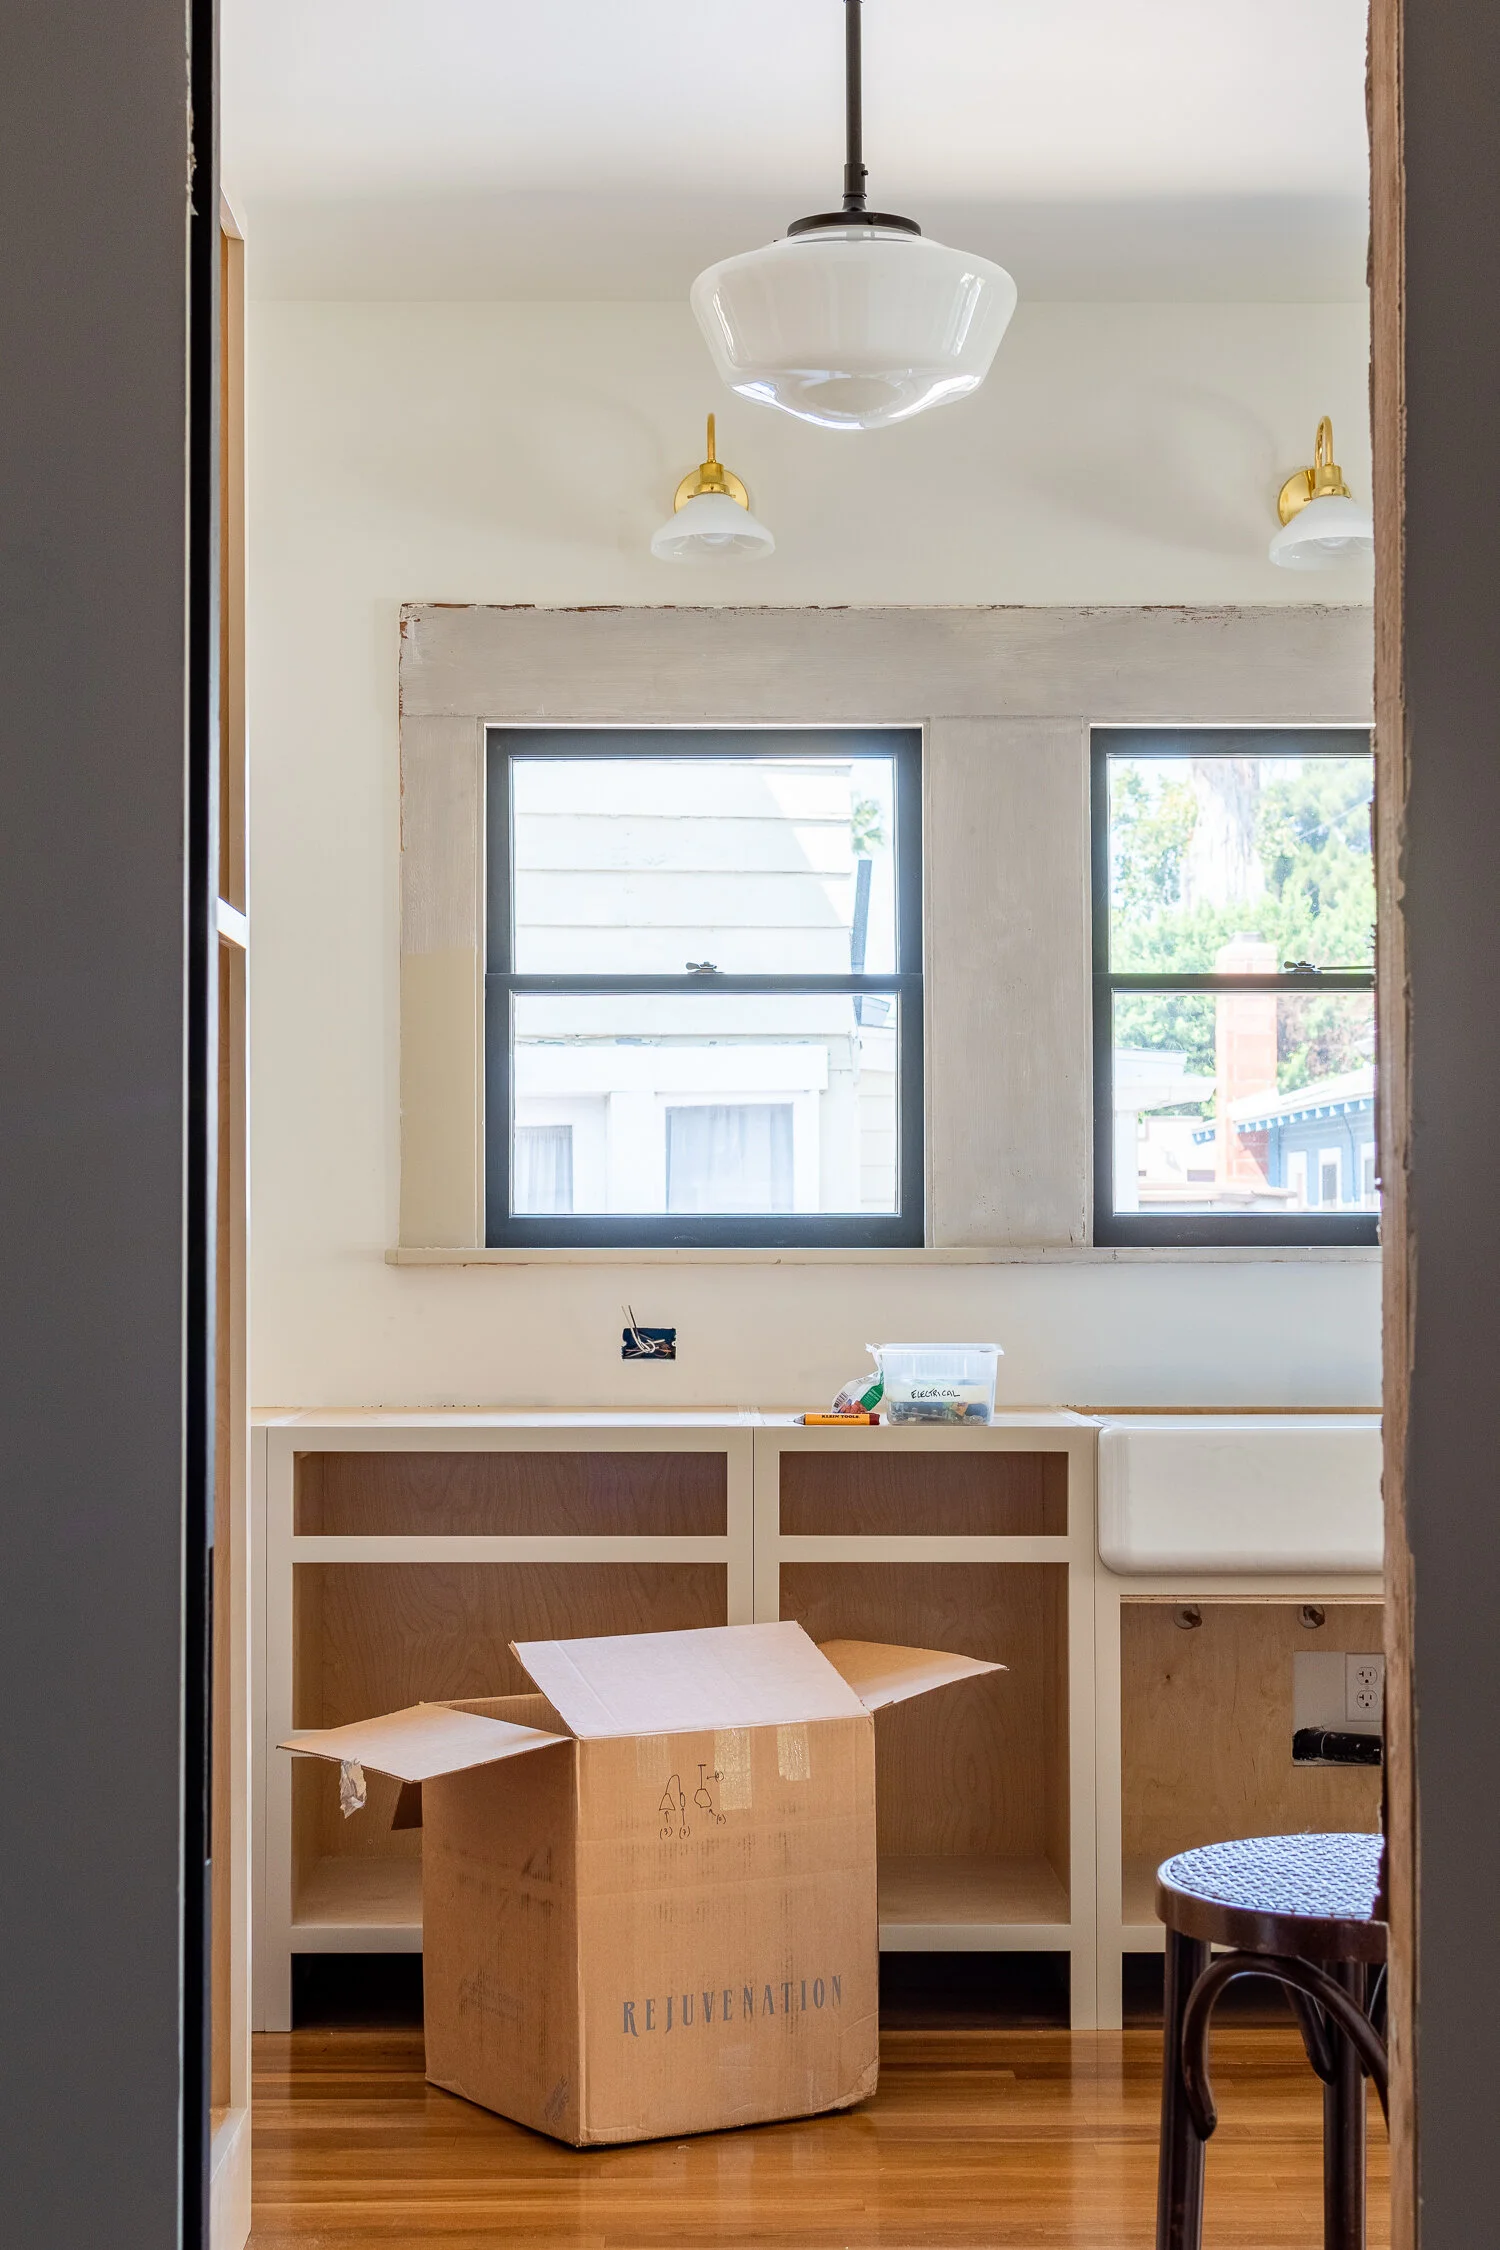
The kitchen is FINALLY coming together with the addition of things that actually turn the empty room it into a kitchen. The range is in, the cabinets are taking shape, and lights are installed. Pinch me!

I’ve heard of other blogger buds using fancy masking fluid to ease the painting job of painting windows and divided lite doors, but I never used it myself. Until Now. I learned some lessons and have some takeaways from the experience for ya. Here’s how it went.
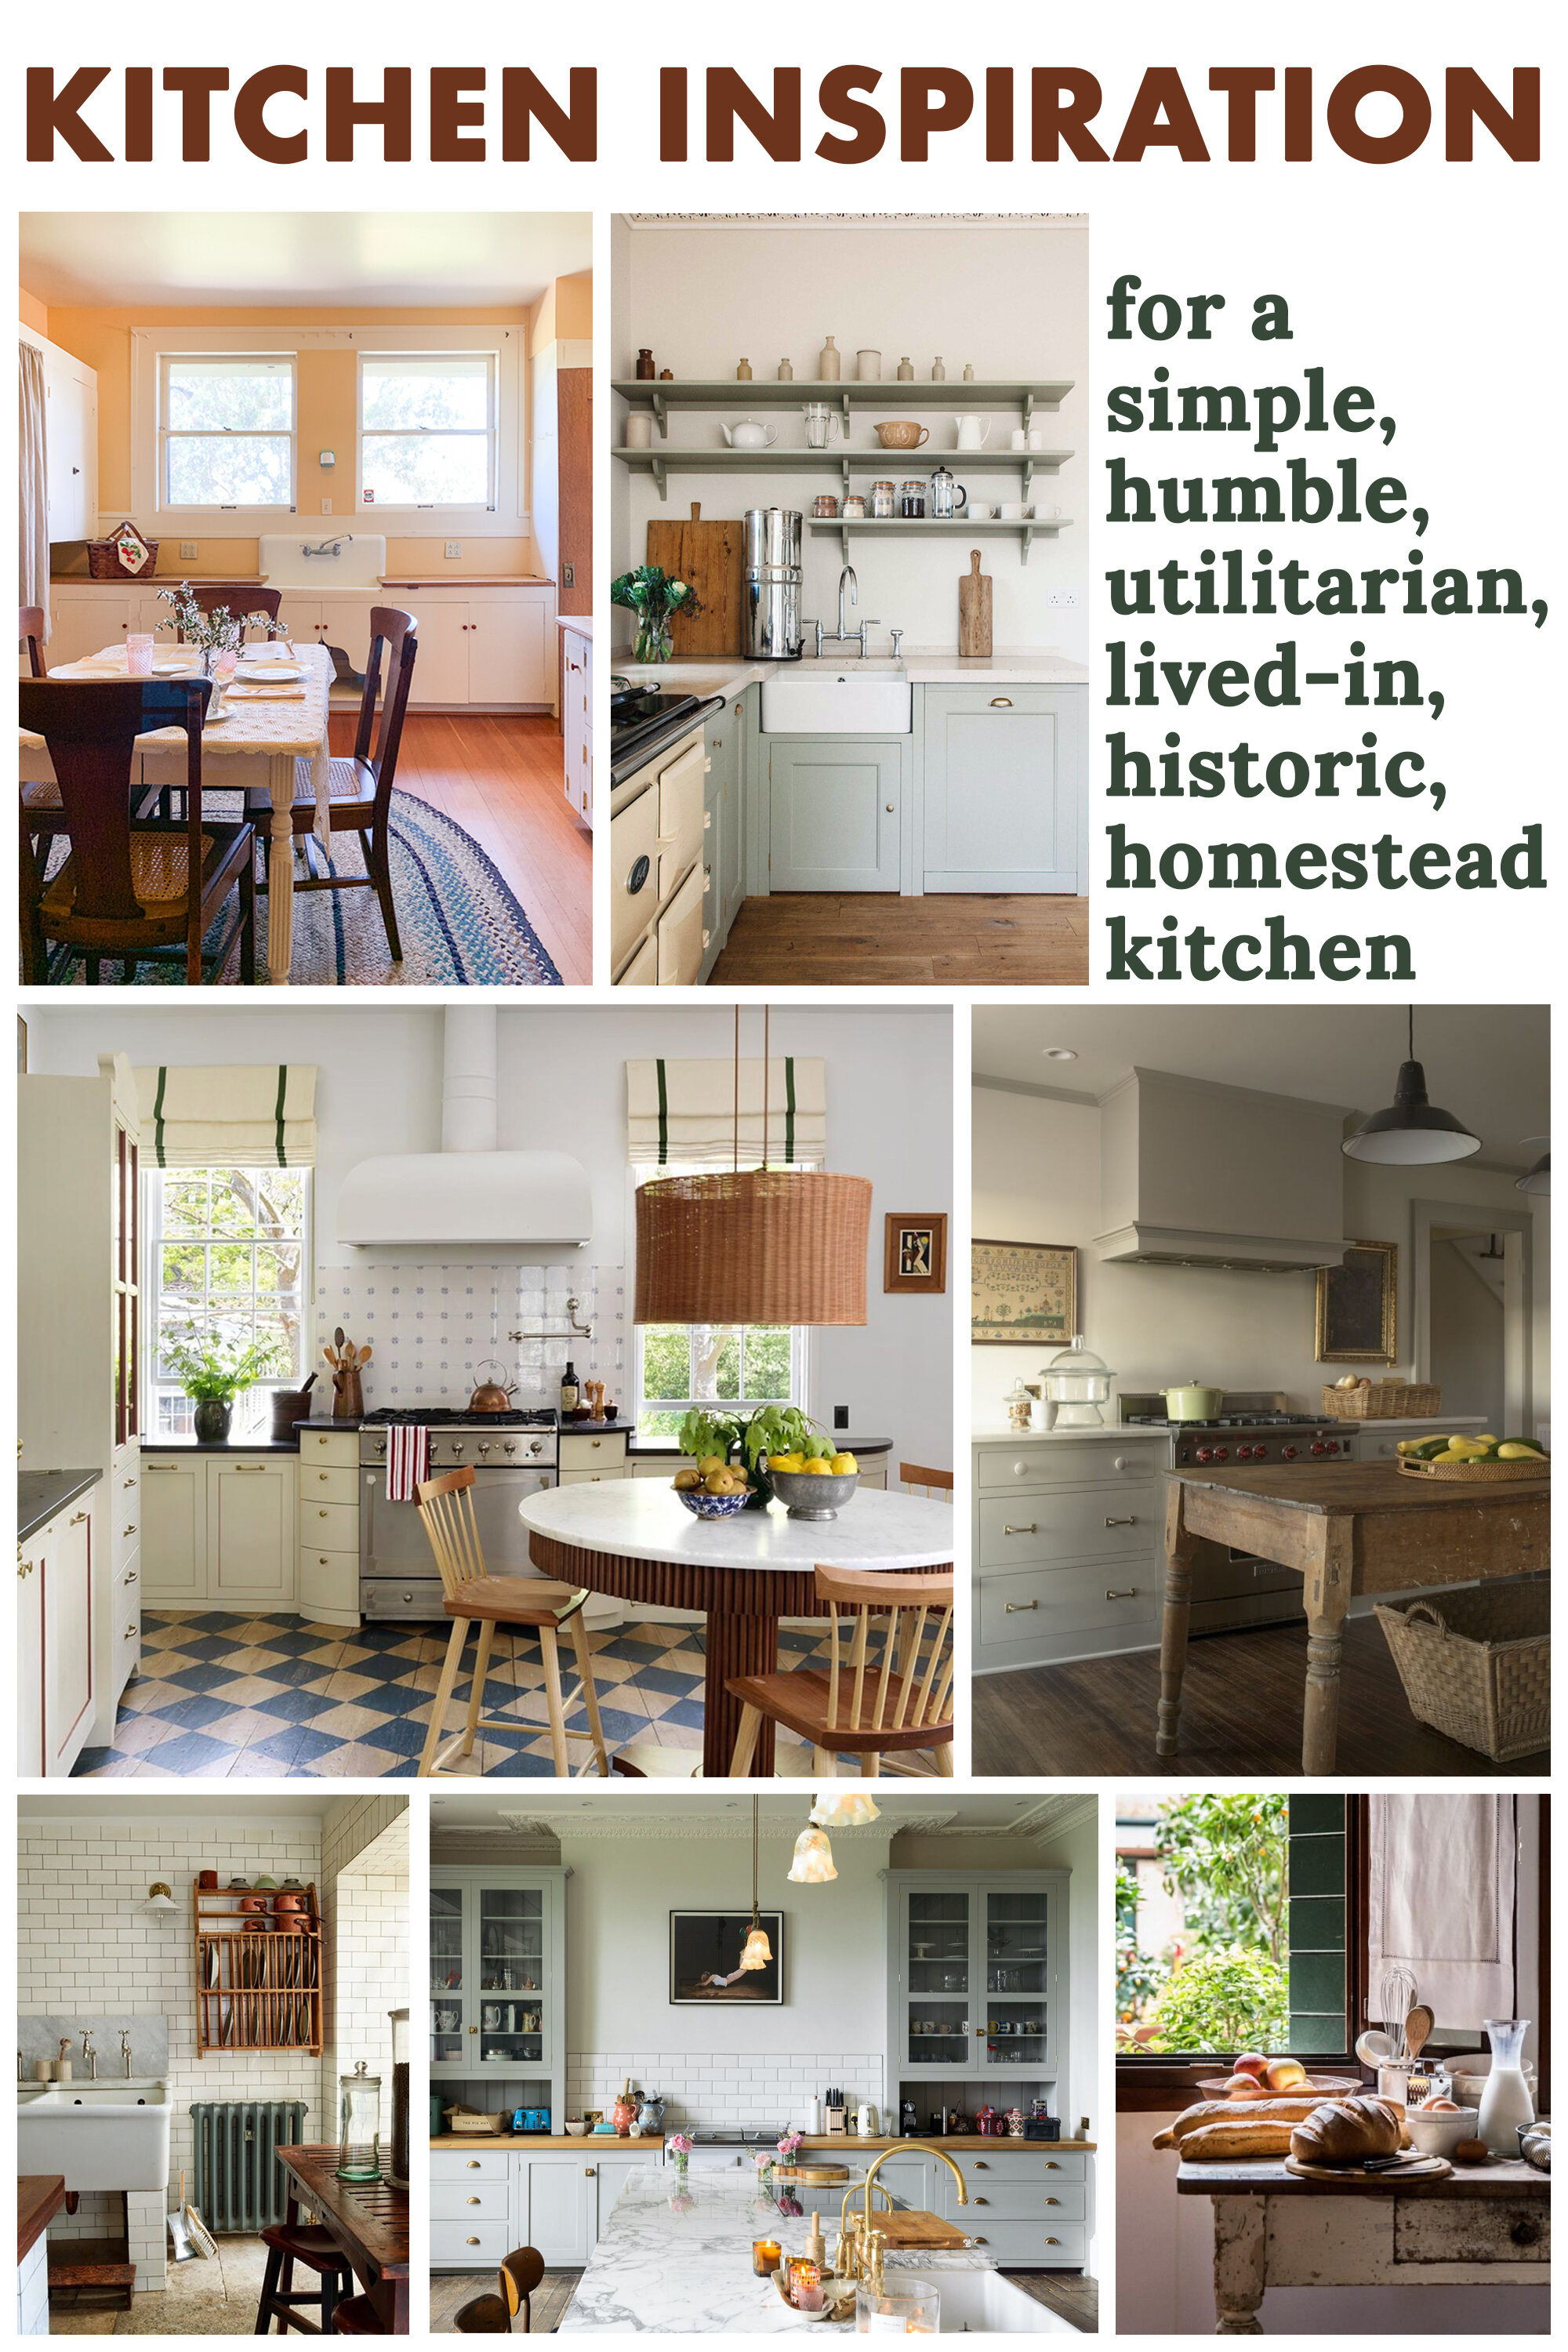
We’re getting to the kitchen designing stage folks and it’s getting good! Before deciding on colors, door styles, hardware, and accessories, I want to nail down the mood/vibe of the space. I think it helps to identify a clear personality for the room - especially when it’s a utilitarian space. Hear me out.

A comfortable home, saving money on energy bills, and watching satisfying foam expanding videos – three of my favorite things! I insulated my new french doors with a can of Great Stuff™ Smart Dispenser™ insulating foam sealant to reduce my energy loss - here’s how!

We got appliances! And we bought them at a steep discount! And we took a day-trip to go pick them up! Here’s a video journal of that day.

With concerns for our planet and the folks that experience climate injustices, we’re all making purchasing decisions with ethics in mind. Appliances are no different. Electric and induction cooktops are becoming a popular environmentally friendly option, but I'm taking a hard look at all of the considerations to make the most conscious choice.

When we opened up the walls during our remodel, I knew I had to leave a time capsule behind the drywall. Plus, 2020 is quite a year to immortalize in the walls. Here's what I hid away to be found years and years from now!

I’ve successfully turned a perfectly good kitchen into an entirely useless box with walls and floors. But now I’m adding things back to it and making it an actual kitchen again! Finally! Now that it’s a livable space, I’m anxious to get cooking again, so I’m kicking things off with building a custom range hood.

Hardwood floors were installed in the kitchen and they look so good. Well, sorta. I hit a snag - literally. And then hit another snag - figuratively. Uuuuugggghhhh.

Our home is full of old-growth hardwood flooring that I adore. When faced with picking a new floor for our kitchen renovation, matching the existing hardwoods was a no brainer. Here’s the story of the sourcing and installation process.

Inset cabinetry with the exposed face frame and flush doors is the classic style we see in period homes. These charming cabinets are harder to come by, especially on a budget, but I’ve rounded up 10 cabinet companies you can buy from directly and install yourself!

You read that right. I ordered cabinets for my kitchen, and they never came. It was mid-demolition when everything was a mess and we were trying to piece things together. Then I got the news. The cabinets I had been designing, sourced, and paid for weren’t going to show up. Here’s what happened.

The renovation is taking shape! We have level floors (thanks to lots of nail pulling and geometry) and the beginnings of the oh-so-transformative drywall!! The kitchen is finally feeling like a safe space amidst the chaos of a renovation and a pandemic.

I came across a charming book written in 1914 all about how to plan an efficient kitchen. How perfect of a fit for me is that?!? Efficient! Kitchen! 1914! The book has certainly inspired my renovation and I’ve incorporated some of the tips and tricks into my current design. From organizing to lighting, and cooking to materials, it’s got guidelines on all of it. Admittedly, some of the lessons are comical and antiquated, but that’s the fun of it! Beyond kitchen designing, though, this book aims to make our homes thoughtful spaces that are free of waste, that value women’s time, and are utilitarian spaces rather than storage units. It’s pretty forward-thinking for a 100-year-old book!

We’re getting closer and closer to the renovation feeling less like a construction site and more like a room. We’re not quite there yet, but insulation and new flooring underlayment has me seeing the light at the end of the tunnel! Plus, we added a fresh outdoor dining set that has me itching to eat oodles of meals out there!
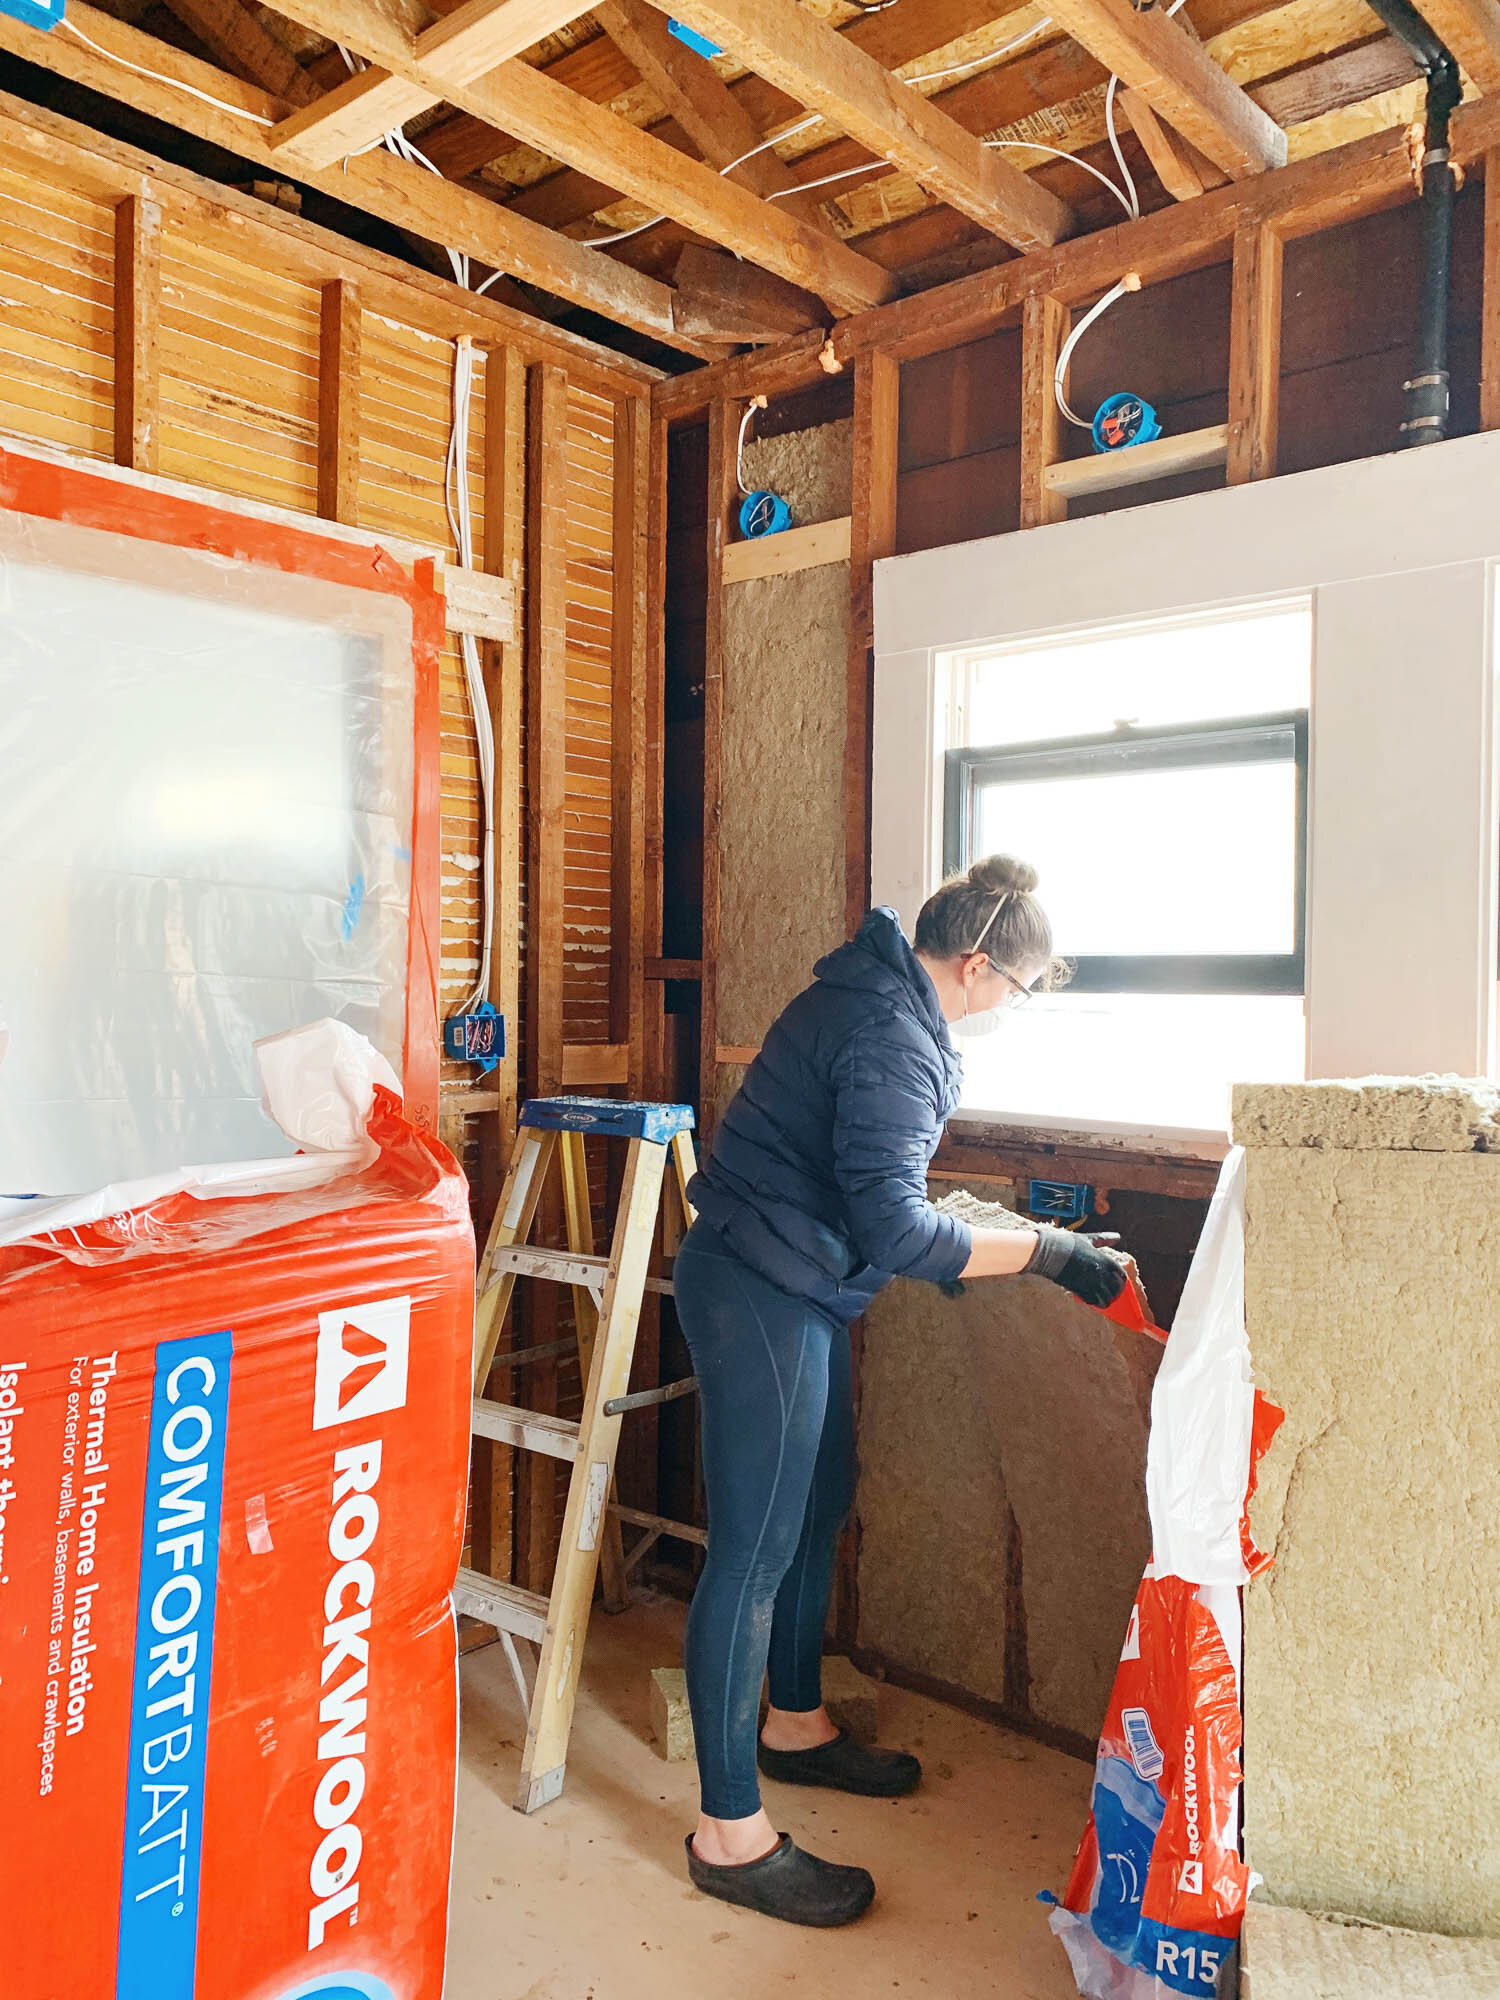
The crew has left so I’ve taken over the renovation project and my first task was insulation! The process was very easy and actually quite enjoyable. I can already feel a difference in the temperature of the room and how the space sounds, so I’m a happy camper. Let’s get into it!

Electrical went in last week! As did HVAC and venting! And we had our first inspection! While it was stressful for me to make decisions (that’s just not my strong suit in any application), the installation was free of drama like plumbing week! Let’s take a look at what happened, shall we?

I used to write these renovation updates in terms of weeks, but things are just so. slow. moving. So instead of a week 4 update, it’s just the 4th update in the series because it’s actually been 7 weeks of renovation. But, we’re making progress, and in this post, I’m here to chat all about plumbing! Spoiler: things started to suck this week.

There are a lot of times I’d recommend not renovating a kitchen and during coronavirus is one of those times. We’ll work it out, and we’re grateful we have the privilege we do right now, and this will all be over one day (hopefully). But It’s still less than ideal. Many of you kindly have reached out to ask how things are going, so I’m here to share with you what’s going on and how we’re moving forward with this project.

This kitchen renovation and bathroom addition are still cruising. Kinda slow, often uneventful, sometimes thrilling. This past week the guys have been wrapping up framing and that included cutting a hole into a perfectly good wall, removing a door, adding two doors, and adding two walls!








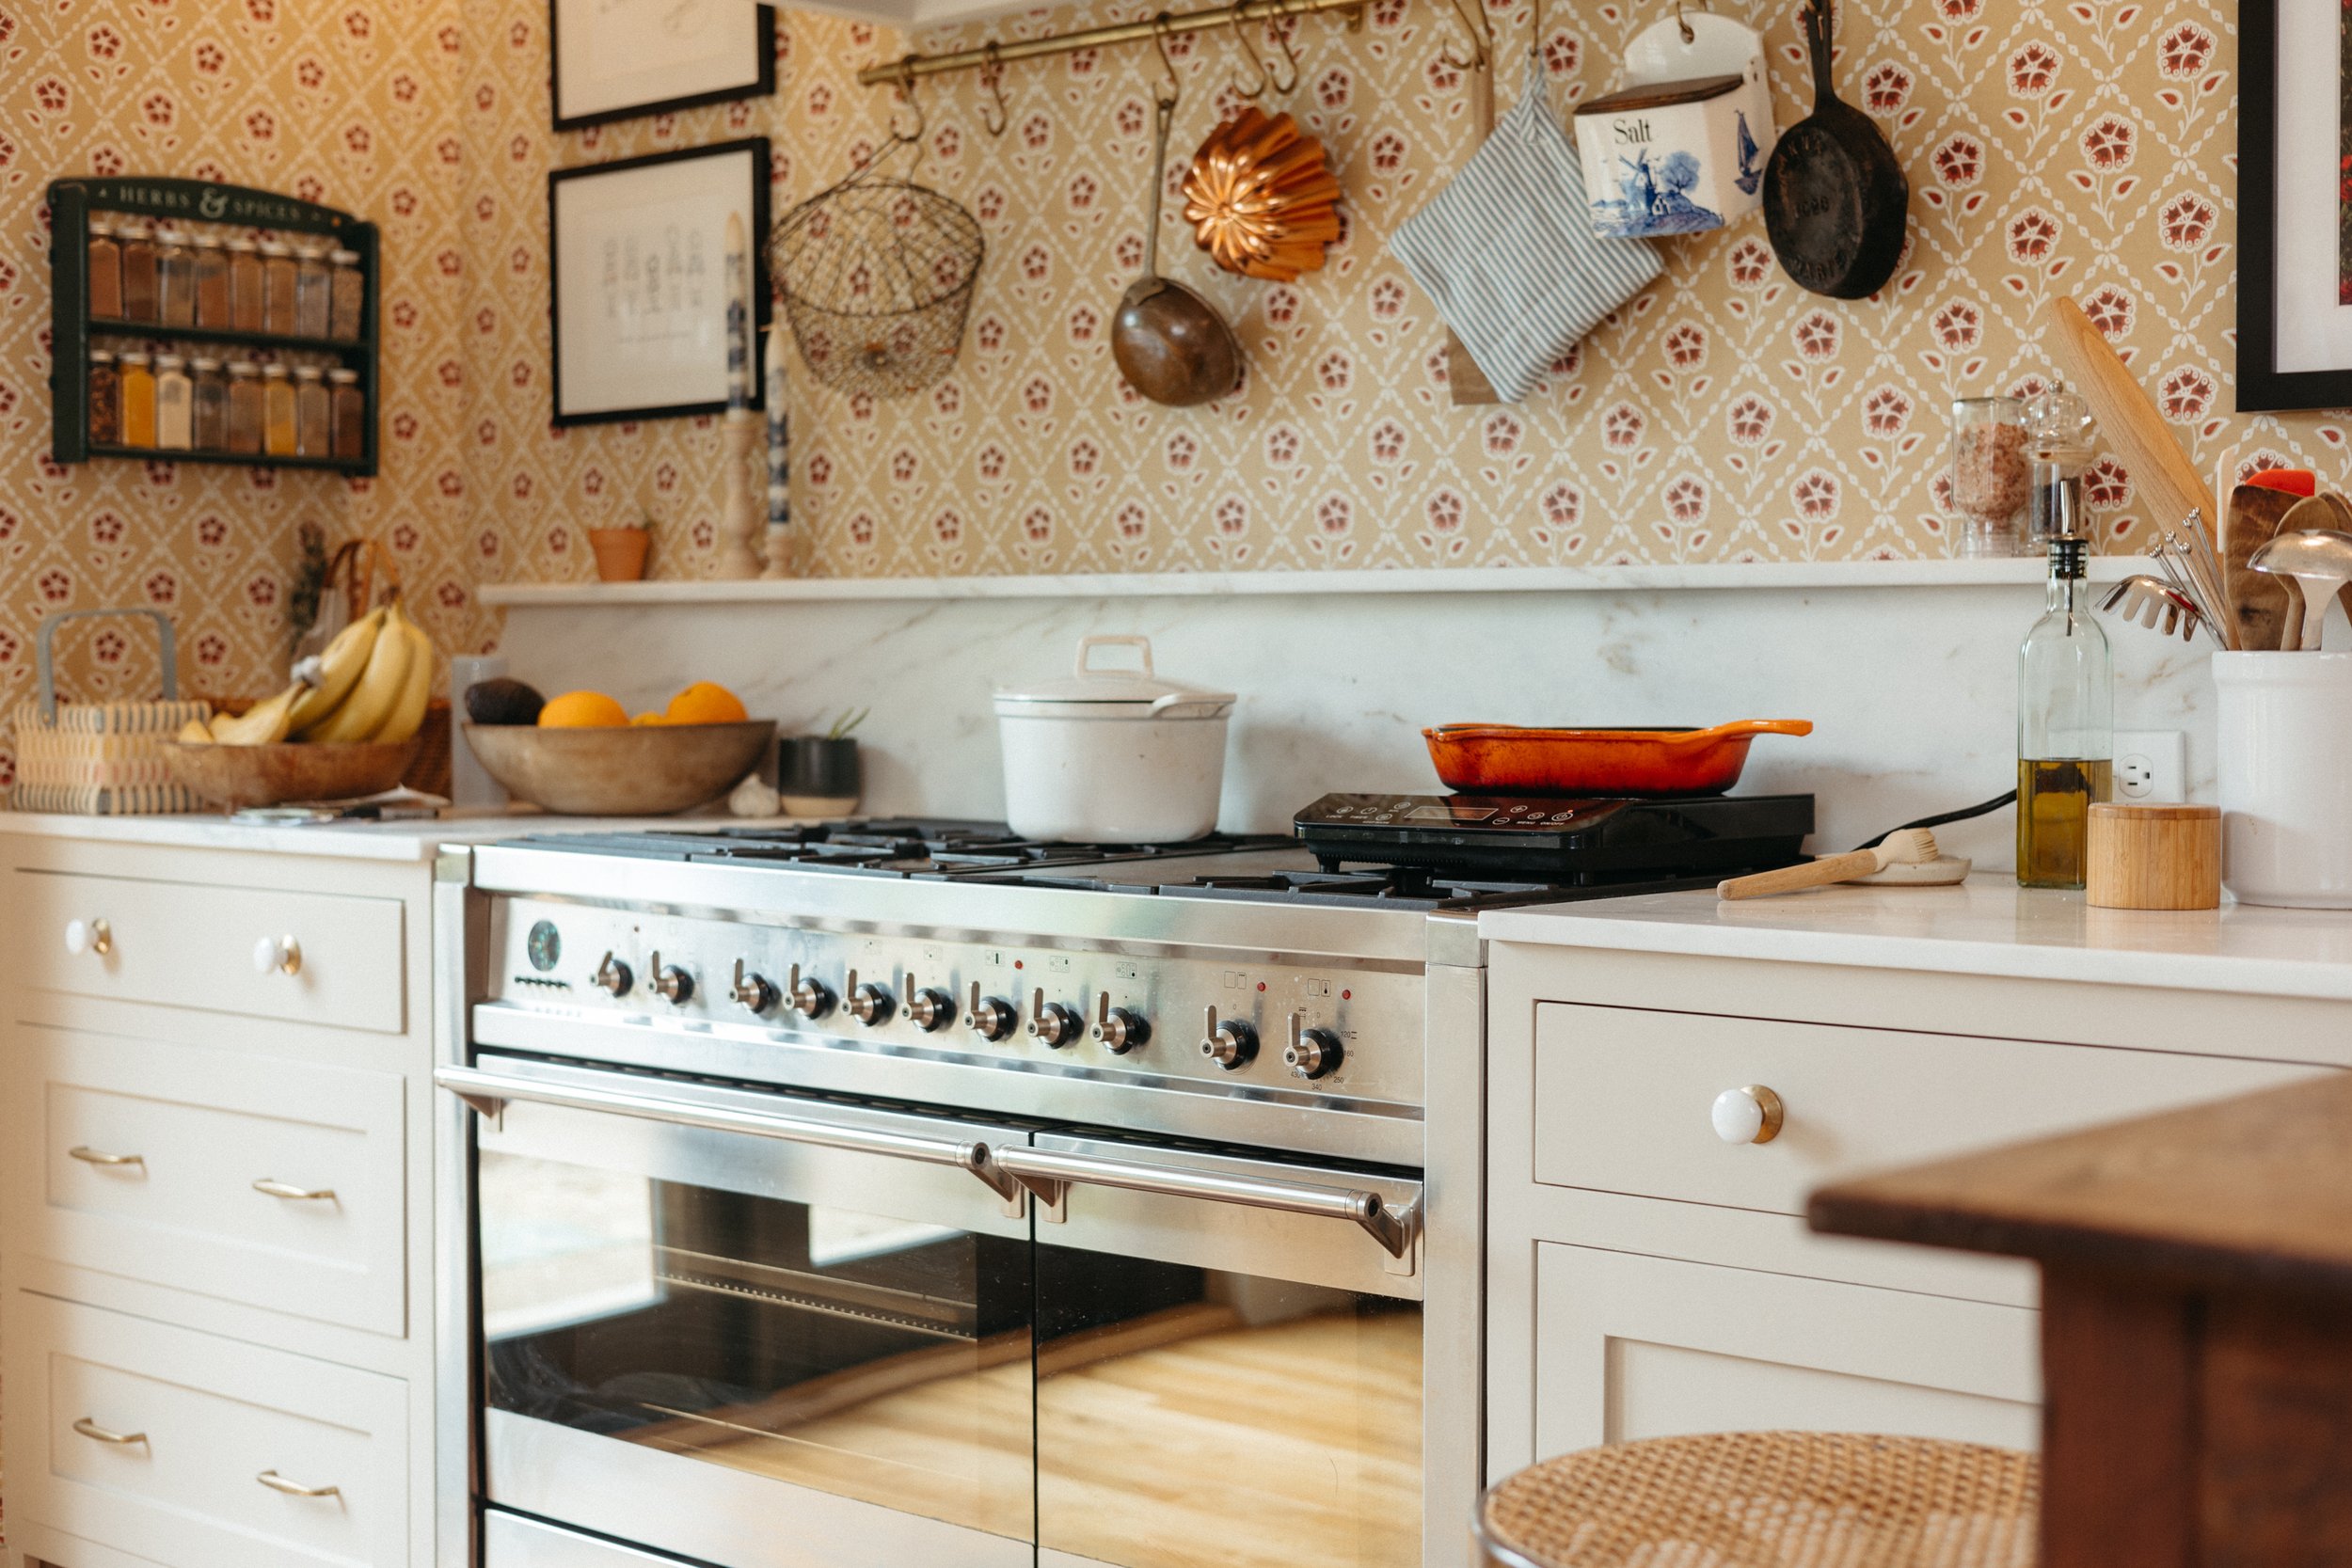

We really like the range we selected during our kitchen remodel, but despite my over-thinking and intense research for a range, I have a regret.