If you’re an old house lover like me, you probably adore unpainted woodwork. Right? It’s so rich in character and shows the beautiful age of the home. A big selling point for our current home was the unpainted wood. Friends would ask me when I would paint it, and I'd scoff at them and exclaim, “never!” I vowed to love that fir and never let anyone hurt it.
Then, after much deliberation, I ultimately painted some of the trim.
Before you hit “unsubscribe” and tell all your friends to grab their pitchforks to run me out of the old house fan club, hear me out! The woodwork in our home is very damaged. I would never ever ever condone painting mint condition gumwood wainscoting. Ever. I would never say, “go ahead and remove that custom wood built-in to make room for a wine fridge.” Ever. If you have beautiful woodwork, don’t paint it. I’d rather see you buy a different house so someone else could enjoy the woodwork if you don’t like it. Seriously.
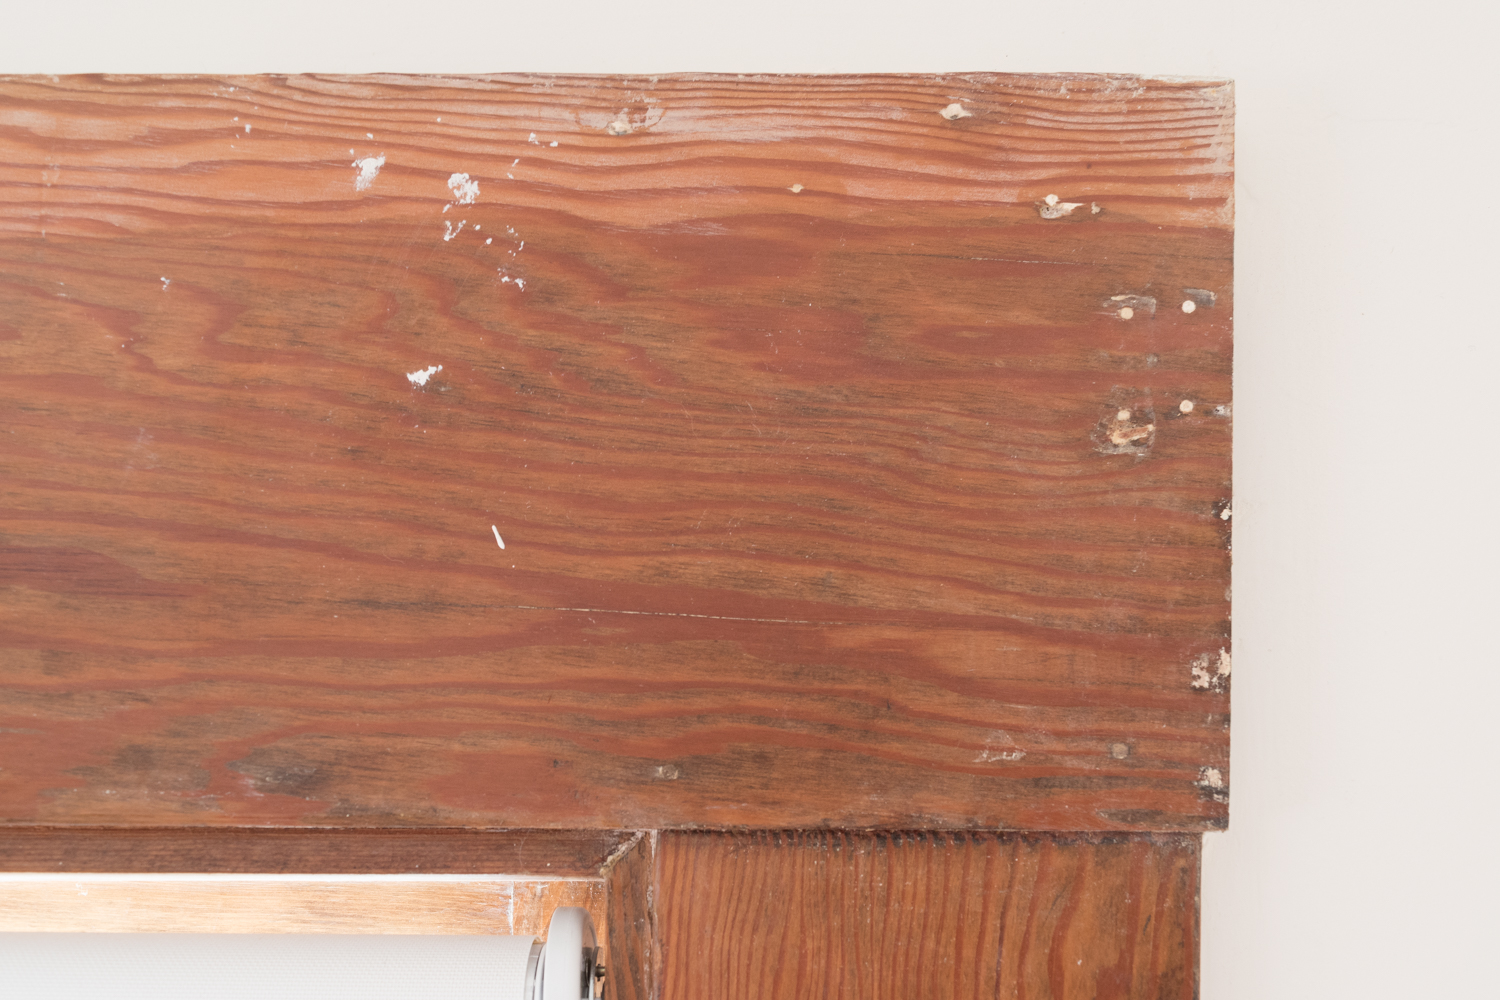
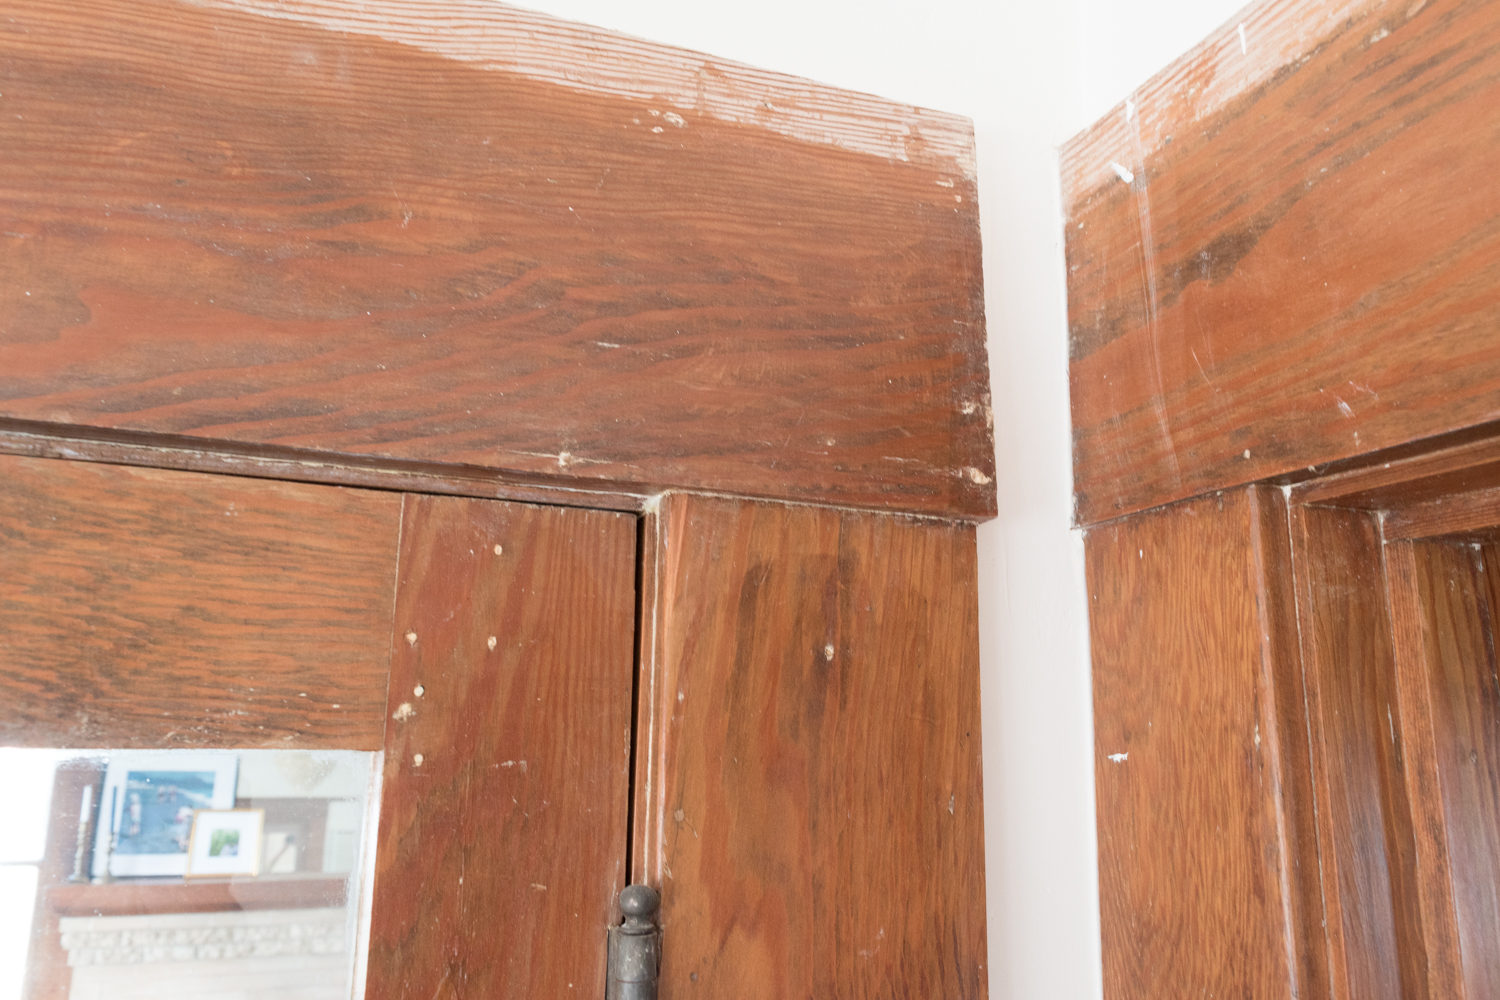
First things first, once you paint wood, you can never go back. Painting 100-year-old wood for the first time is signing its death sentence. And you see, all of the wood in our house was previously painted. All of that fir you see now was once slathered in layers of paint. There are ghosts of the previous paint all over our trim in the form of nail holes and gouges filled with paint and putty. It’s not pretty and it would only go away if I took dental tools to each panel and scraped out a trillion pieces of paint. Believe me, that is in my future when I do it for the dining and living room woodwork. Oy!
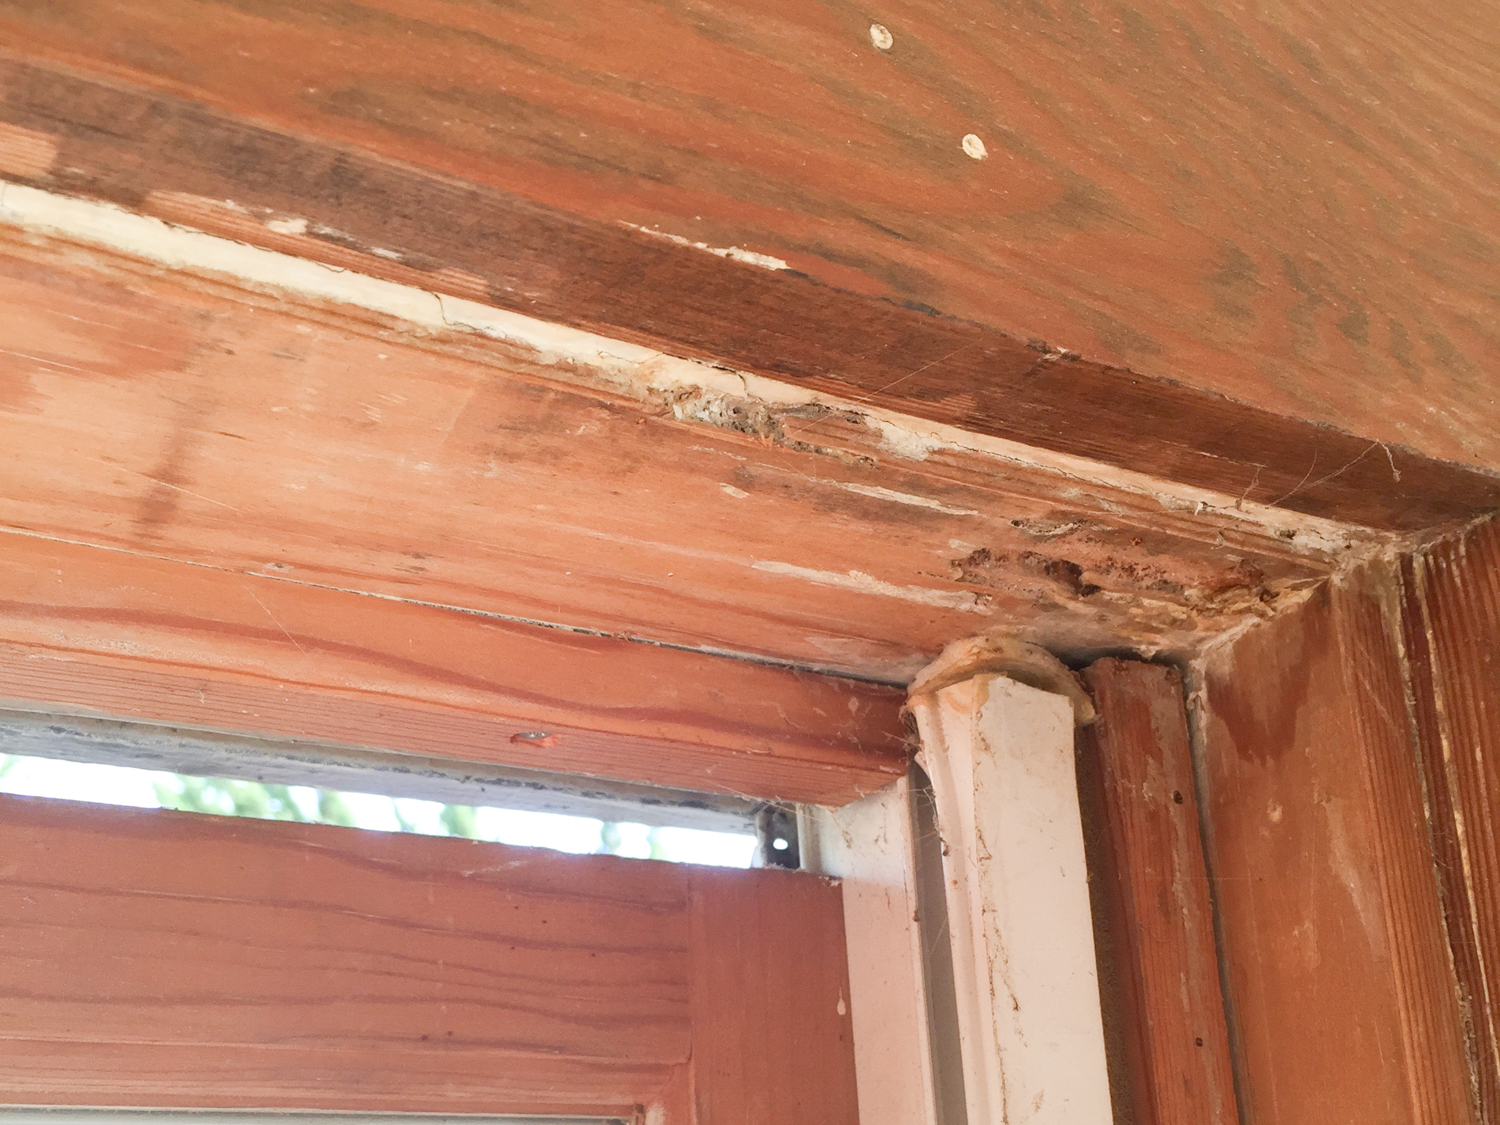
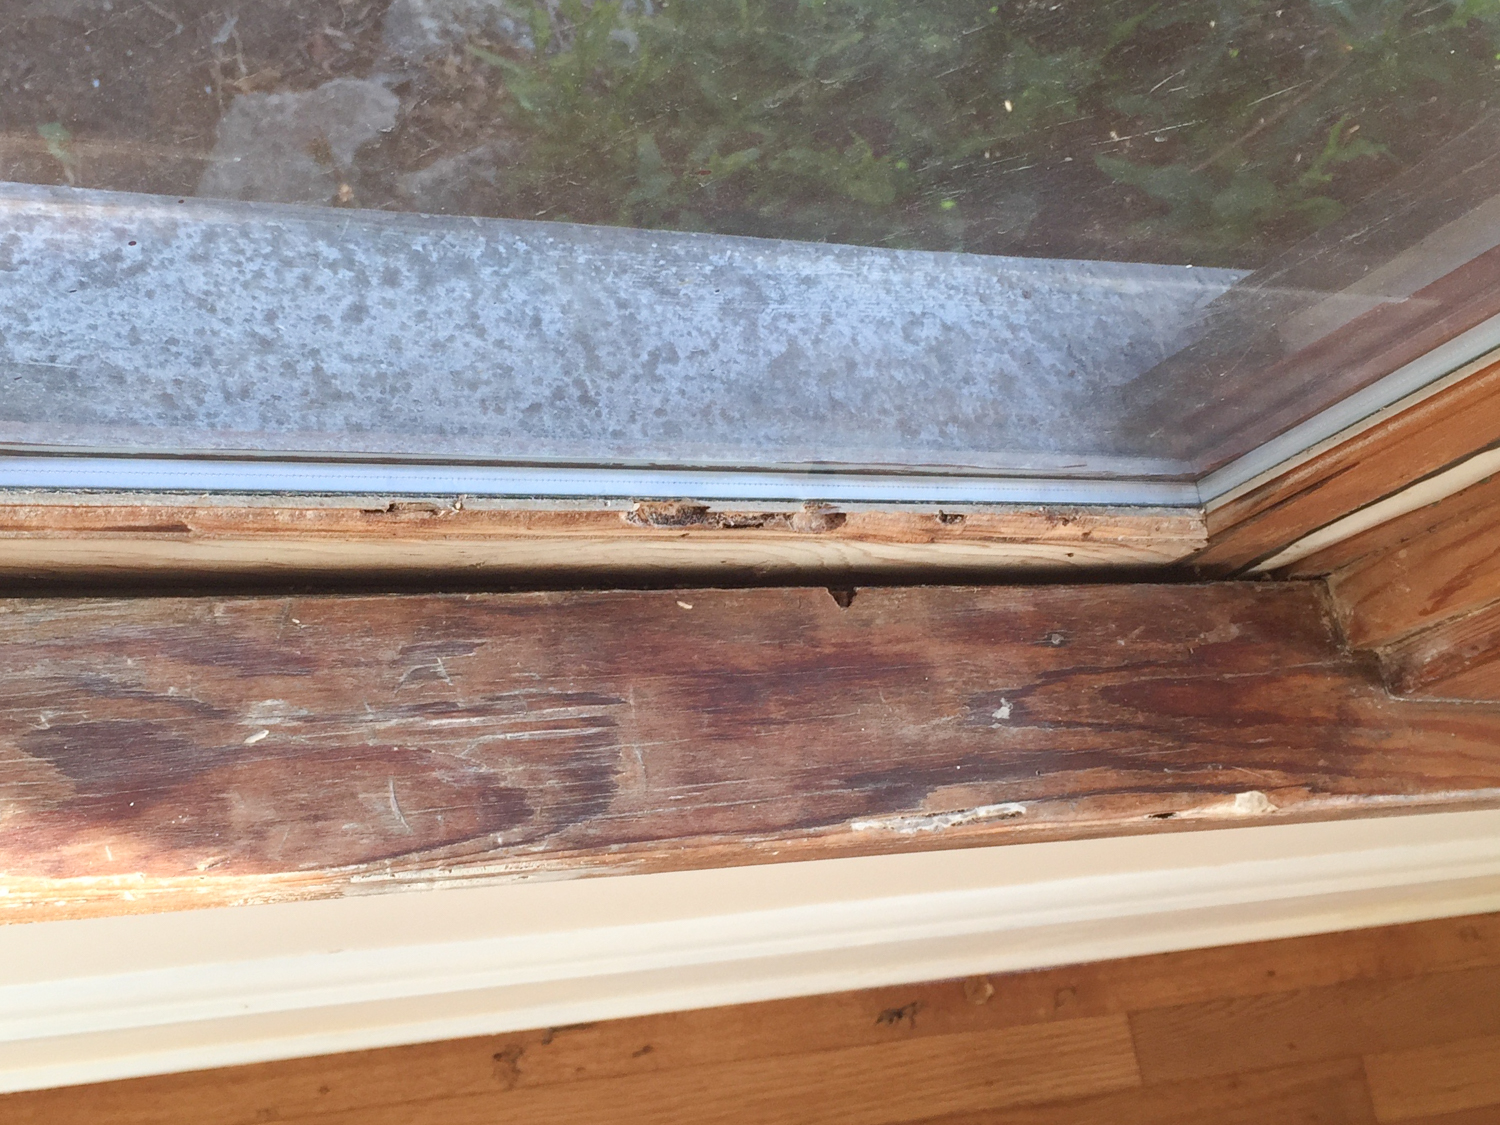
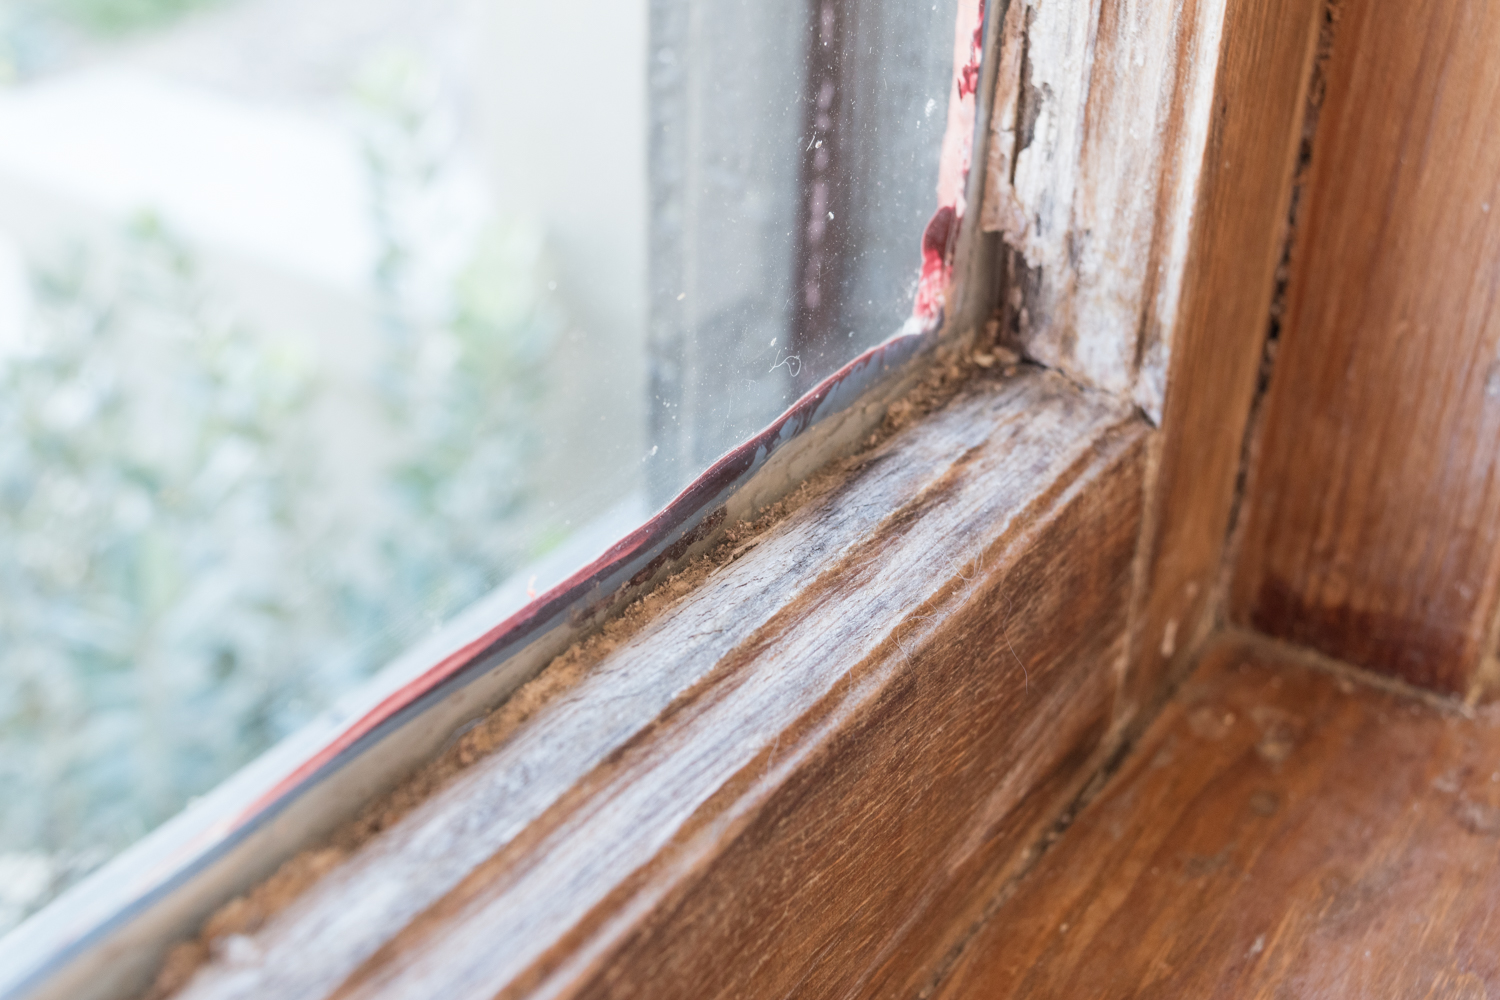
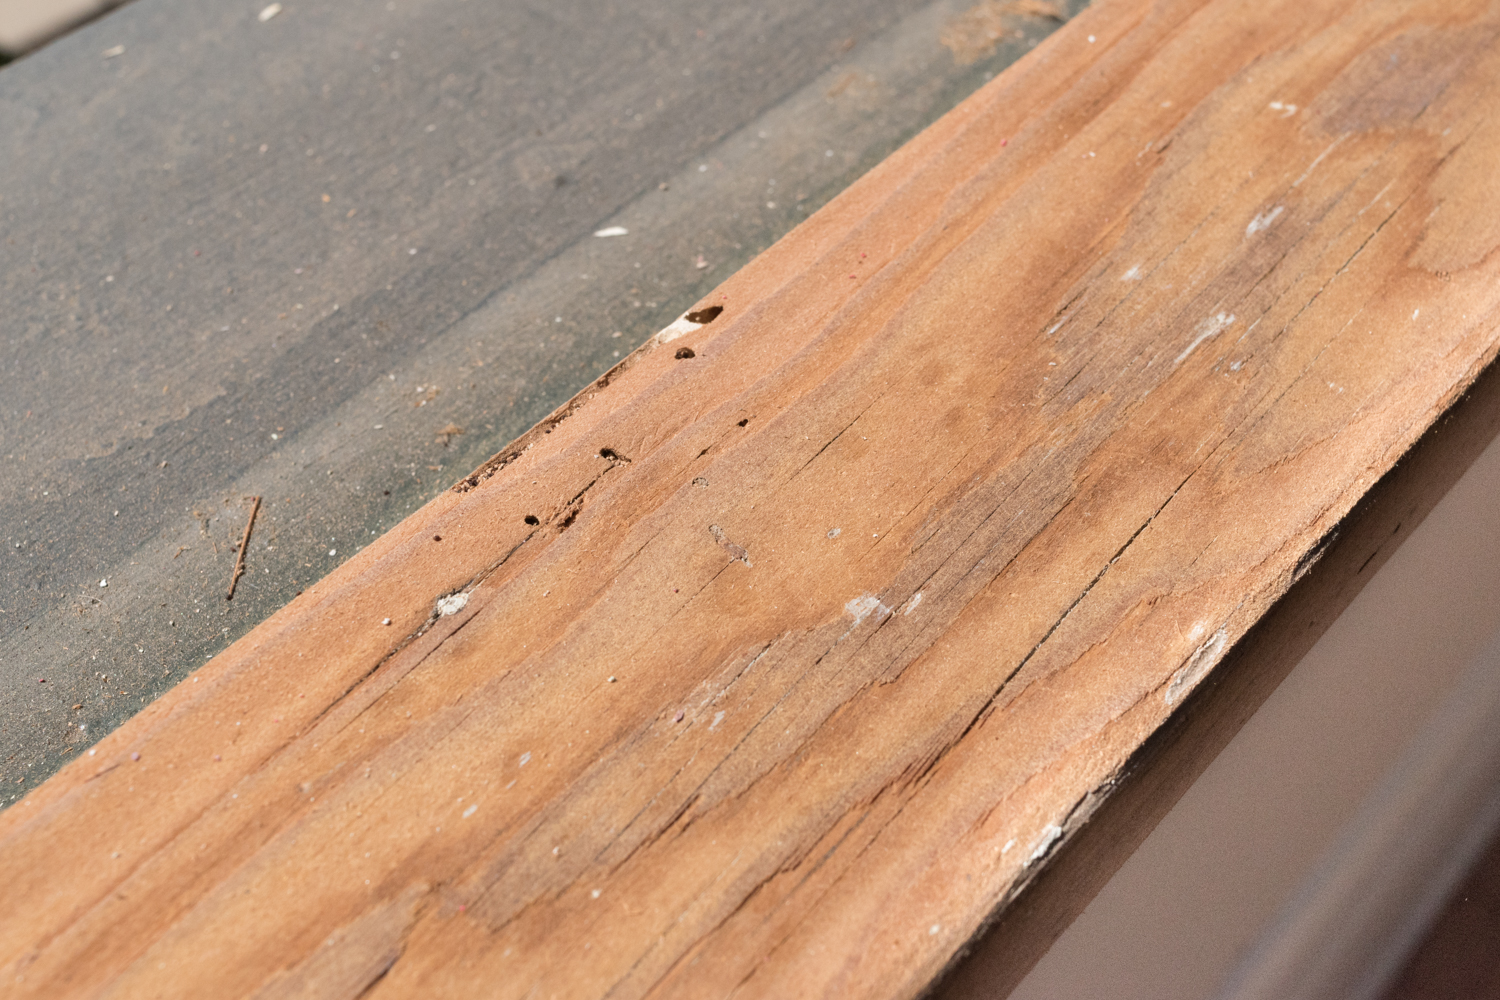
Termite damage is no joke. Those pesky bugs have gnawed on wood in each and every room of the house. Remember when they ate through the subfloor in our master bedroom? Remember when they ruined the fir floor in the kitchen? UGH! Once termites get hold of your windows or your casings, there’s no going back. You can fill their tunnels with wood putty and have a scar from the bugs of yesteryear, or you can replace the whole brittle piece of wood. Neither of which will ever truly blend in.
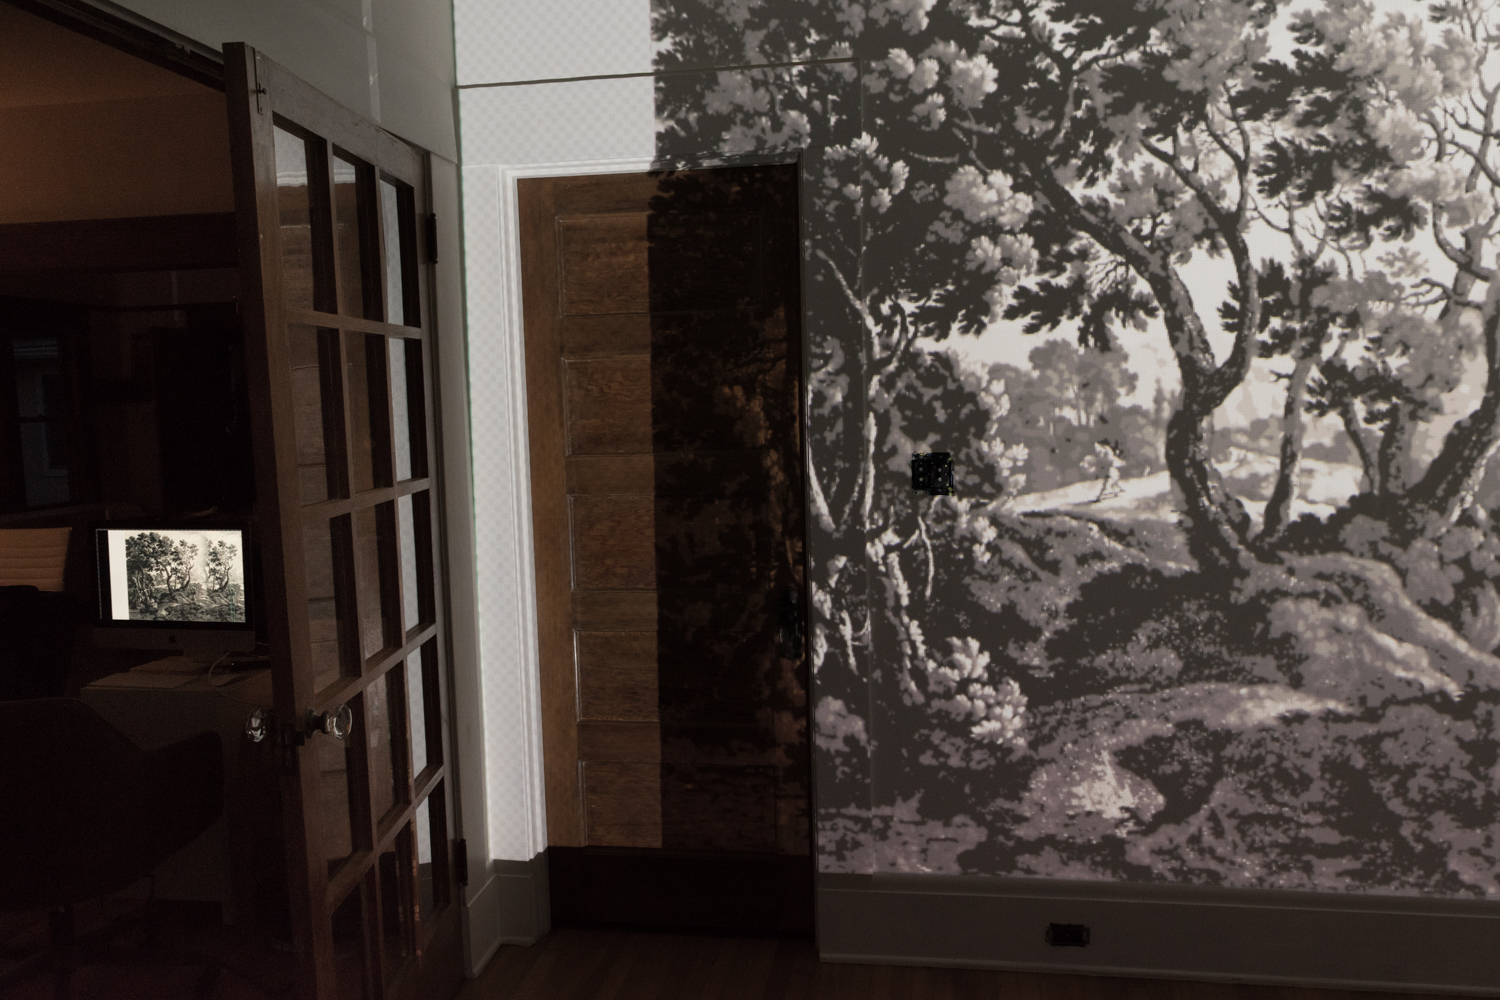
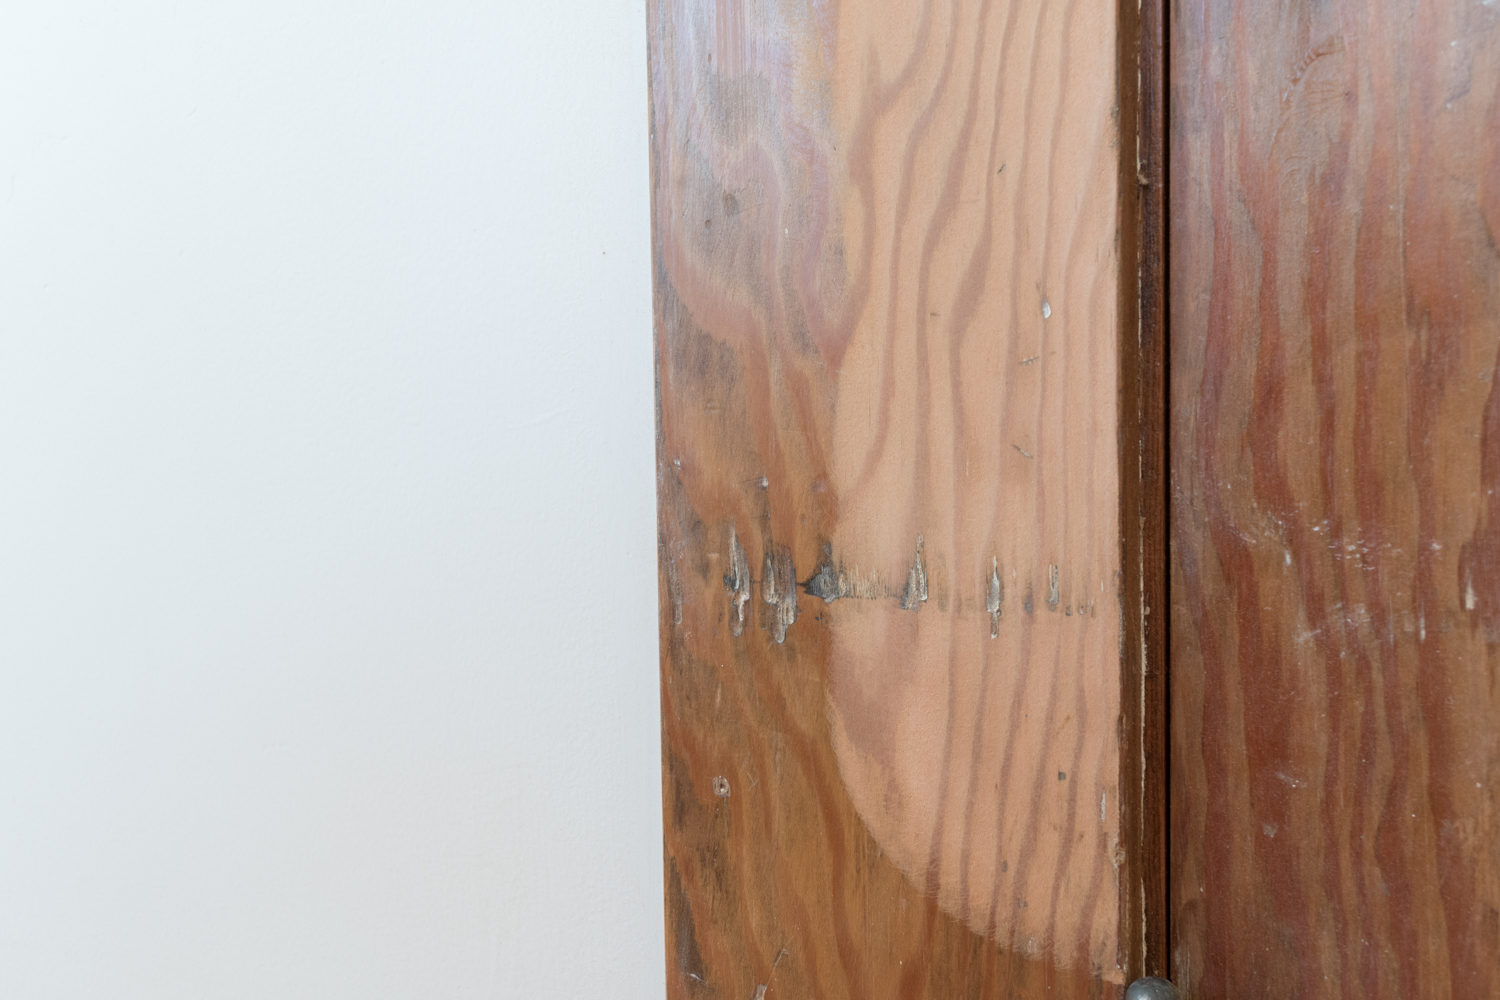
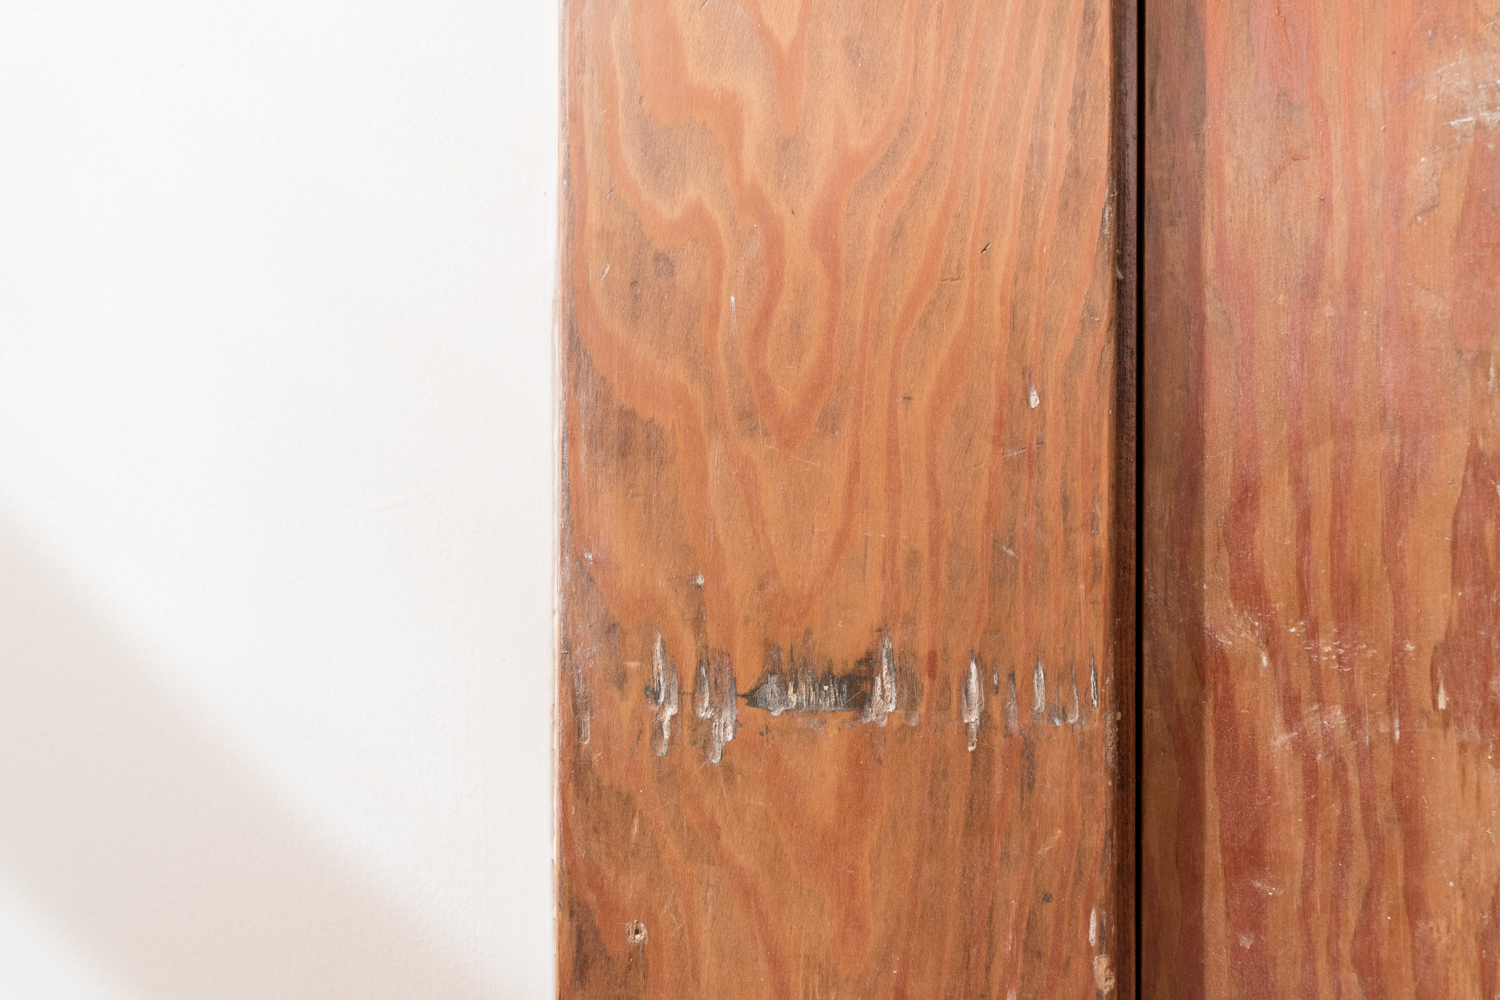
Human neglect is sad. The panels in our master bedroom door had gouges that I can only guess came to be when someone used the door as a dart board – but with kitchen knives instead of darts. Another bedroom door had evidence of a padlock that required cutting a 1”x2” piece out of the casing. Now, I'm all for seeing the history of previous lives in an old home. But character is a worn finish on a newel post from decades of hands touching it, not knife marks and padlock damage. That's just eerie and unwelcome.
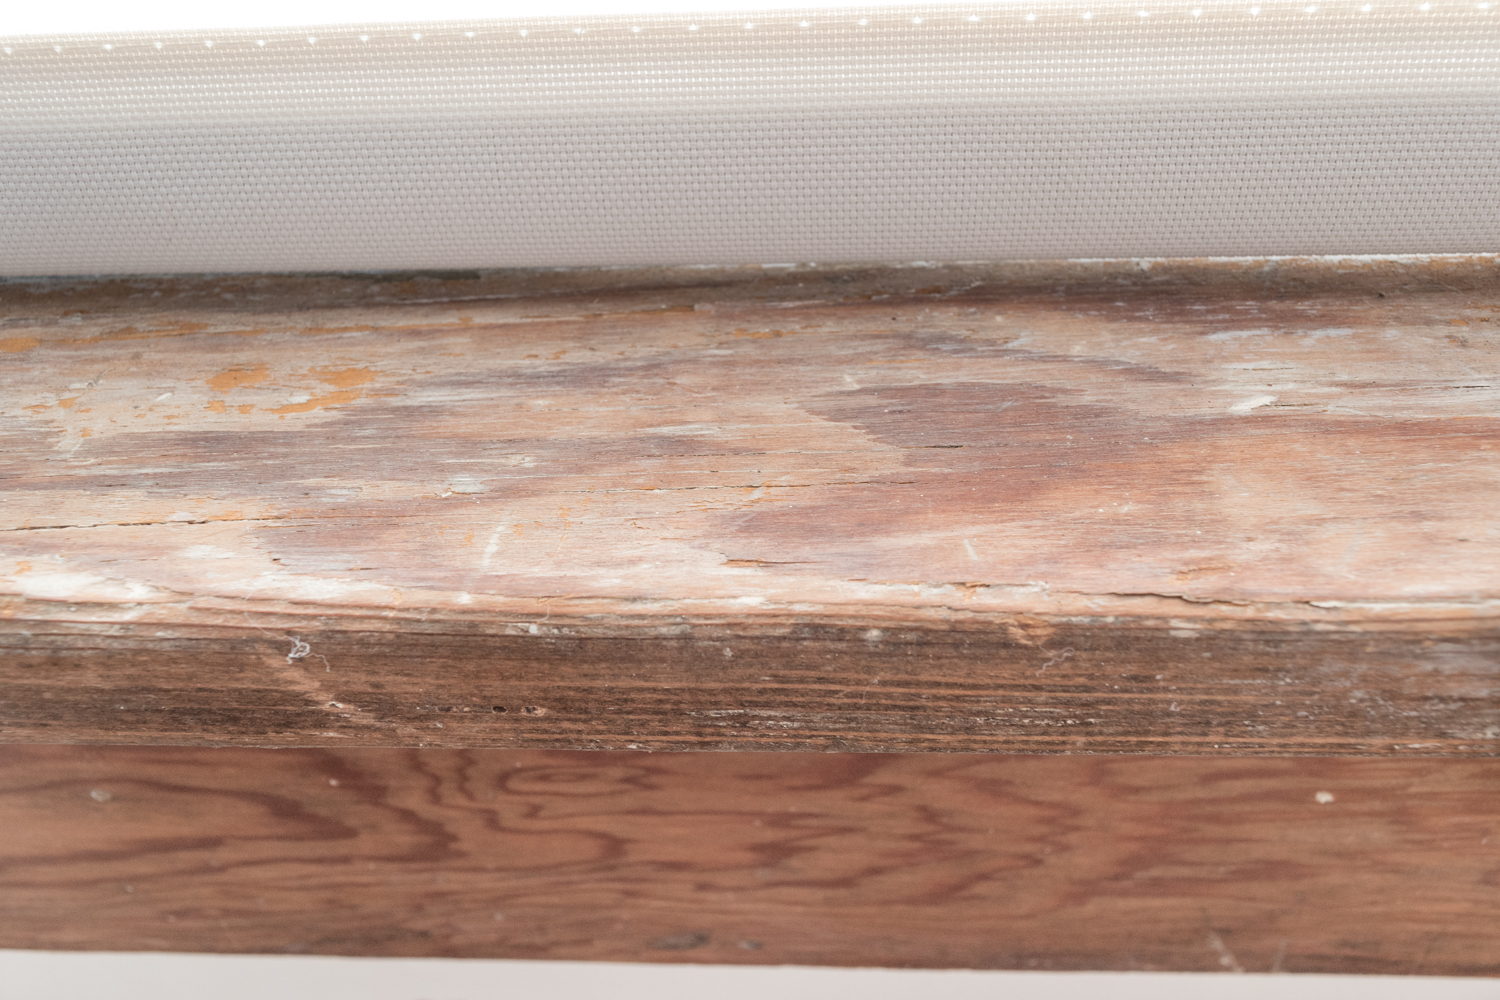
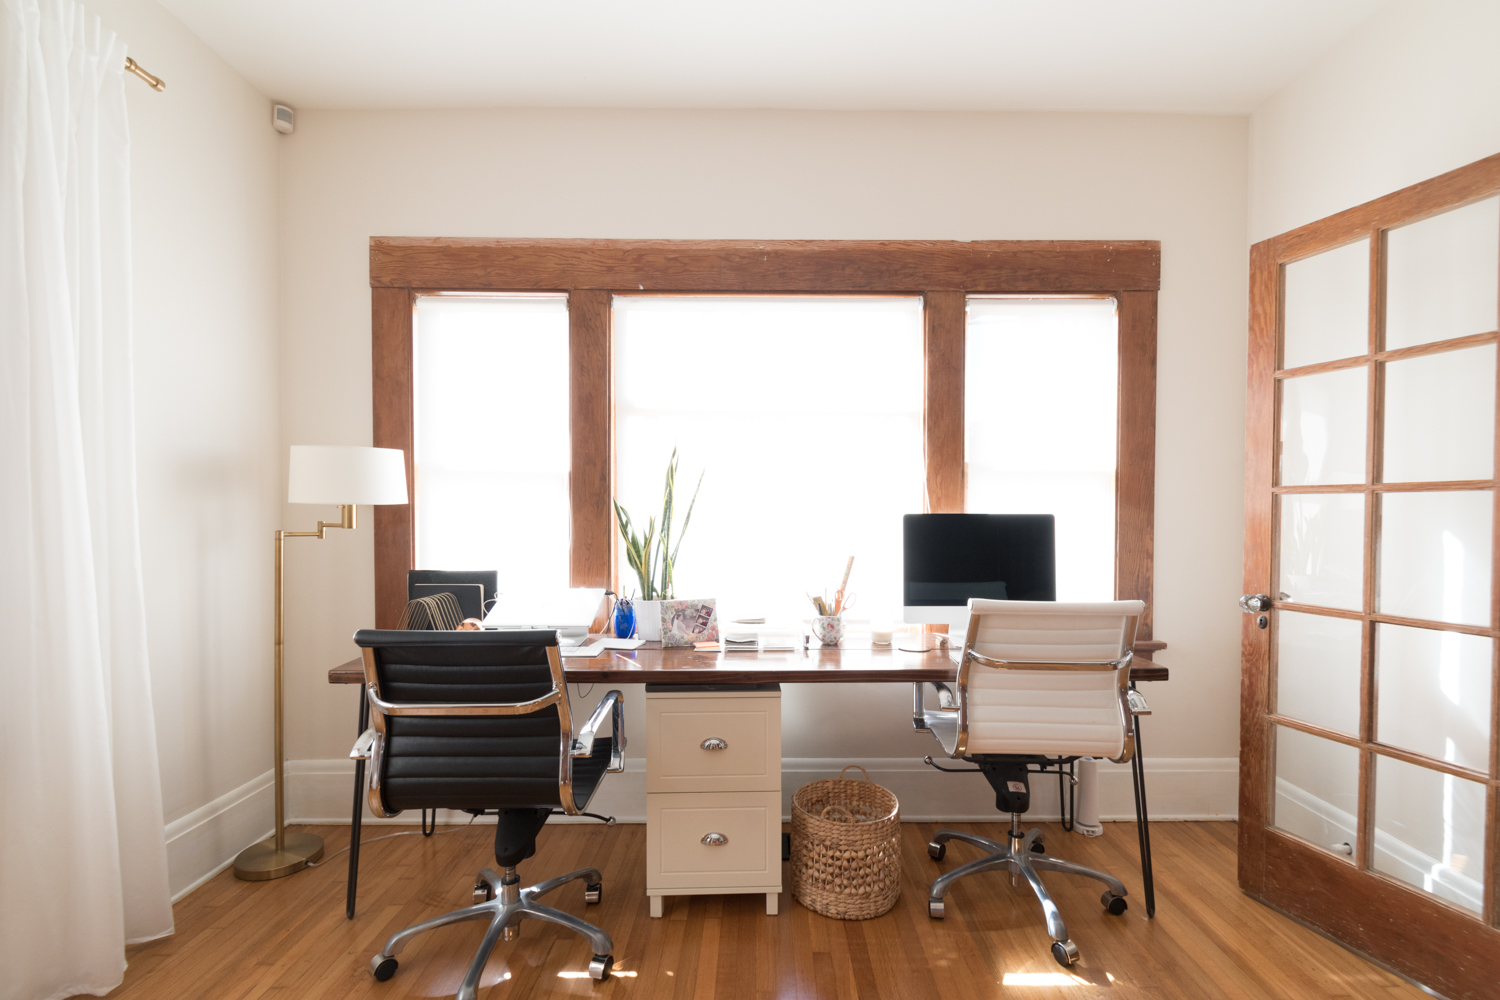
In addition to termites and knife marks, the trim in our office was so damaged that I’d get splinters from touching it. Scorching sun damage and rot hasn't helped matters. It’s painful to look at sad trim and evidence of its neglect.
Ok, so you still don’t agree. You say to fill the knife marks with putty and replace the window sill that’s brittle with termite damage, then stain it to match. I hear you, that would work. But, when you’re patching a good portion of the room with new wood to look like old wood, at what point is that better than filling the holes with putty, then coating a nice layer of paint over top? A well-patched window with a coat of pretty paint still shows the shape of the wood that someone carved by hand 100 years ago. Having it painted has you focusing on the chunky wood, the historic significance of the profile, and the stateliness of its place in your home rather than the evidence of neglect and damage.
One of the biggest reasons to keep the old wood and patch it rather than replace it is for the sake of the environment. I’m keeping the old wood in my house instead of the landfill. No energy is spent trucking it to the landfill and it doesn’t sit in a sad pile of rubble for another century. Also, no energy is spent growing, harvesting, and processing new wood - all are significant energy consumers and waste producers.
I also decided that the bedrooms (of which the woodwork was once painted dusty pink in the master, powder blue in the current den, and canary yellow in the kitchen – cute!) were an appropriate place to have painted trim - more so than living and dining areas. Also, how stinking cute did the house sound with all of those pastel colors? Should I bring those colors back?
I stand by my decision to re-paint the damaged woodwork in an effort to revitalize it. My goal was to maintain the original wood by removing the evidence of neglect, rather than replacing it and trying to give the illusion of perfectly unpainted wood. At the end of the day, I appreciate that the original wood is there, the hand of the craftsperson is still evident, and that the character remains. But, I understand if you disagree, and that’s okay. I’m grateful for those old wood purists that do anything to expose unpainted wood! I urge you to give me advice for the trim in the living and dining room that I refuse to paint. Please, I’ll gladly take your wisdom on how to get through the hours of plucking paint out of nail holes!
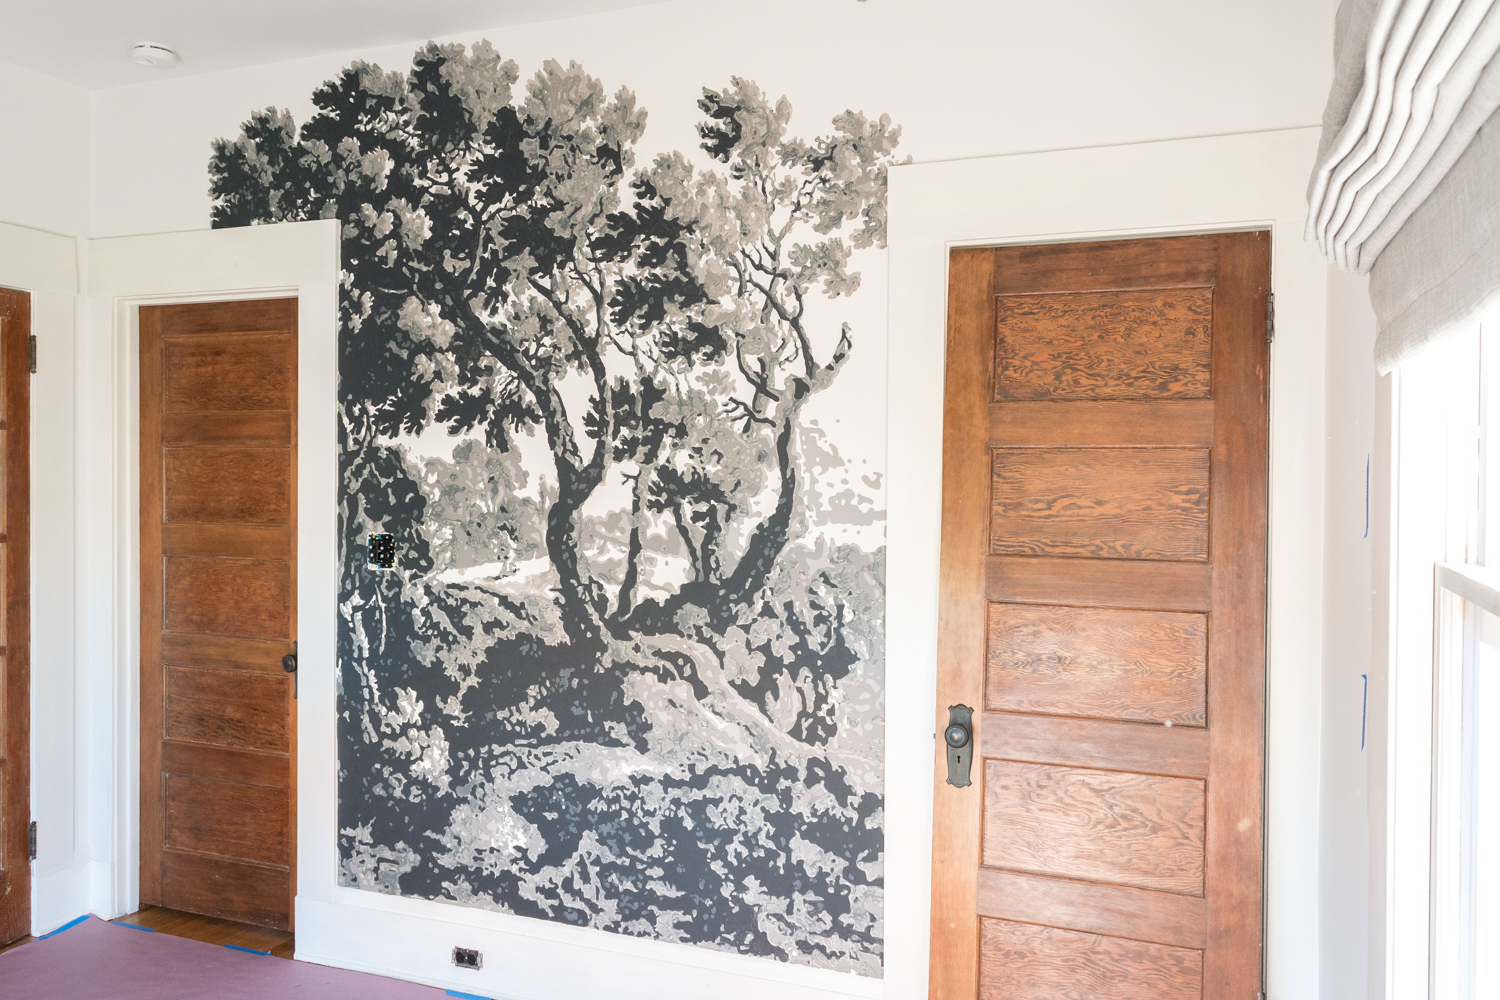
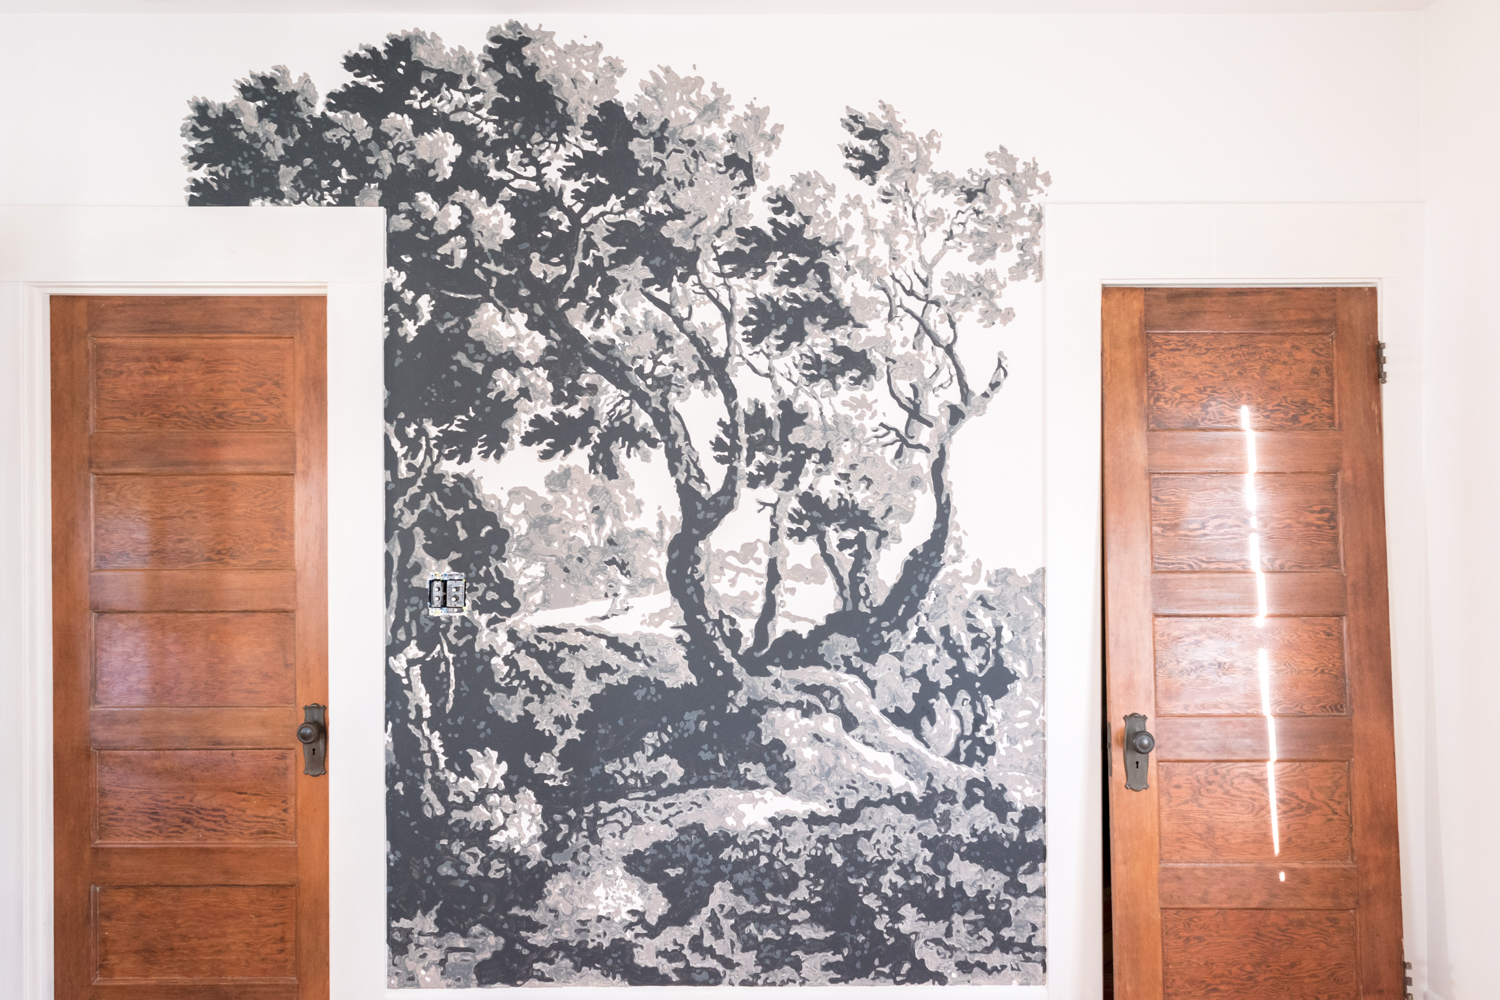
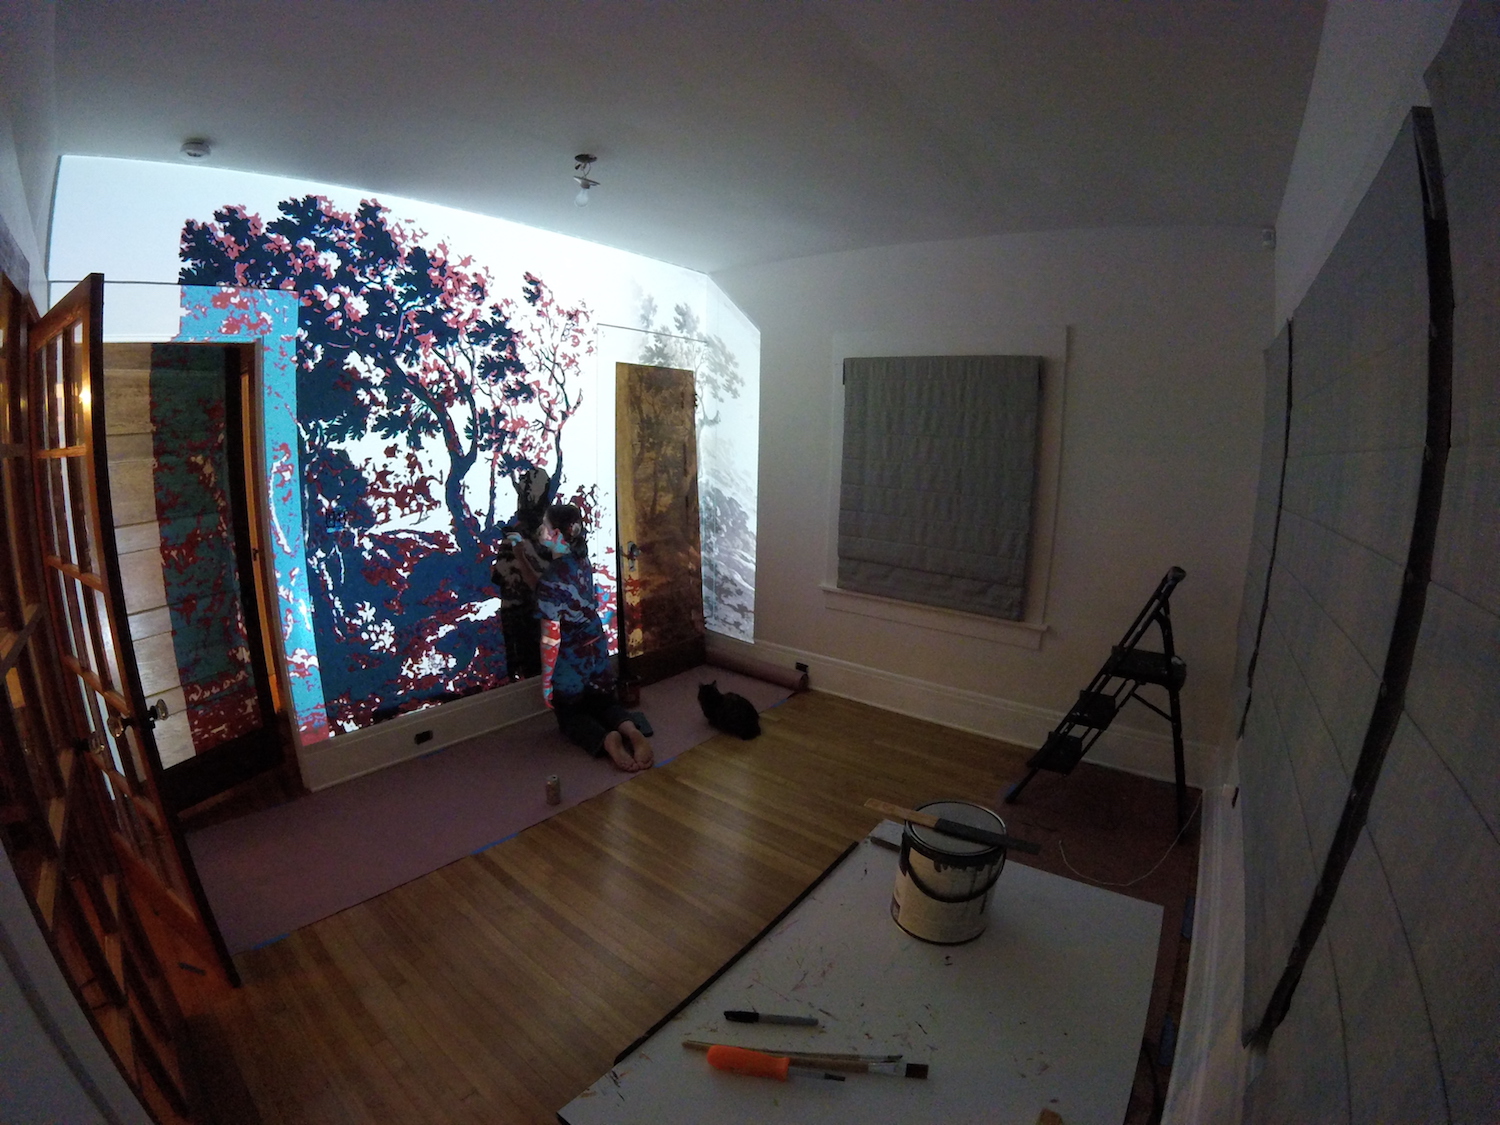
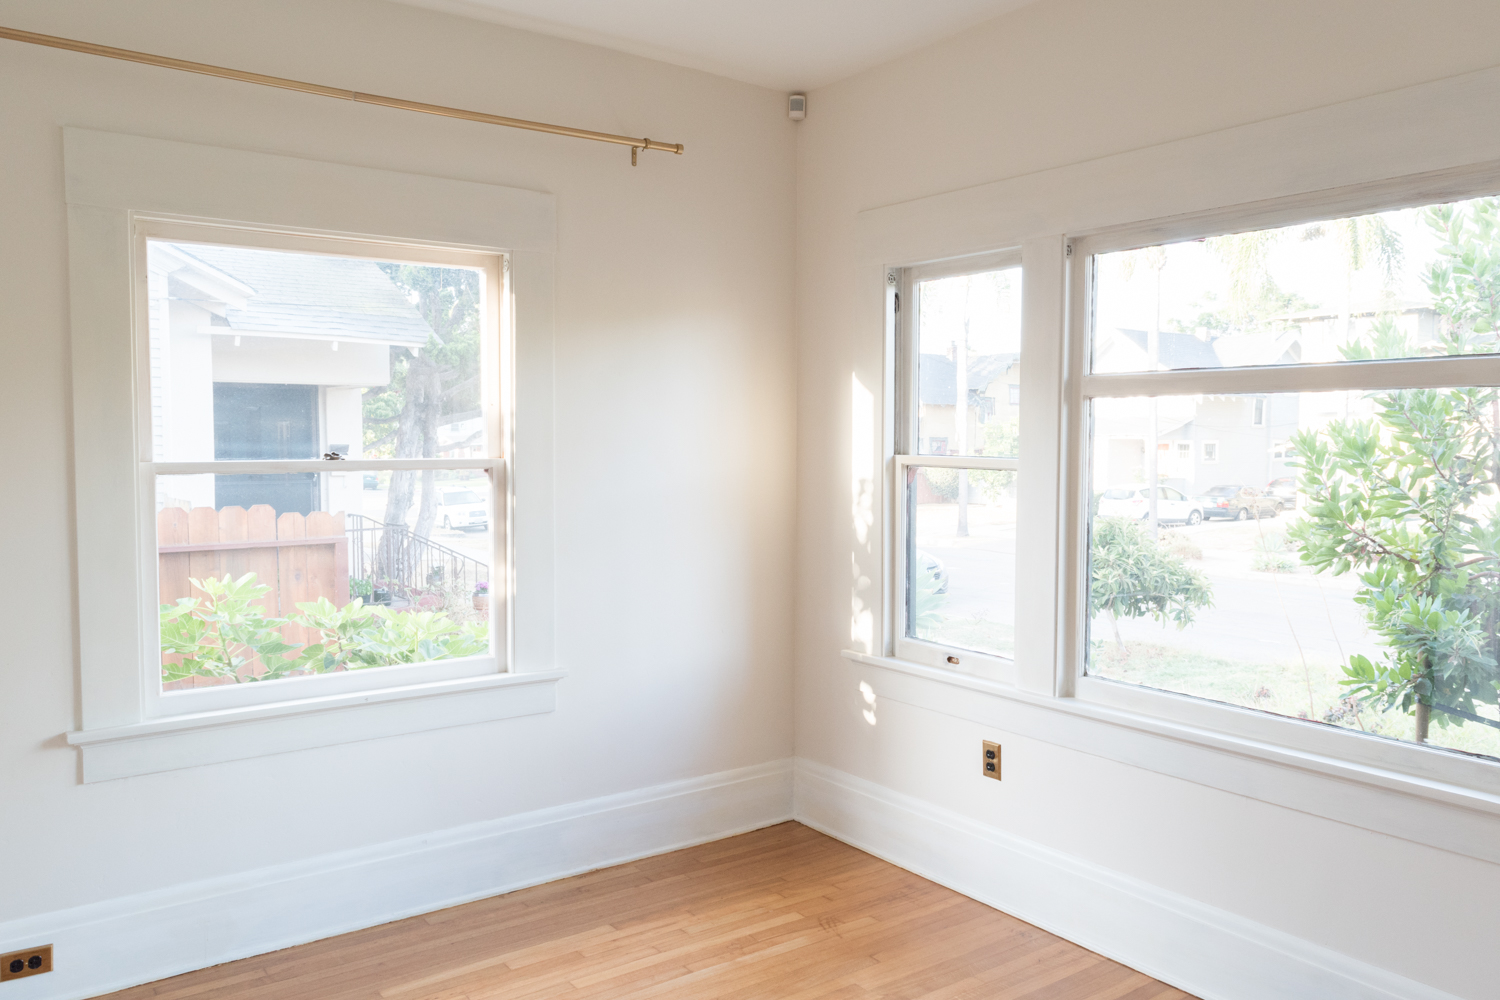
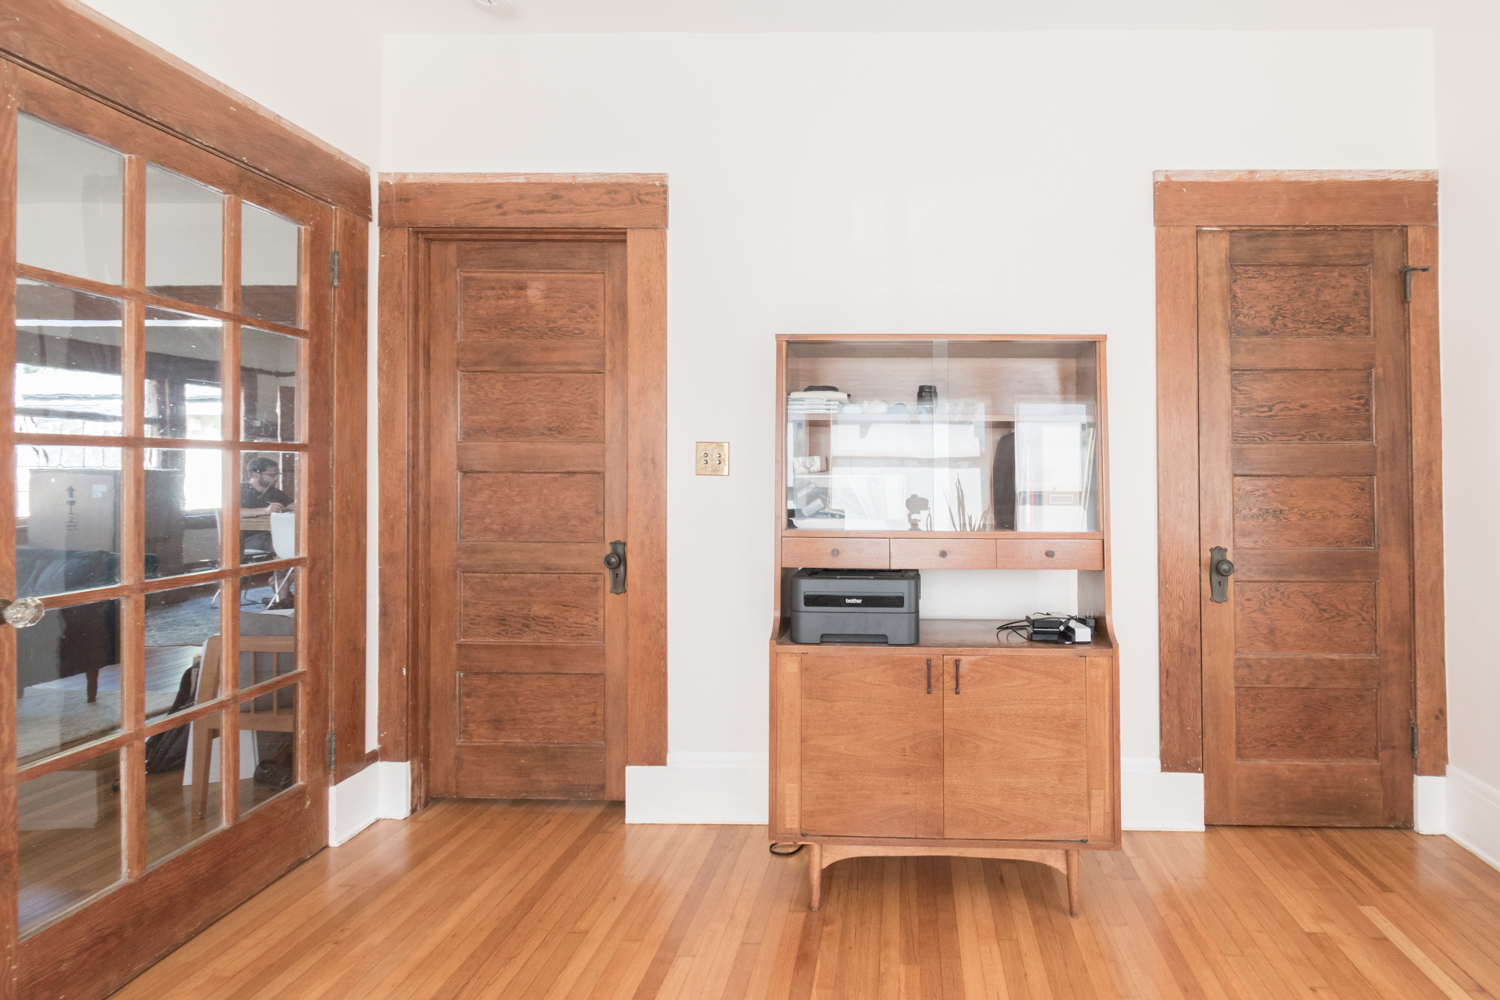
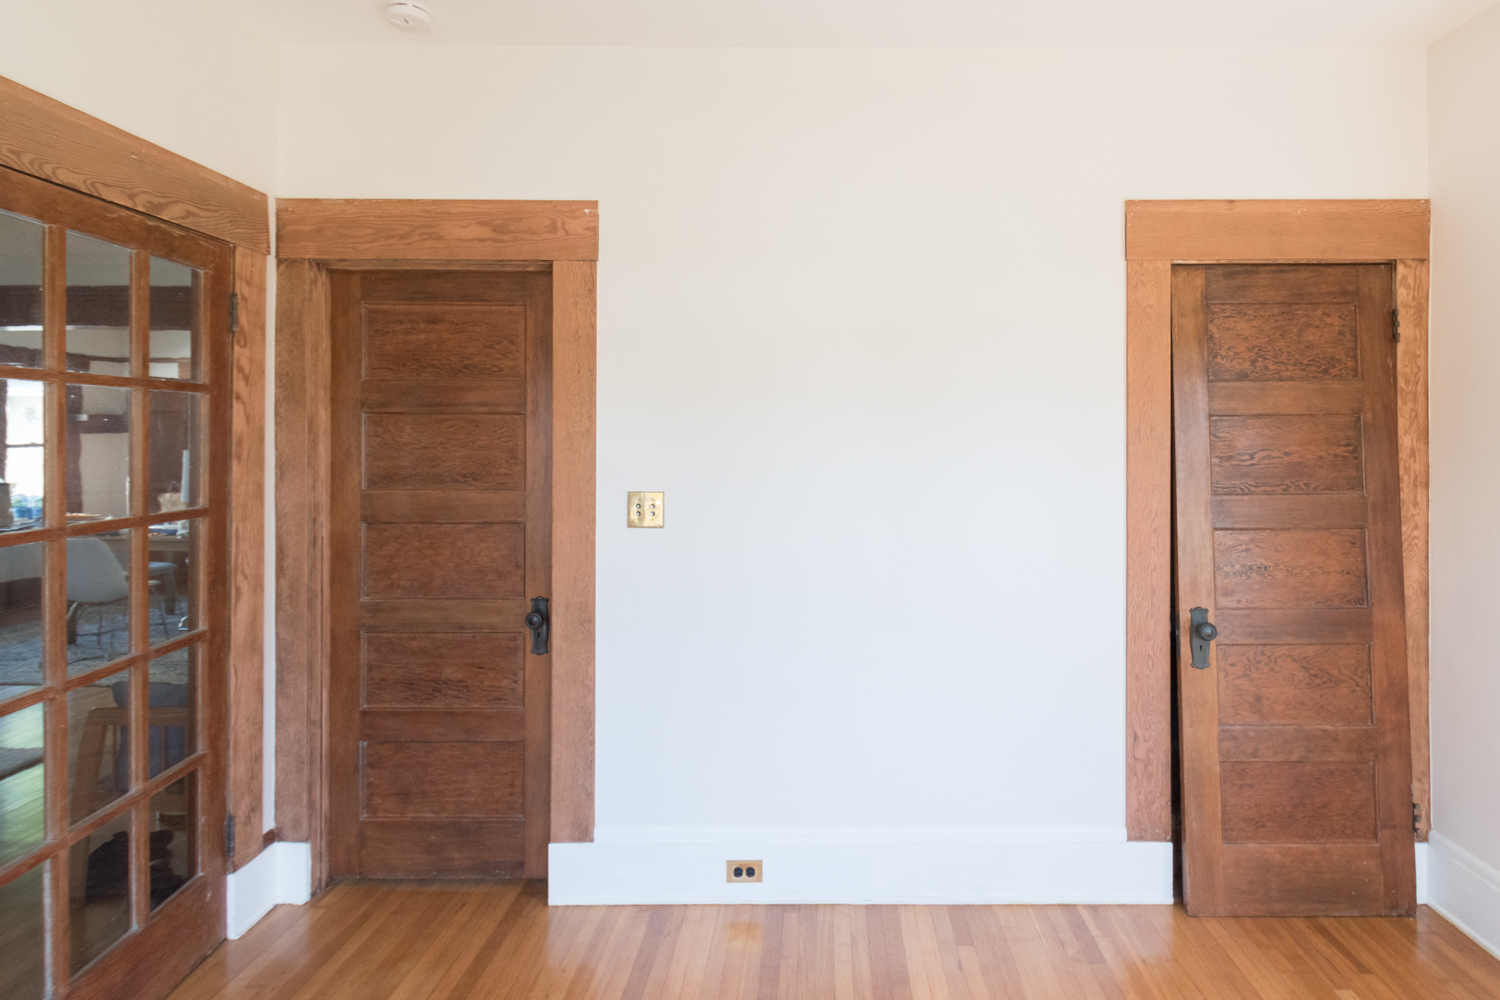
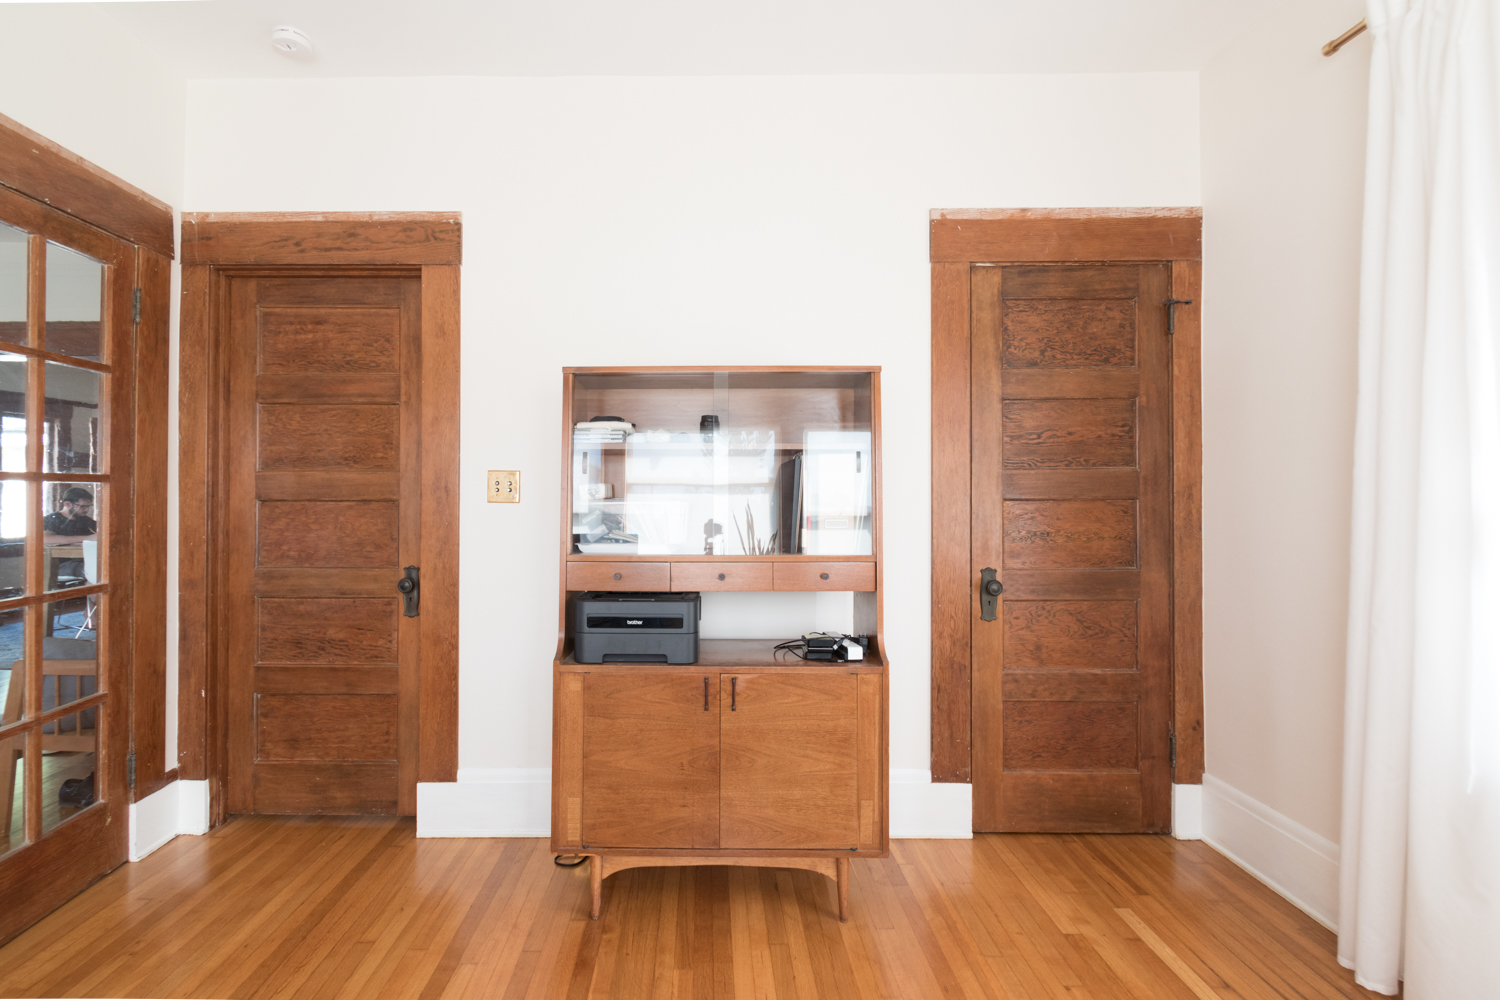
All this is to warn you that I painted the trim in the home office for the One Room Challenge. Spoiler: I kept the doors unpainted (because they were in good shape) and they are simply glowing now that they aren't surrounded by mucked up trim.
I give you a collection of photos that show a mere sliver of the state of the wood in the office:


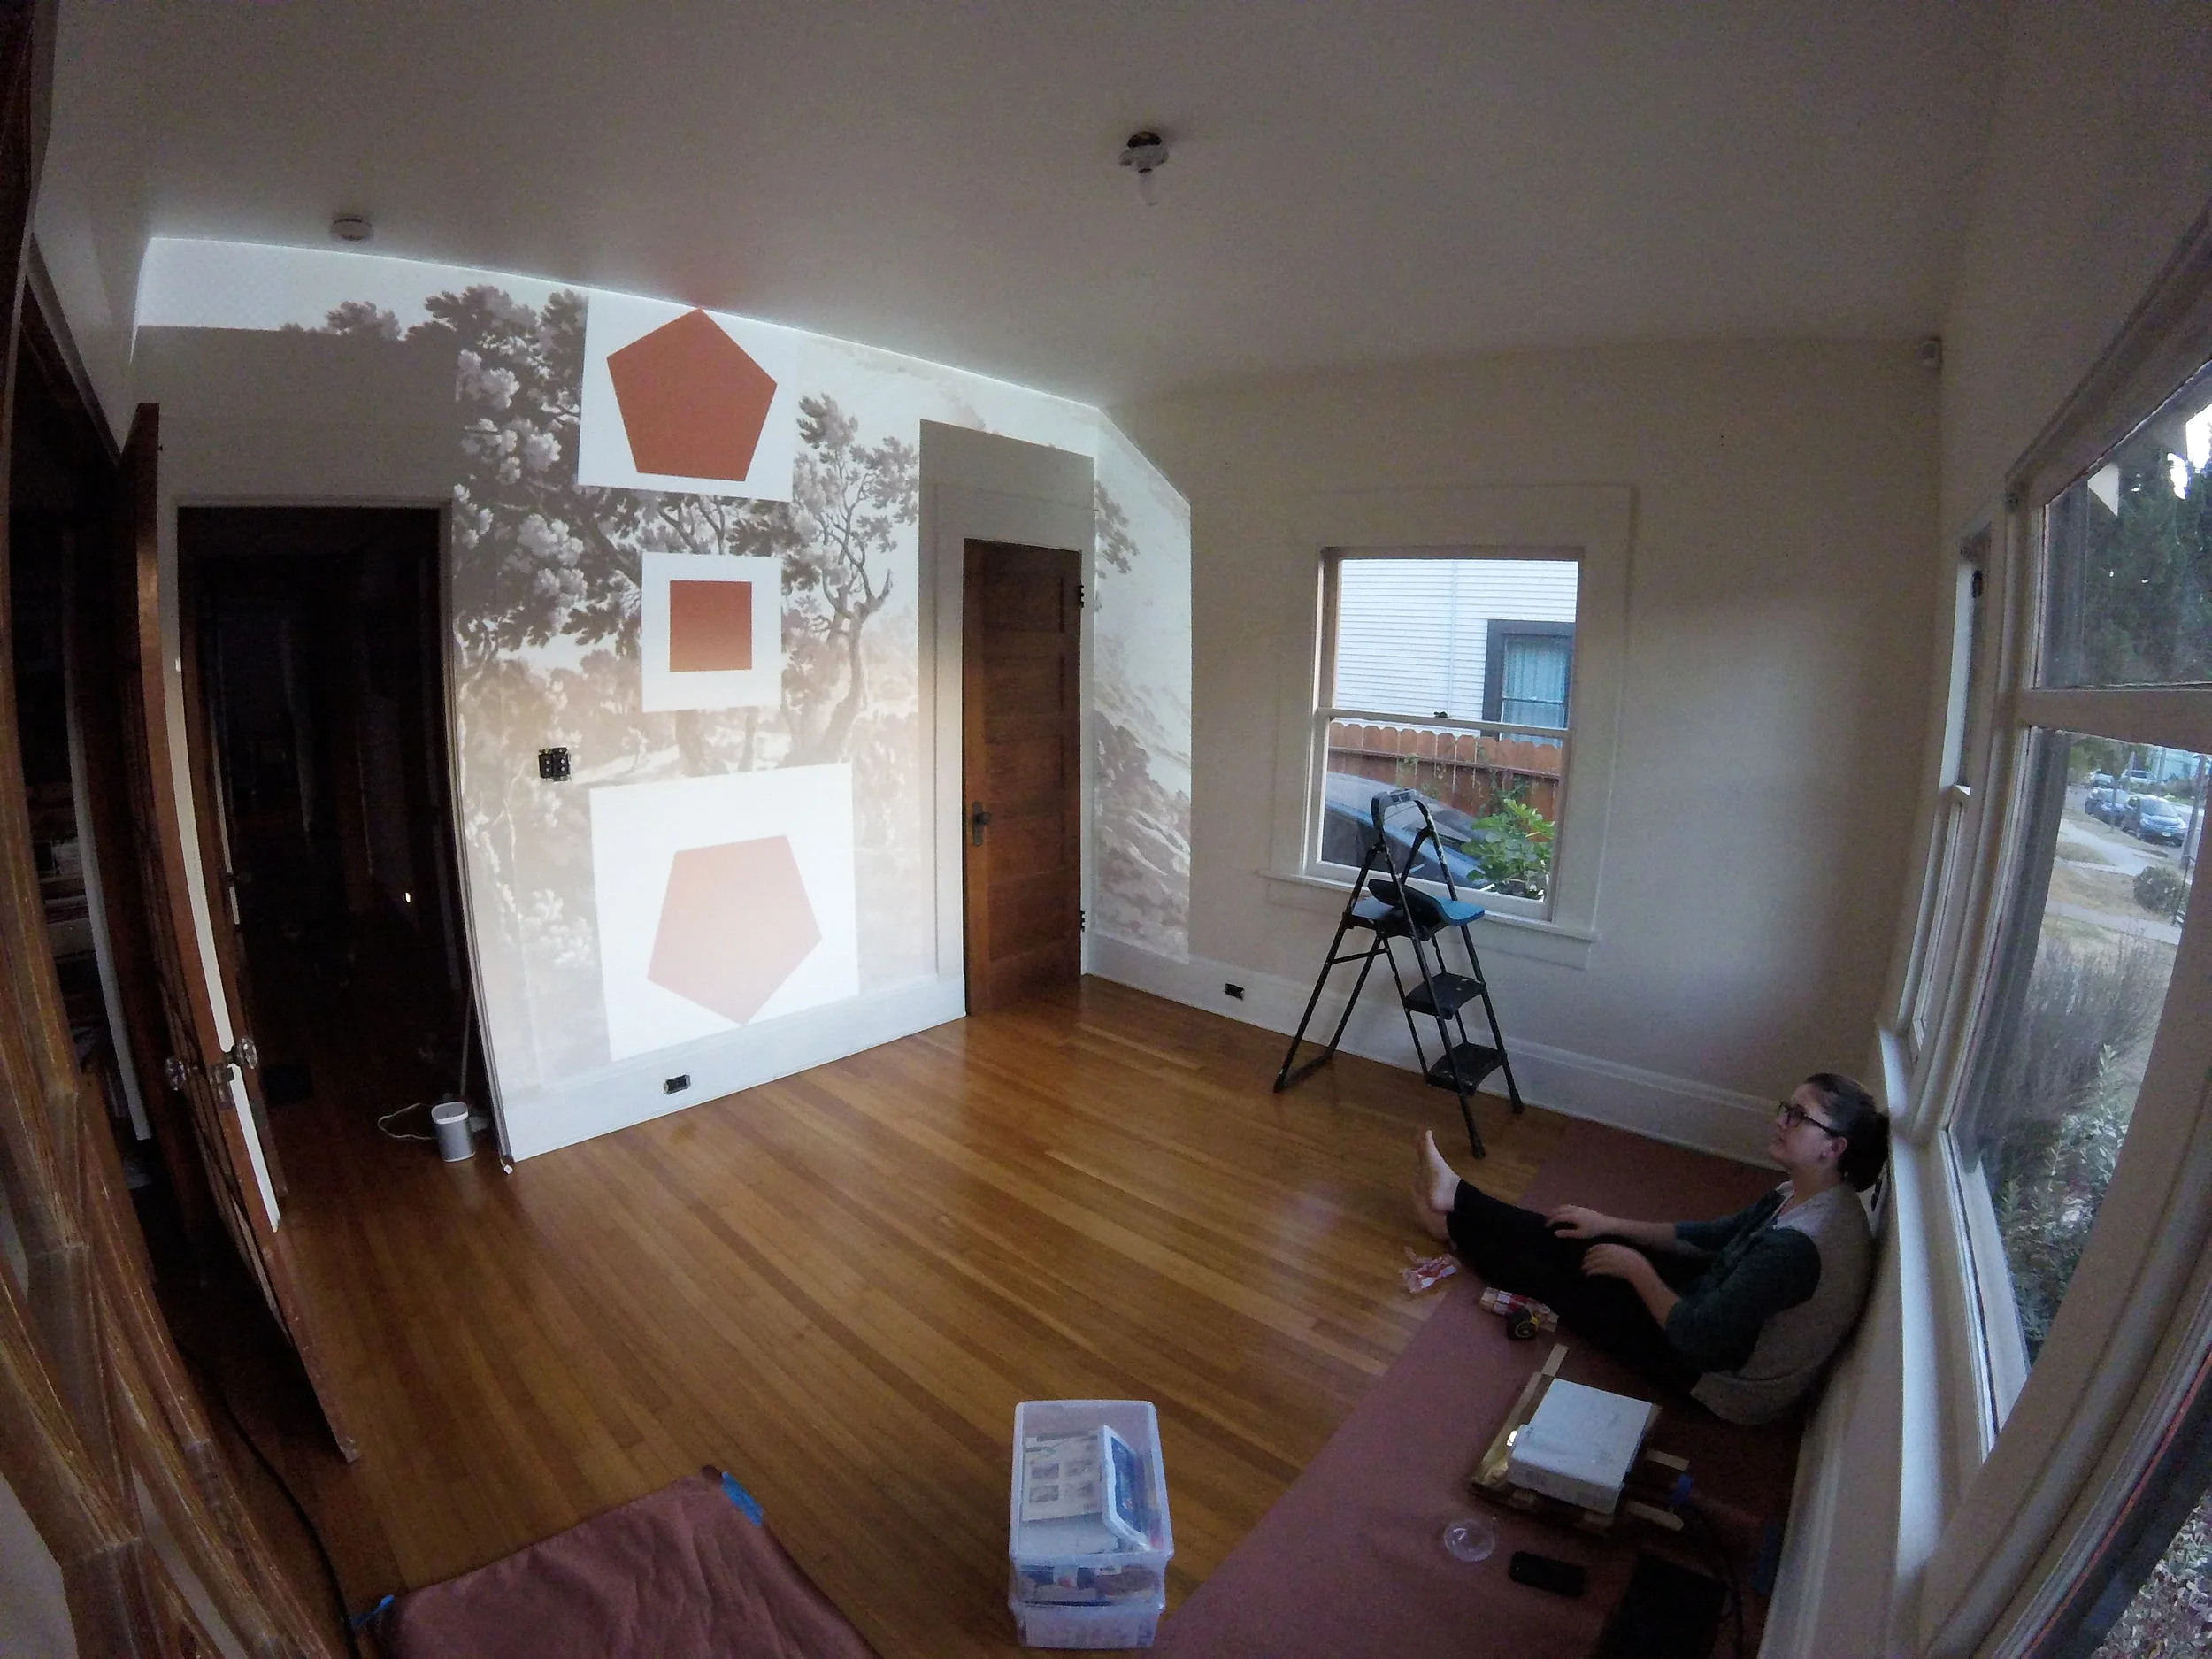


Margot is getting an upgraded room to make space for baby sister in the nursery.
With an additional family member, we want to shuffle the rooms of our 3-bedroom house around. The one off the living room was being used as my home office, so now it’s time to convert it into an actual bedroom. The initial thought was to give this room to baby sister and keep Margot in her room. But we ultimately decided to put the baby in the room designed to be a nursery, then convert the home office into a space designed for a bigger kid. Plus, the office has more windows, and is right off the living room (Margot’s playroom) so it’s better suited for all the daytime play, whereas the single-window nursery is cozier for lots of daytime naps.